How To Remove Honeywell Thermostat Cover To Replace Battery
David Brown
Alright, superstar! Have you been staring down your Honeywell thermostat, feeling like it's guarding some ancient secret, especially when it's time to perform the mystical act of battery replacement? Fear not, intrepid home hero! That little box on your wall, while looking like it might be plotting world domination, is actually a surprisingly friendly piece of tech. And getting its cover off to swap out those trusty power nuggets is about as complicated as opening a snack bag. Seriously!
We're here to banish those thermostat anxieties and turn you into a
Alright, superstar! Have you been staring down your Honeywell thermostat, feeling like it's guarding some ancient secret, especially when it's time to perform the mystical act of battery replacement? Fear not, intrepid home hero! That little box on your wall, while looking like it might be plotting world domination, is actually a surprisingly friendly piece of tech. And getting its cover off to swap out those trusty power nuggets is about as complicated as opening a snack bag. Seriously!
We're here to banish those thermostat anxieties and turn you into a thermostat-taming titan. This isn't brain surgery; it’s more like a delicate dance with a very cooperative wall ornament. So, let’s get those metaphorical safety goggles on and prepare for some incredibly satisfying clicks!
Your Mission, Should You Choose To Accept It (Which You Totally Should!)
First things first, let’s empower ourselves with a little bit of zen. Take a deep breath. You are about to become intimately familiar with your Honeywell thermostat’s outer shell. It’s not going to bite, zap you, or call the cops. It just wants to reveal its inner workings so you can give it some fresh energy. Think of it as a shy friend who just needs a gentle nudge to open up.
"Preparation is half the battle!" Though in this case, "battle" really means "a delightful stroll through a meadow of success."
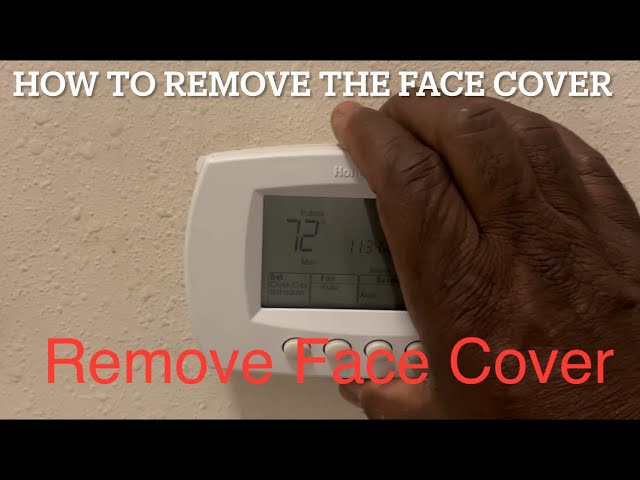
How to Remove Honeywell Thermostat Cover: Step-by-Step Guide
Before you even lay a finger on that elegant plastic facade, let’s make sure your hands are clean and dry. No greasy pizza fingers here, please! We're aiming for precision, not a grease-themed abstract art piece on your wall. And maybe, just maybe, whisper a quick word of encouragement to your thermostat. It might appreciate the good vibes.
Locating the Secret Latch (It's Not That Secret, Really)
Now, for the main event! Every Honeywell thermostat is a little unique, like snowflakes or extremely opinionated cats, but they all share a common philosophy: they want you to be able to get inside without needing a sledgehammer. So, let’s talk about the usual suspects when it comes to cover removal. Grab your magnifying glass (or just your keen eyesight!) and let's go on an adventure!
How to Replace Battery on Thermostat Honeywell: Quick Guide
Most Honeywell thermostats, especially the rectangular or square ones, have a pretty straightforward way of letting you in. We’re looking for a specific type of magic. Your fingers are about to become nimble adventurers.
Option 1: The Gentle Pull-Off
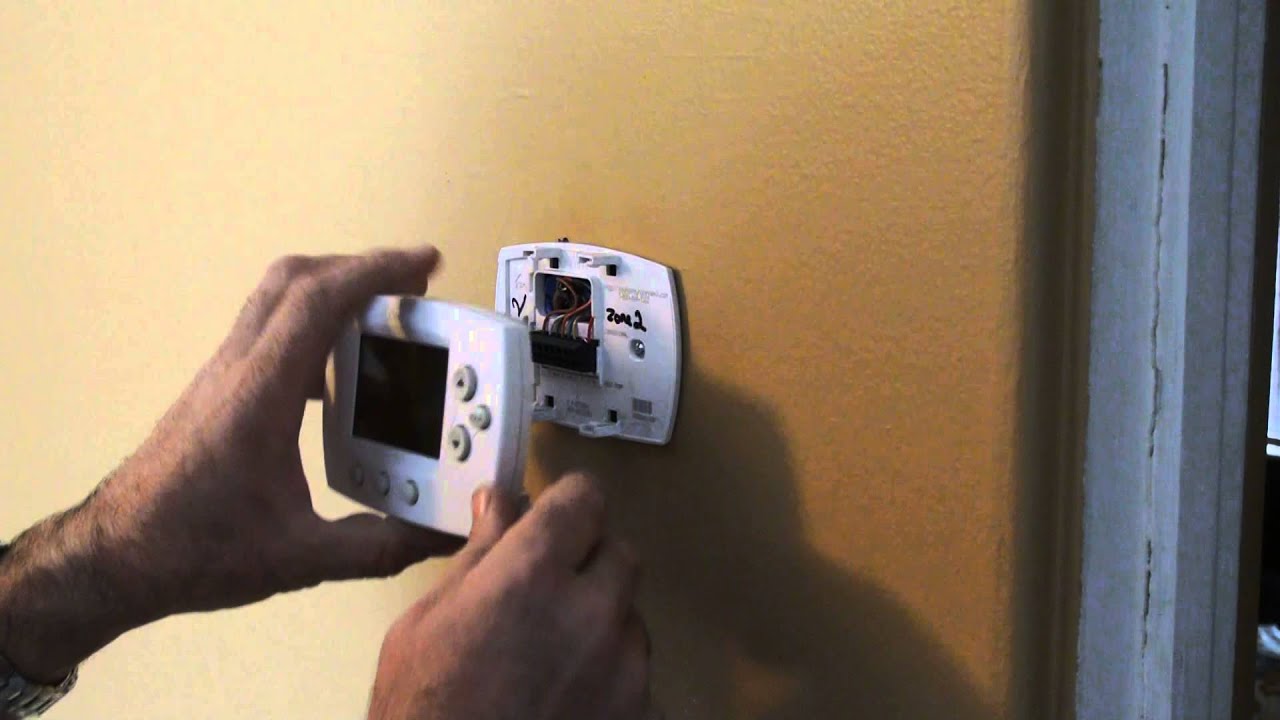
Many models simply pull straight off. Imagine you're trying to take the lid off a fancy gift box, but a really, really snug one. Hold the thermostat firmly with one hand – not the entire unit off the wall, just the outer cover part. With your other hand, gently but steadily, pull the front cover directly away from the wall. You might feel a little resistance, a soft "thunk" as the clips release. It's not a wrestling match; it's more like a polite disagreement. This is often the case for models that are sleek and have no visible buttons or tabs on the sides.
Option 2: The Mighty Side Tabs
Sometimes, your Honeywell thermostat will have little release tabs or buttons on the sides, top, or bottom. These are like tiny secret buttons just waiting for your heroic touch! Inspect the edges of your thermostat. Do you see any small, slightly recessed areas? Maybe a little indent that looks like it's begging for a finger to press it? Or perhaps tiny plastic tabs that look like they could be gently squeezed?
If you see tabs: Gently squeeze the tabs (usually one on each side, or sometimes just two on the bottom) and simultaneously pull the cover forward. It's like releasing a seatbelt, but for your thermostat!
If you see buttons: Press the buttons (again, usually one or two) and then, while holding them down, pull the cover straight off. Voila! Instant access!
Option 3: The Clever Hinge Swing
A few Honeywell models, especially some of the more advanced ones with touchscreens, might have a cover that swings open like a tiny door. Look for a hinge point, often at the bottom of the unit. You might need to press a release button or pull a tiny tab to disengage a latch, and then the whole front face will elegantly swing downwards or to the side, revealing the inner sanctuary. It's like opening a mini refrigerator, but for temperature control!
How to Replace the Battery in a Honeywell Thermostat (6 Steps)
The Moment of Truth: The Great Reveal!
Once you’ve identified your thermostat’s preferred method of cover removal – be it a gentle pull, a squeeze of tabs, a press of buttons, or a sophisticated swing – apply the technique! You should hear a satisfying click or a soft snap as the cover detaches. Don't be shy, but don't go full hulk either. Think of it as opening a jar of pickles that's a little stuck, not trying to rip a phone book in half.
And there it is! The Honeywell thermostat cover, now in your hand, triumphantly separated from its base. You’ve done it! You’ve peeked behind the curtain! Inside, you’ll most likely see the battery compartment, ready for its replenishment. Most commonly, it'll house a couple of AA or AAA batteries, but don't grab new ones yet – always double-check the type once you're inside!
Now, go forth and replace those batteries like the magnificent, technically adept individual you clearly are! And when you’re done, simply line up the cover with the base and give it a firm, gentle push until you hear those satisfying clicks as it locks back into place. You’ve just conquered your thermostat, and the world (or at least your living room) is a better, more temperature-controlled place for it!