How To Take Battery Out Of Smoke Alarm

Ah, the humble smoke alarm. It hangs there, usually on the ceiling, sometimes on a wall. A silent sentinel, always watching.
But then, a little chirping starts. Or perhaps a full-blown concert of high-pitched wails. It's time for action, for a very specific kind of quiet rebellion.
Today, our mission, should we choose to accept it, involves a delicate dance with this watchful guardian. We're going to explore the art of disarming it, specifically by liberating its power source.
Must Read
The Great Ascent: Preparing for the Expedition
First things first, you need to reach the thing. It’s almost always just out of arm’s length, isn’t it?
A sturdy chair is often the first choice. Think of it as your personal launchpad, your temporary throne for this noble quest.
Perhaps a small step-ladder, if you're feeling particularly adventurous. Make sure whatever you choose is stable. We’re aiming for a peaceful intervention, not a dramatic tumble.
Remember, safety first, even when embarking on a mission of peaceful battery extraction. No heroic leaps are required here.
Position your chosen elevation device directly beneath the alarm. Take a moment to gaze upwards. It’s almost like looking at a tiny UFO, isn't it? A plastic disc with secrets.
Take a deep breath. You're ready for the next phase. This is where the magic, or at least the mechanical fiddling, truly begins.
The Mystifying Mechanics: Opening the Gateway
Now, every smoke alarm is a unique snowflake, a special little enigma. But they usually follow a few common themes when it comes to opening them up.

Your first move is to identify how its outer shell connects to its base. Most alarms are designed to be easily opened for battery changes.
The Twist and Shout Method (Without the shouting, preferably)
Many alarms operate with a simple twist. Imagine you’re opening a jar, but a very flat, very un-jar-like jar.
Gently grip the sides of the alarm. You're looking for an indicator, maybe a small arrow or a line, showing which way to turn.
If you don't see an arrow, try turning it counter-clockwise. It's often the universal language of "open me."
Apply gentle but firm pressure. You might hear a soft click, or feel a slight give. That's your signal. The seal has been broken, metaphorically speaking.
Once it twists a bit, the main body of the alarm should separate from its base. It might hang by a wire, like a small, plastic pendulum. Don't worry; that's perfectly normal.
The Slide-and-Reveal Approach
Other alarms prefer a more direct, sliding action. This is less like a twist and more like uncovering a secret compartment.
Look around the edge of the alarm for a small tab or a button. Sometimes it’s very discreetly placed.
Press the tab, or slide a small lever, and the cover should release. It’s often a smooth motion, a testament to clever engineering.
Once you’ve found the trick, the cover will either pop open or slide completely off. You’ve now gained access to the inner sanctum.
Remember, if it feels like you're about to break it, you’re probably doing it wrong. Gentle persuasion is key.
Sometimes, the entire alarm unit needs to slide off its mounting plate. This means gripping the whole disc and feeling for movement.
A gentle push upwards, then a slide to the side, can often free the unit. It’s like a secret handshake with the ceiling.
The Core of the Matter: Liberating the Power Source
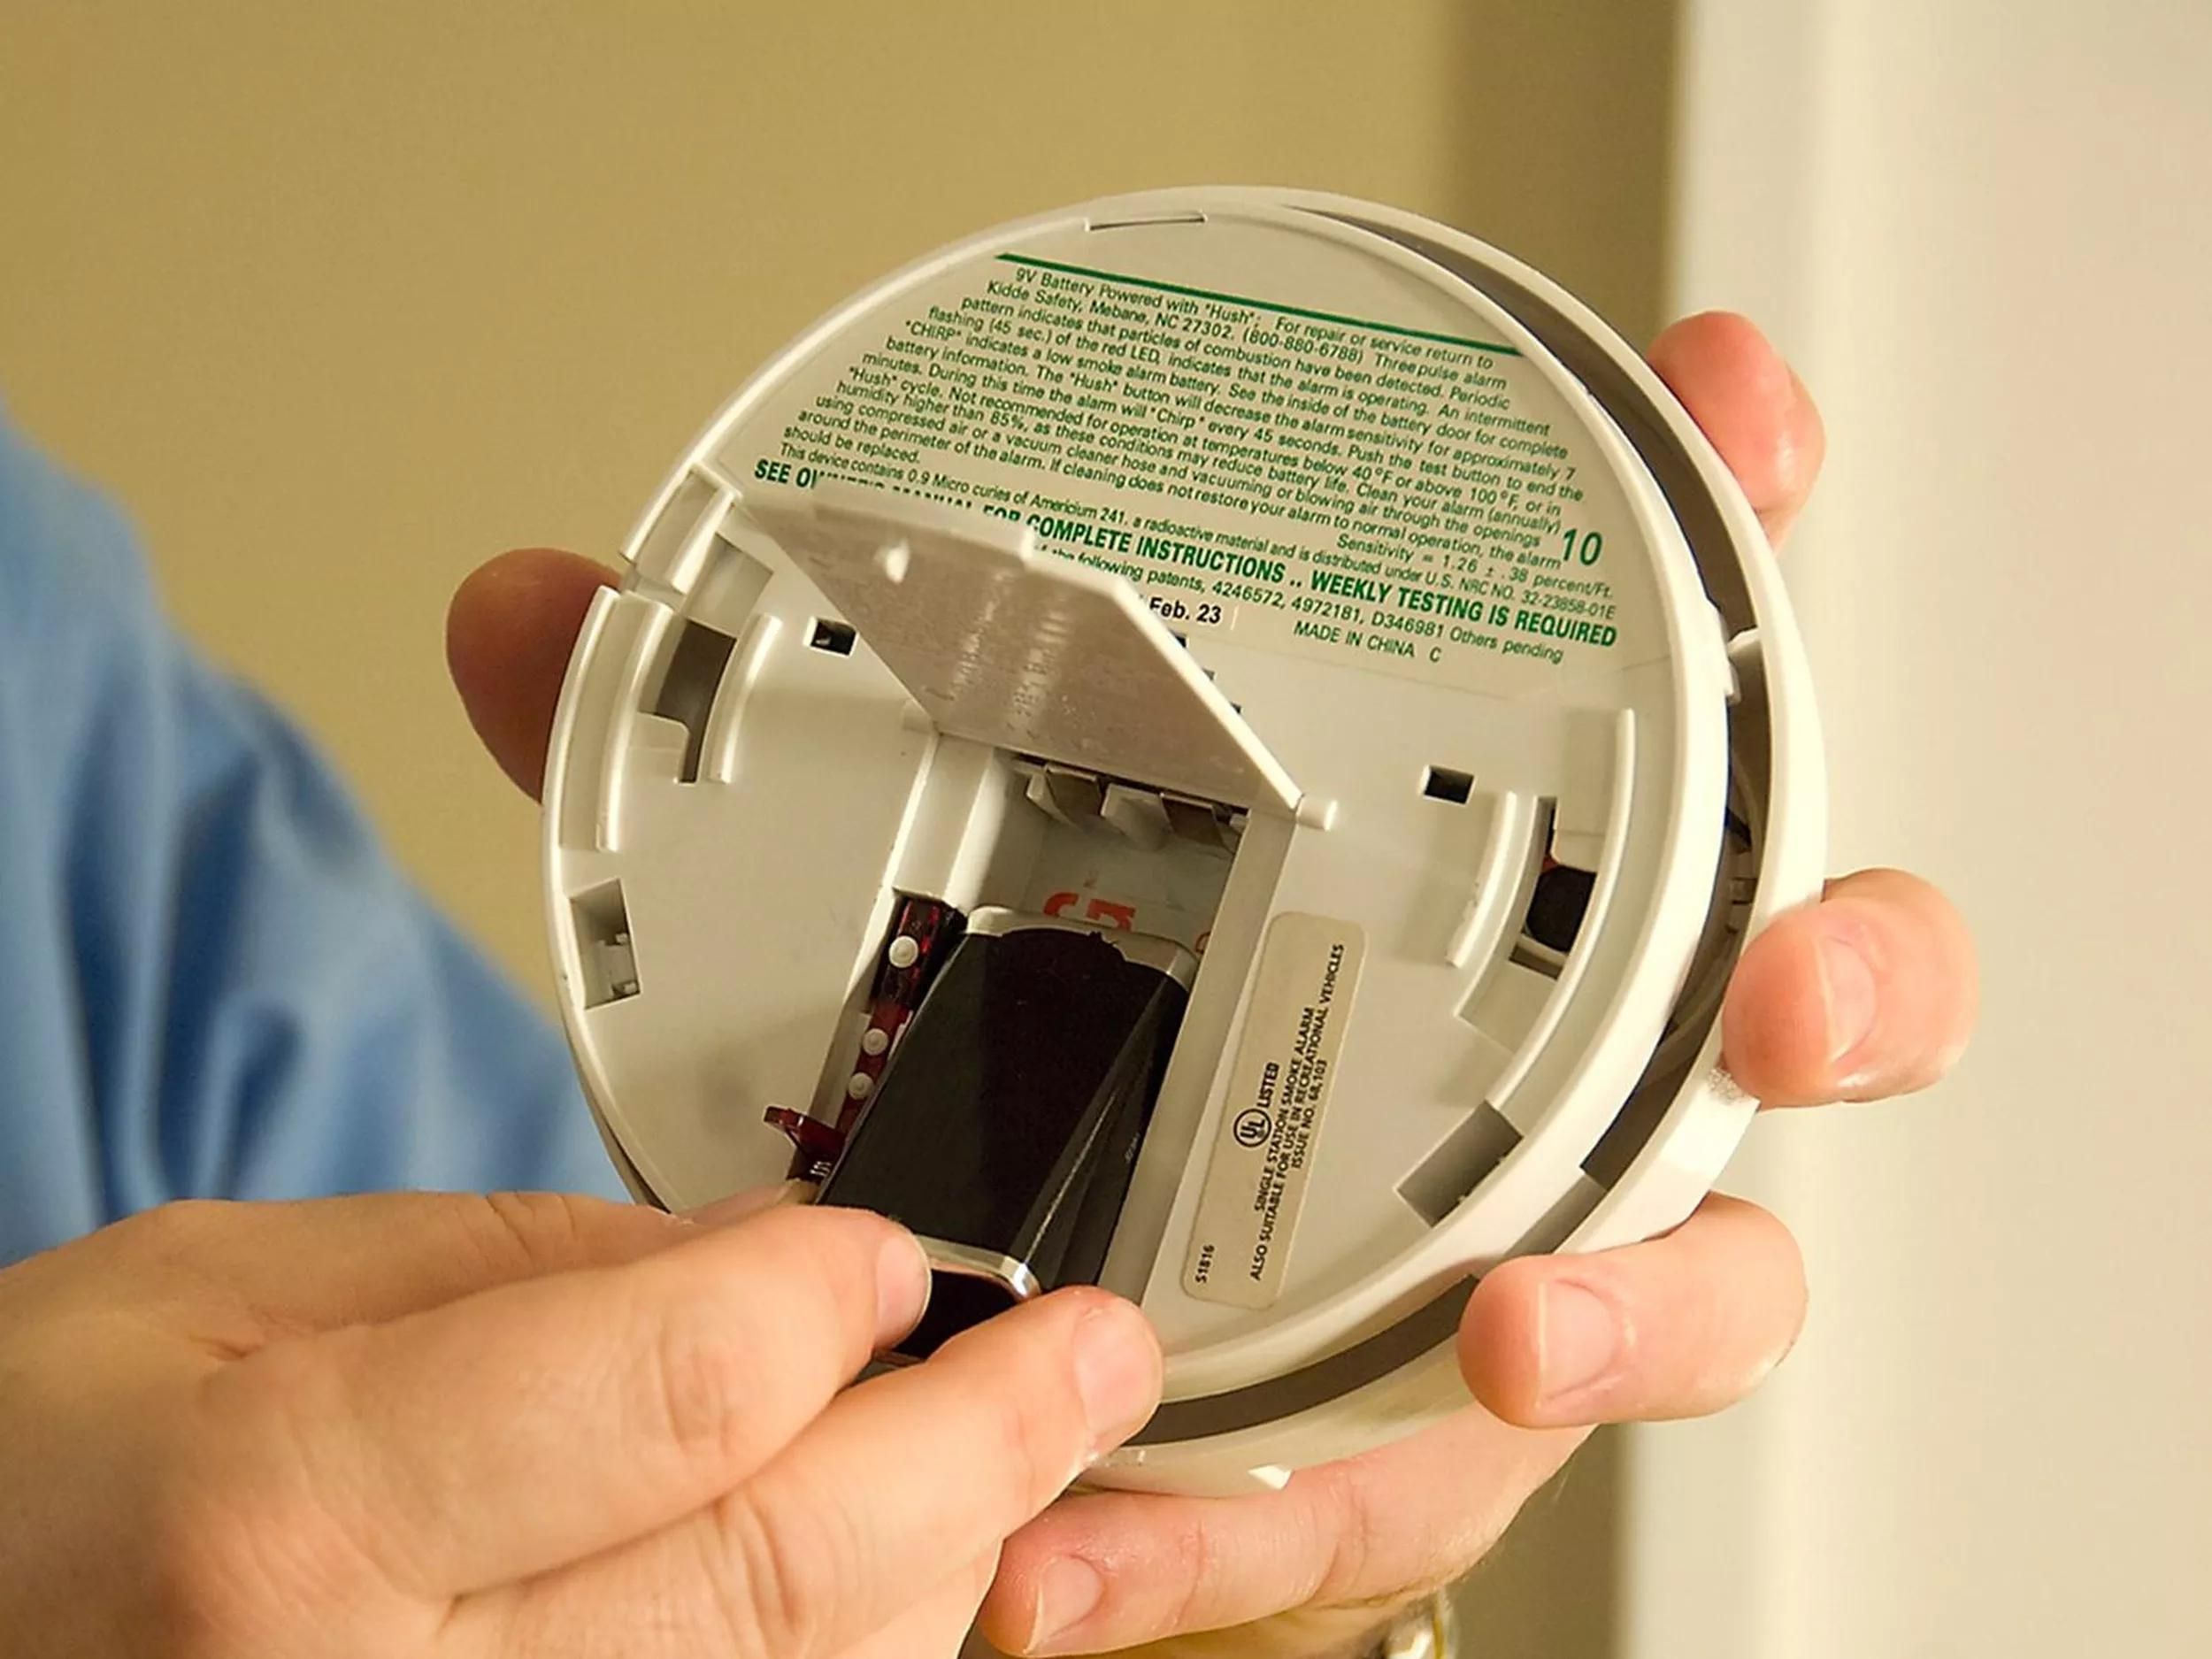
With the outer shell conquered, you now have a clear view of the battery compartment. This is the heart of the operation.

Most commonly, you’ll find a 9-volt battery. It’s that rectangular, blocky kind, with two little nubs at one end.
Sometimes, however, you might encounter AA or AAA batteries. These are usually housed in a neat little tray or slot.
The 9-Volt Tango
The 9-volt battery is usually connected by a small plastic clip with two wires. It's a surprisingly snug fit, designed to keep it secure.
To detach it, hold the plastic clip and gently pull it away from the battery terminals. It might take a slight wiggle.
Be careful not to pull the wires themselves. Always aim for the plastic connector. Wires are delicate!
Once the clip is free, the battery can be easily lifted out of its compartment. You’ve done it! The silence, it’s almost palpable.
It feels like holding a small, silent victory in your hand. This little rectangular block was the source of all the recent drama.

The AA/AAA Extraction
If you have AA or AAA batteries, they usually just pop out. Look for a small ribbon or a spring-loaded mechanism.
Often, you can just gently pry one end of the battery up, and it will release. It's like releasing a tiny spring-loaded jack-in-the-box.
Slide them out one by one. Count them. Appreciate their simple cylindrical form. Each one a tiny power source, now at rest.
No special tools are usually needed for these. Just your trusty fingers and a gentle touch.
And there you have it. The battery, or batteries, are out. The immediate crisis of unexpected noise has been averted.
You can now descend from your temporary throne. The mission is accomplished. The peace has returned.
Take a moment to savor the quiet. It's a beautiful sound, isn't it? The sound of nothing, after all that chirping.