How To Add Smoke Effect In Video
Ever wanted to add a touch of mystery, drama, or even a cool, ethereal vibe to your videos? One of the easiest ways to do that is by adding a smoke effect! It's super popular on social media, especially for creating eye-catching intros, transitions, or simply enhancing the mood of your footage. Plus, it's way easier than you might think. Forget complex special effects rigs and expensive equipment. We're talking about quick, simple techniques you can learn today!
So, what exactly does adding a smoke effect do? The purpose is pretty straightforward: it adds visual interest and depth. Think about it – a flat, brightly lit scene can sometimes feel a bit…boring. Introducing some swirling, smoky tendrils can instantly transform it into something more captivating. The benefits are numerous:
- Enhanced Atmosphere: Smoke can evoke feelings of mystery, intrigue, or even danger. Perfect for setting the tone of your video.
- Visual Appeal: Let's face it, smoke looks cool! It's dynamic, unpredictable, and visually fascinating.
- Creative Transitions: Use smoke to smoothly transition between scenes, creating a seamless and stylish flow.
- Concealing Imperfections: A little smoke can subtly hide unwanted elements or create a sense of depth where there isn't any.
Now, let's get to the fun part: how to add that smoke effect! There are a few different approaches, depending on your budget and technical skills. Here are two popular options:
Must Read
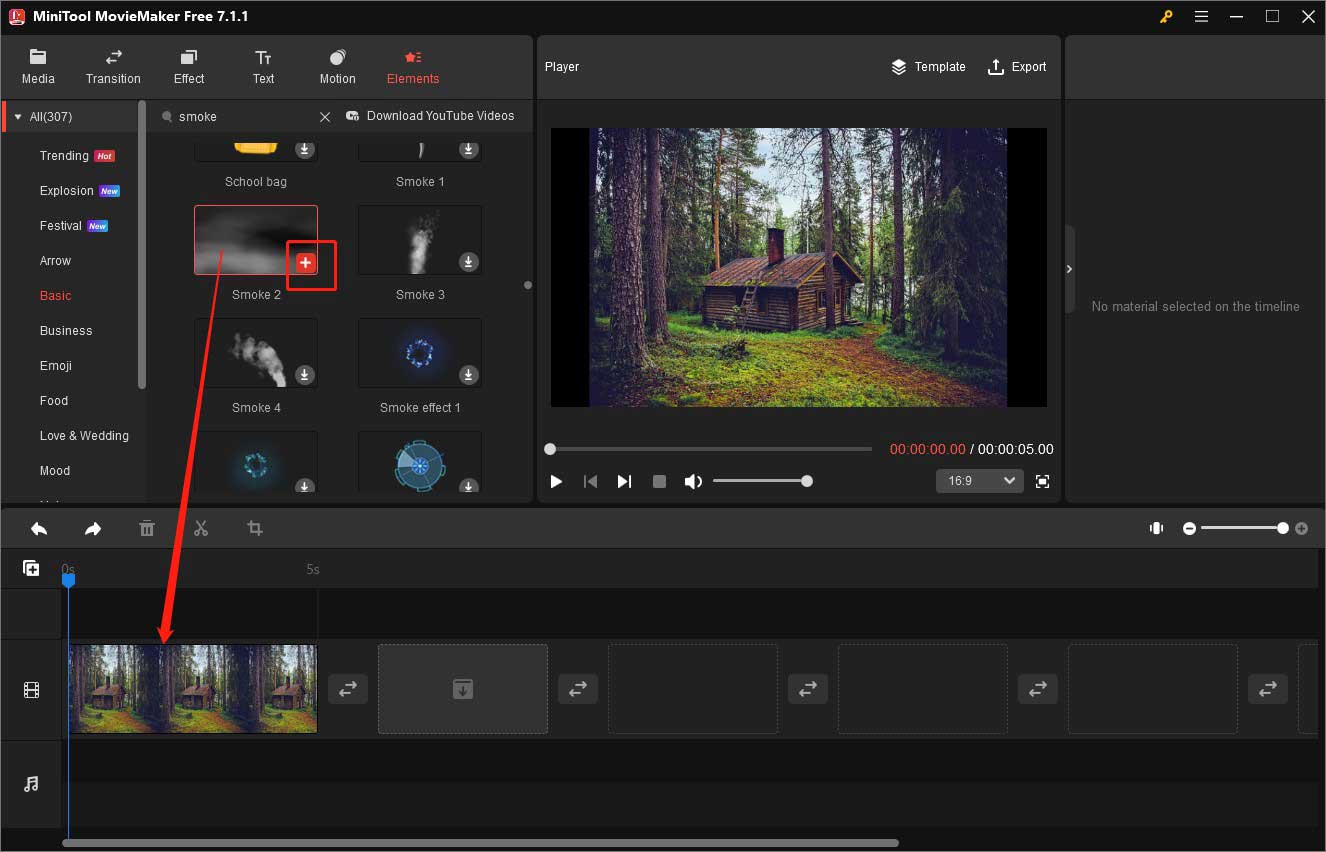
1. Using Pre-Made Smoke Overlays:
This is arguably the easiest and fastest method. You can find tons of free and paid smoke overlays online. These are essentially video clips of smoke that you can layer on top of your existing footage in your video editing software (like iMovie, Filmora, or Adobe Premiere Pro).
How it works:
- Download a smoke overlay file (usually in .mp4 or .mov format).
- Import the overlay into your video editing software.
- Place the overlay track above your main video track.
- Adjust the blending mode of the overlay (usually "Screen" or "Add") to make the black background transparent, revealing the smoke.
- Position and resize the smoke to your liking. You can also adjust the color and opacity for further customization.
The advantage of this method is its simplicity and speed. The disadvantage is that the smoke might not always perfectly match your scene's lighting or perspective.

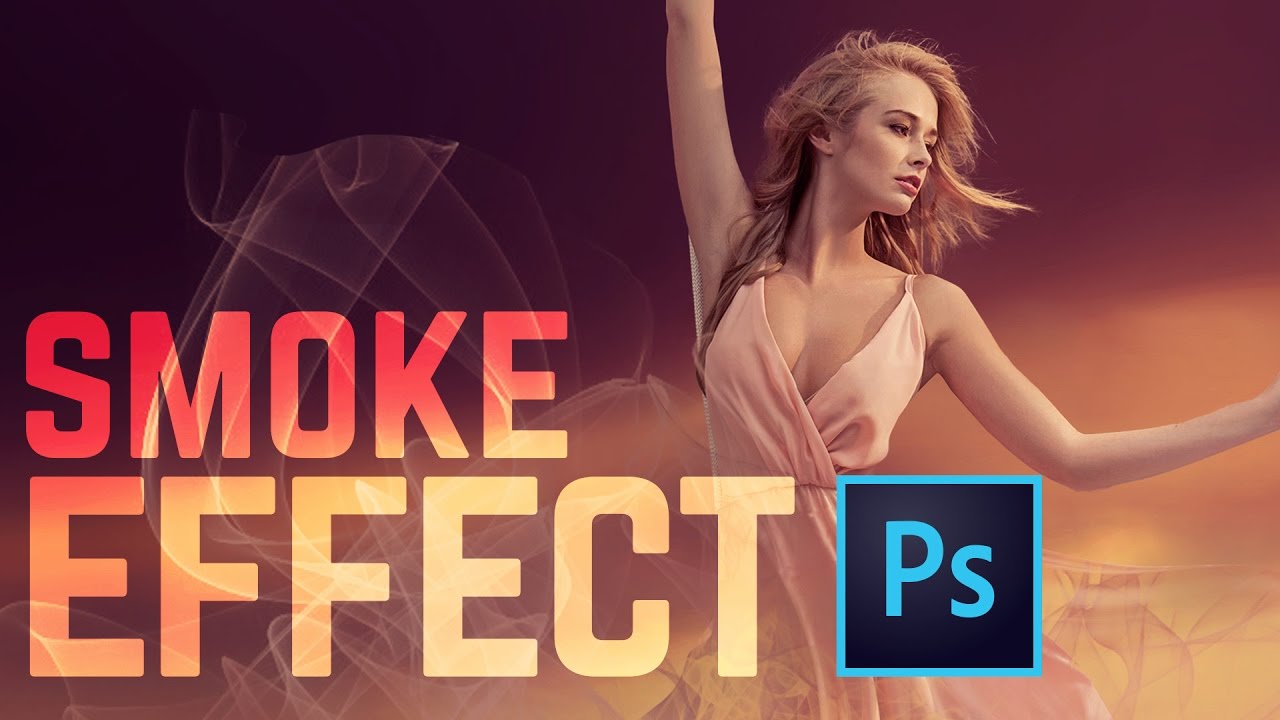
2. Creating Smoke Effects with Software:
If you want more control and a more realistic look, you can create smoke effects directly within your video editing or motion graphics software (like Adobe After Effects). This is a bit more complex, but it offers greater flexibility.

How it generally works (specific steps vary depending on the software):
- Create a new composition or project.
- Use particle systems or procedural generation tools to create the smoke. These tools allow you to control the shape, movement, color, and density of the smoke.
- Add turbulence and other effects to make the smoke look more realistic.
- Composite the smoke over your footage, adjusting the colors and lighting to match the scene.
This method takes more time and requires some understanding of the software, but the results can be spectacular. You have complete control over every aspect of the smoke, allowing you to create a truly unique and seamless effect.
No matter which method you choose, adding a smoke effect is a fantastic way to elevate your videos and add that extra touch of magic. So, experiment, have fun, and get ready to amaze your viewers!
