How Do I Remove A Honeywell Thermostat From The Wall
Alright, so you’ve stared at that Honeywell thermostat on your wall for ages. Maybe it's time for an upgrade, or it's just being finicky, or perhaps you're curious how it clings to your drywall. Whatever the reason, the thought of prying it off can feel a bit like performing minor surgery – intimidating, wires involved, and you don't want to make things worse. But trust me, it's usually less "brain surgery" and more "unwrapping a particularly stubborn gift." We'll tackle this together. By the end, you'll feel like a home improvement superhero, cape optional. So, let’s get that little temperature boss off the wall without summoning the electrical gods, shall we?
The Golden Rule: Power Down, Buttercup!
Before you even think about touching that thermostat, we have a non-negotiable first step. This is like remembering to put on pants before leaving the house – absolutely essential. Go to your circuit breaker panel – that mysterious metal box, usually in the basement, garage, or a utility closet – and find the breaker for your furnace, A/C, or HVAC system. It might be labeled, or it might be a wild goose chase. If in doubt, just flip the main breaker for your entire house. Think of it as hitting "pause" on all electrical shenanigans.
Why is this so important? While thermostats usually have low-voltage wiring, messing with it live can still cause sparks, short circuits, or a mild electric surprise. We want neither! So, flip that switch and feel a smug sense of safety. You've just disarmed the potential booby trap.
Must Read
Operation Faceplate: Gently, Gently
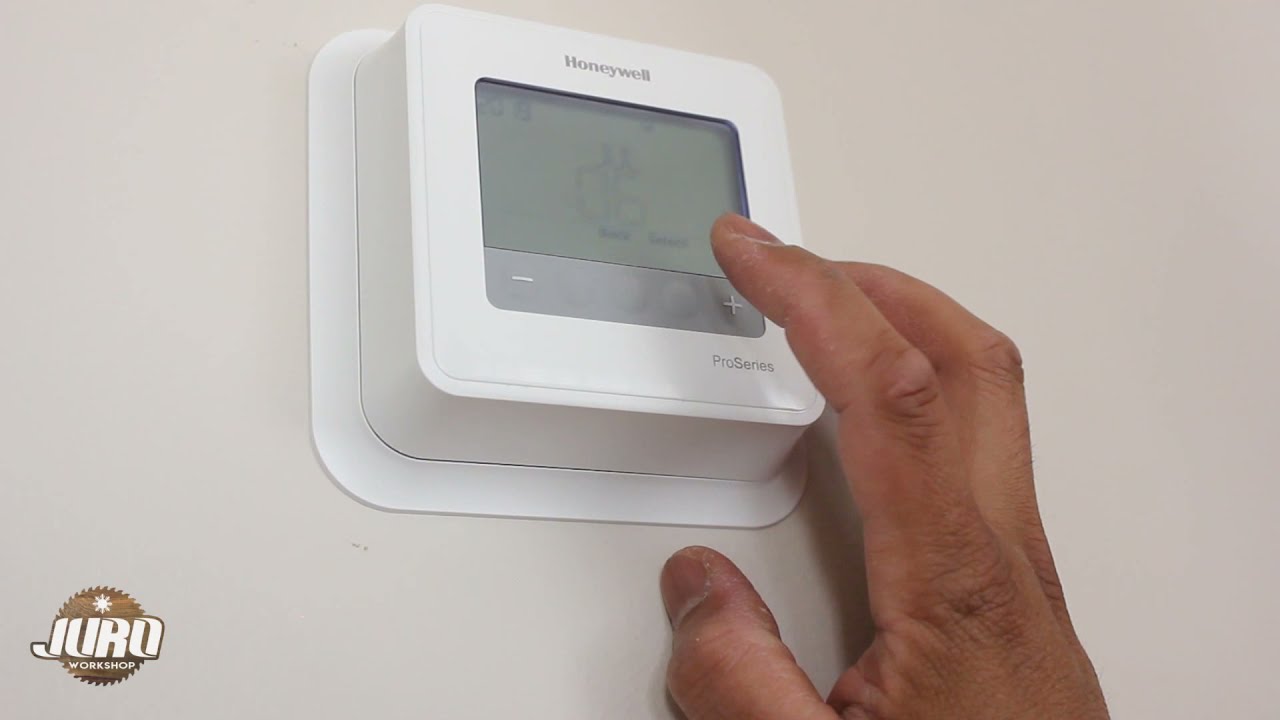
Now that the power is off (you did turn it off, right? Good!), it’s time to face the faceplate. Most Honeywell thermostats are user-friendly, meaning they usually snap or unclip. Take a good look. Do you see any small screws on the bottom or sides? Some models have tiny set screws, like little guardians. If you see screws, grab a small Phillips or flathead and gently loosen them. You don't usually need to remove them entirely, just enough for the faceplate to release.
If no screws are visible, it's likely a snap-on. Look for a small notch or seam along the bottom. You can often insert a fingernail or a thin, flat tool (like a butter knife, carefully!) and gently pry. It might give a satisfying "pop" as it detaches, much like cracking open a stubborn pistachio. Once off, you'll see the inner workings: a circuit board, batteries (if applicable), and those ever-so-important wires.
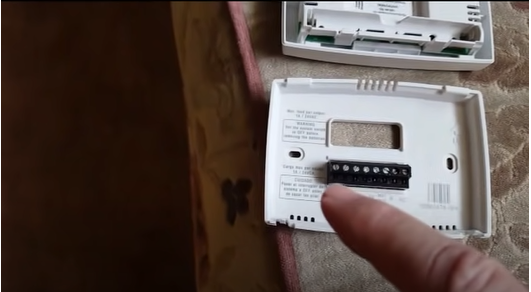
The Wire Whisperer: Labeling is Your Best Friend
Ah, the wires. This is where most people get a tiny bit anxious. Don't worry, we're not rewiring the entire house. The most crucial step here is organization. Before you disconnect anything, take a photo with your phone. Seriously, multiple photos from different angles. This is your insurance policy, your Rosetta Stone for reinstallation.
Now, look at how the wires are connected to the terminals. Each terminal usually has a letter – R, W, Y, G, C, O, B, etc. These aren't random; they correspond to different functions (heating, cooling, fan, common, etc.). While Honeywell often color-codes wires, relying solely on color is like trusting a weather forecast – sometimes it's right, sometimes you get soaked.
Grab masking tape and a pen, or even the tiny labels that come with new thermostats, and label each wire with the terminal letter before you remove it. For example, if a red wire goes to the 'R' terminal, label that wire "R". Once labeled, disconnect wires by pressing a small tab next to each terminal and pulling, or by loosening a small screw. Be mindful of which wire goes where; consider them tiny, color-coded spaghetti strands, each with a very important job.
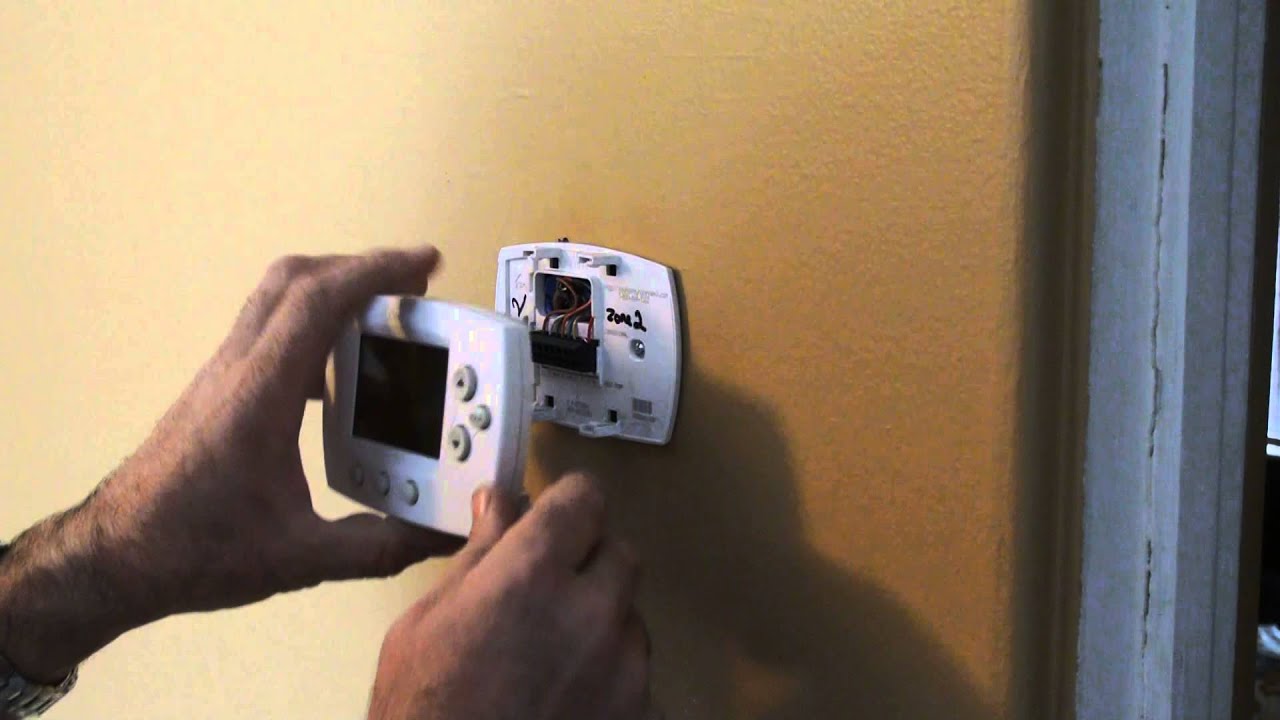
The Mounting Plate: The Final Frontier
With the wires safely disconnected and labeled, you're almost there! What's usually left on the wall is the thermostat's mounting plate – the plastic bracket the faceplate attached to. This is typically held to the wall by a couple of screws, just like a picture frame. Grab your screwdriver again and remove these screws. Once they're out, the mounting plate should lift right off. Voilà! You've successfully removed your Honeywell thermostat. You might find a little hole in the wall, perhaps some paint discolored from years of temperature regulation, but that's perfectly normal. It's like finding a tan line after a long summer – a little ghost of where something once was.
You Did It, You Magnificent Human!
Pat yourself on the back, give a little fist pump, or do a celebratory dance. You’ve conquered the thermostat! Whether you’re replacing it with a smarter model, painting the wall, or just needed to peek behind the curtain, you’ve proven that home DIY doesn't always require a call to a professional. You’re now officially a Honeywell thermostat removal expert. Go forth and brag to your houseplants about your newfound skills!