Reset Smoke Alarm After Changing Battery
Alright, friend, let's talk about one of life's little mysteries, shall we? You know the drill: that dreaded, incessant, soul-crushing chirp from your smoke alarm. It starts subtly, a ghost in the machine, usually in the dead of night, just as you've drifted off to dreamland. You wake up, bewildered, hunt it down, and finally, with a triumphant fist pump, you swap out the old battery for a shiny new one.
Ah, peace at last! You put it back, pat yourself on the back for being a domestic hero, and settle back down... only for the chirp to resume! 😱 "But I just changed the battery!" you wail into the darkness. "What fresh hell is this?!"
Sound familiar? Don't worry, you're not losing your mind, and your smoke alarm isn't possessed by a mischievous poltergeist (probably). What you're experiencing is a classic case of a smoke alarm needing a good old-fashioned reset. Think of it as a little brain clear-out for your trusty safety device.
Must Read
Why Does My Smoke Alarm Still Chirp After a Battery Change?
Good question! It's less about rebellion and more about electronics being a bit stubborn sometimes. Even after you pull out the old battery, there can be a tiny bit of residual charge lingering in the alarm's capacitors. It's like your phone still remembering you had 3% battery even after you plug it in – it needs a moment to truly acknowledge the power surge.
This residual charge can trick the alarm into thinking the battery is still low, leading to that infuriating, persistent chirp. It's basically saying, "Hey, I know you put in a new battery, but I'm just not convinced yet! Prove it to me!"
The Super Simple (and Lifesaving!) Reset Method
Fear not, my chirped-at comrade! Resetting your smoke alarm is ridiculously easy, and it'll make you feel like a certified home maintenance guru. Here are the steps to banish that annoying chirp once and for all:
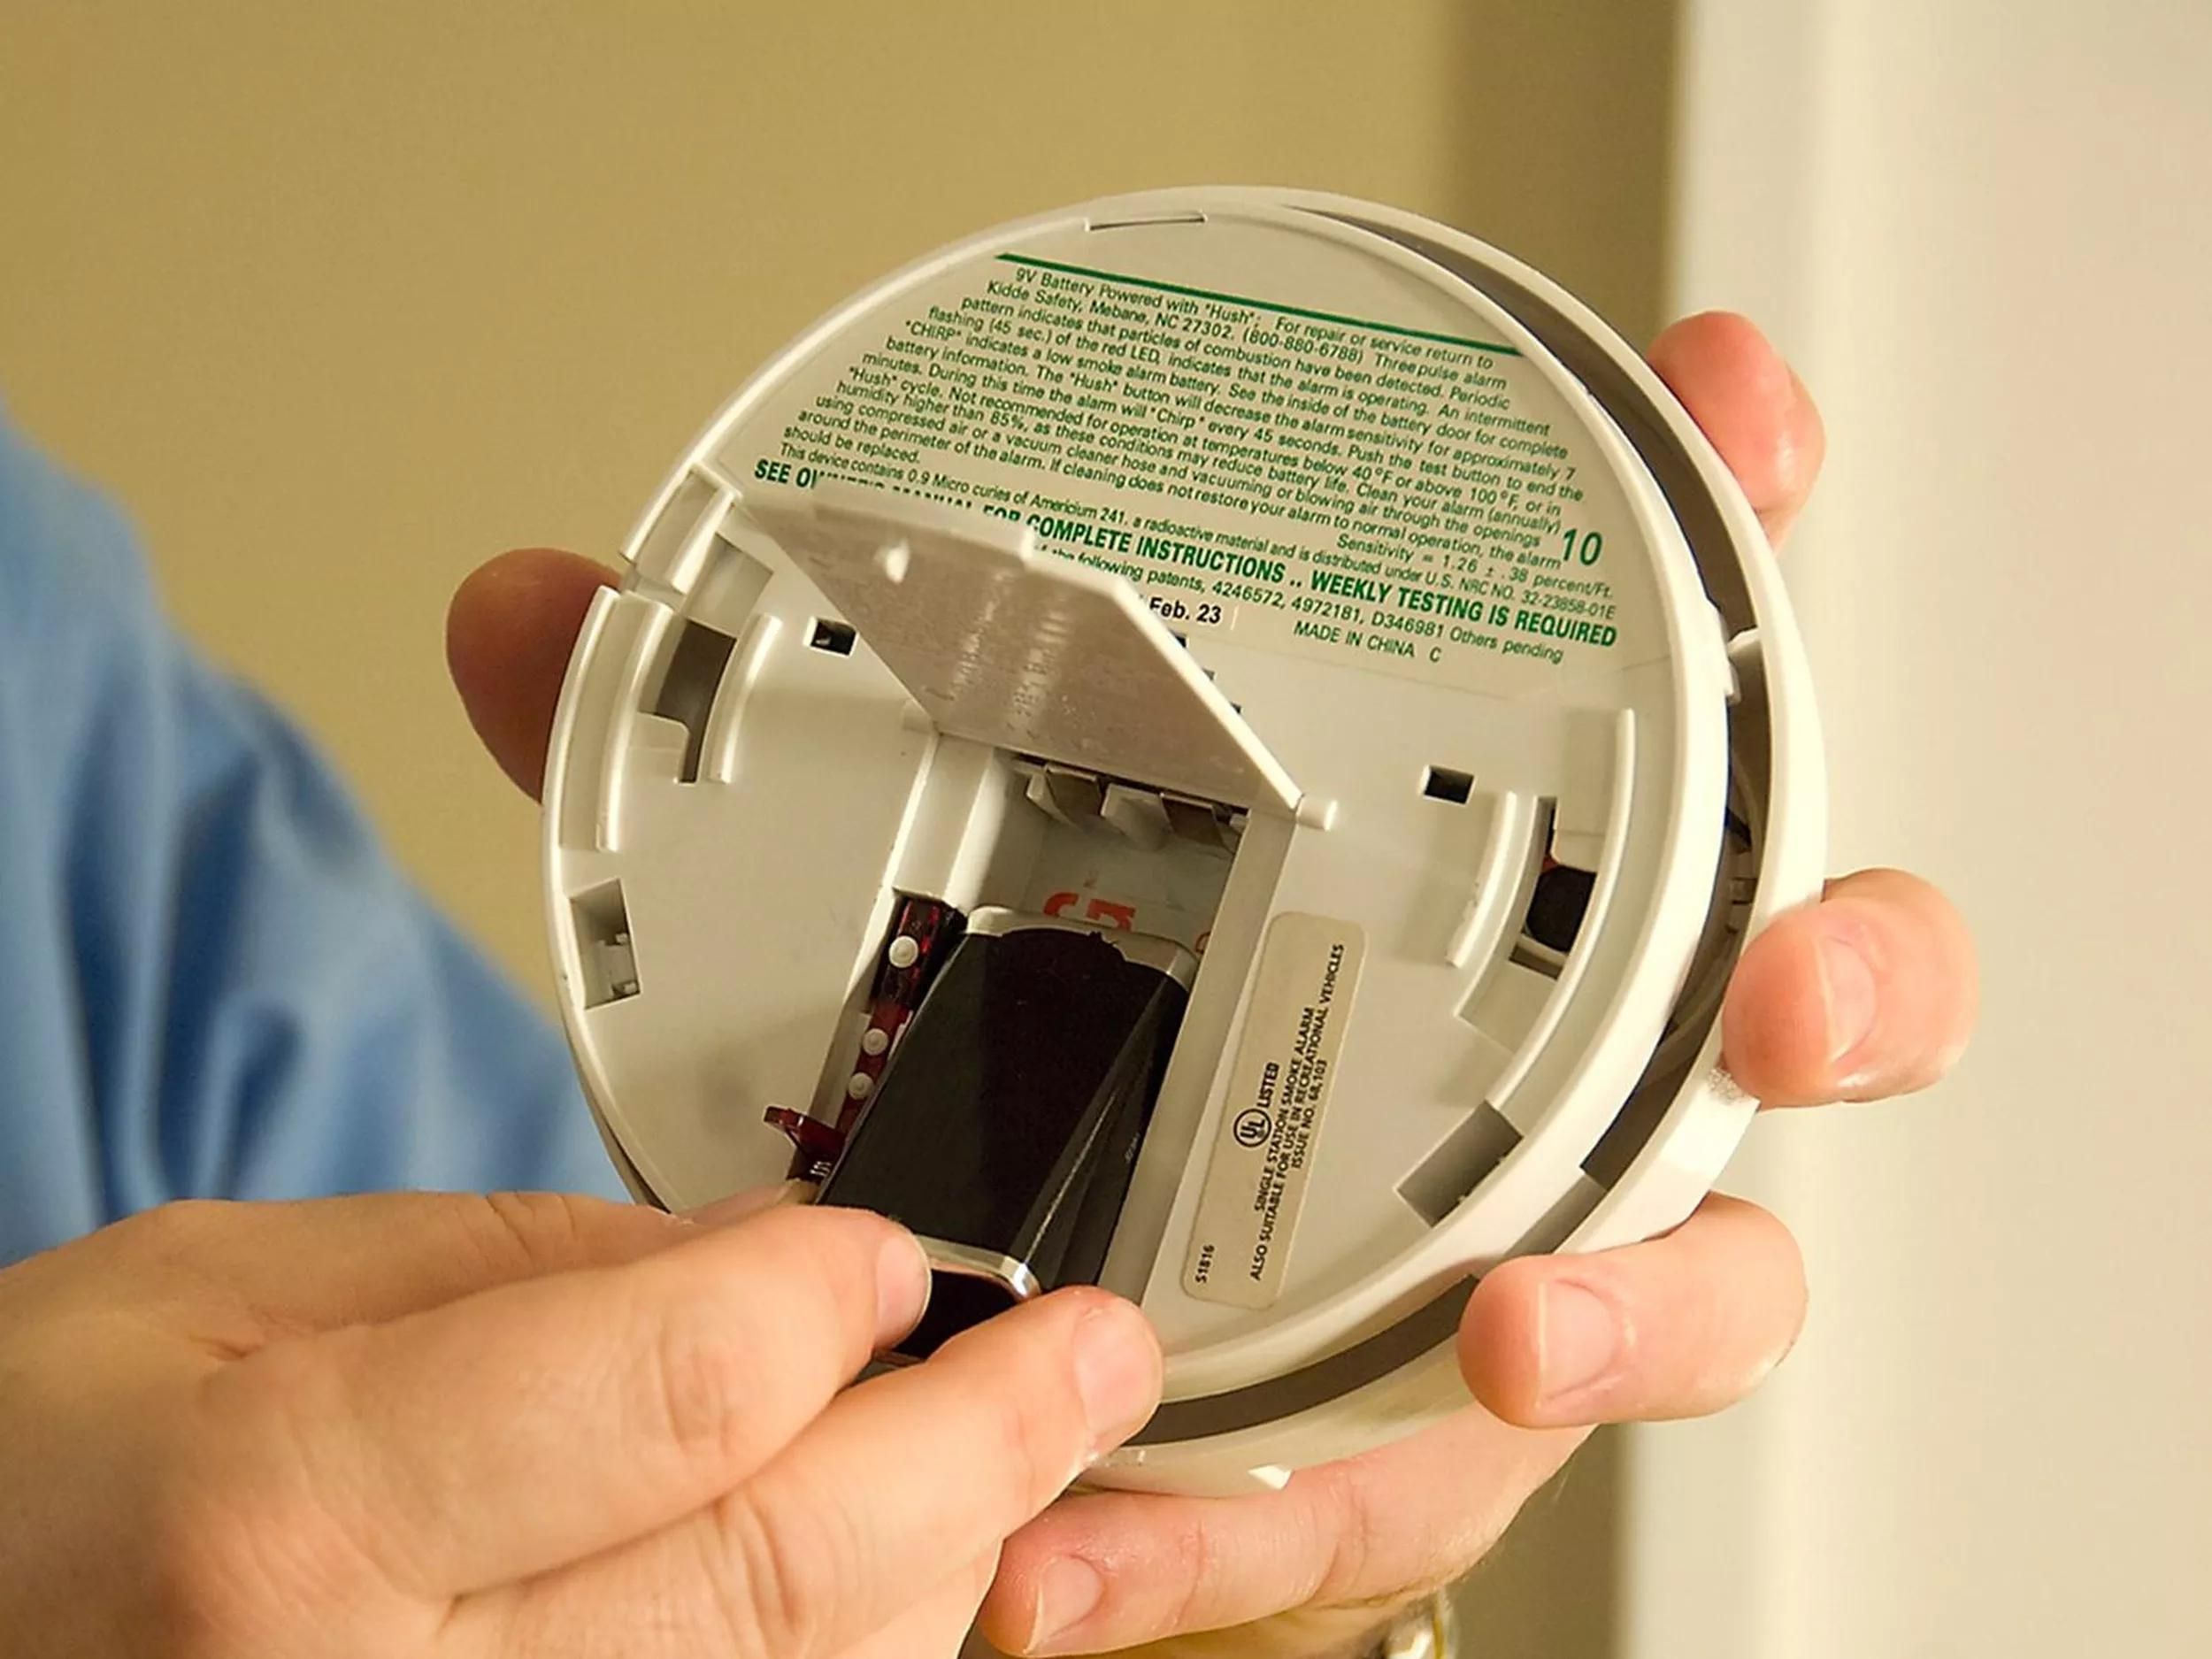
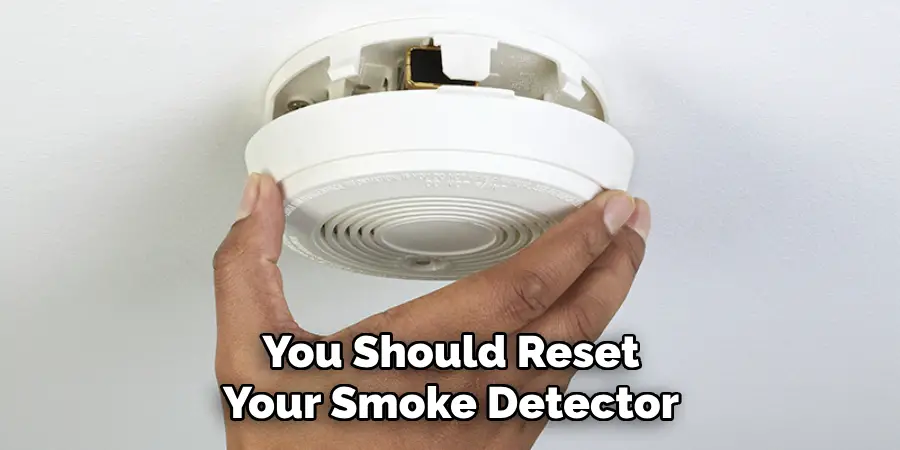
Step 1: Get That Bad Boy Down
First things first, carefully unmount the smoke alarm from its ceiling or wall perch. If it's high up, grab a sturdy step stool or chair. Safety first! We don't want any broken ankles alongside our silent smoke alarms.
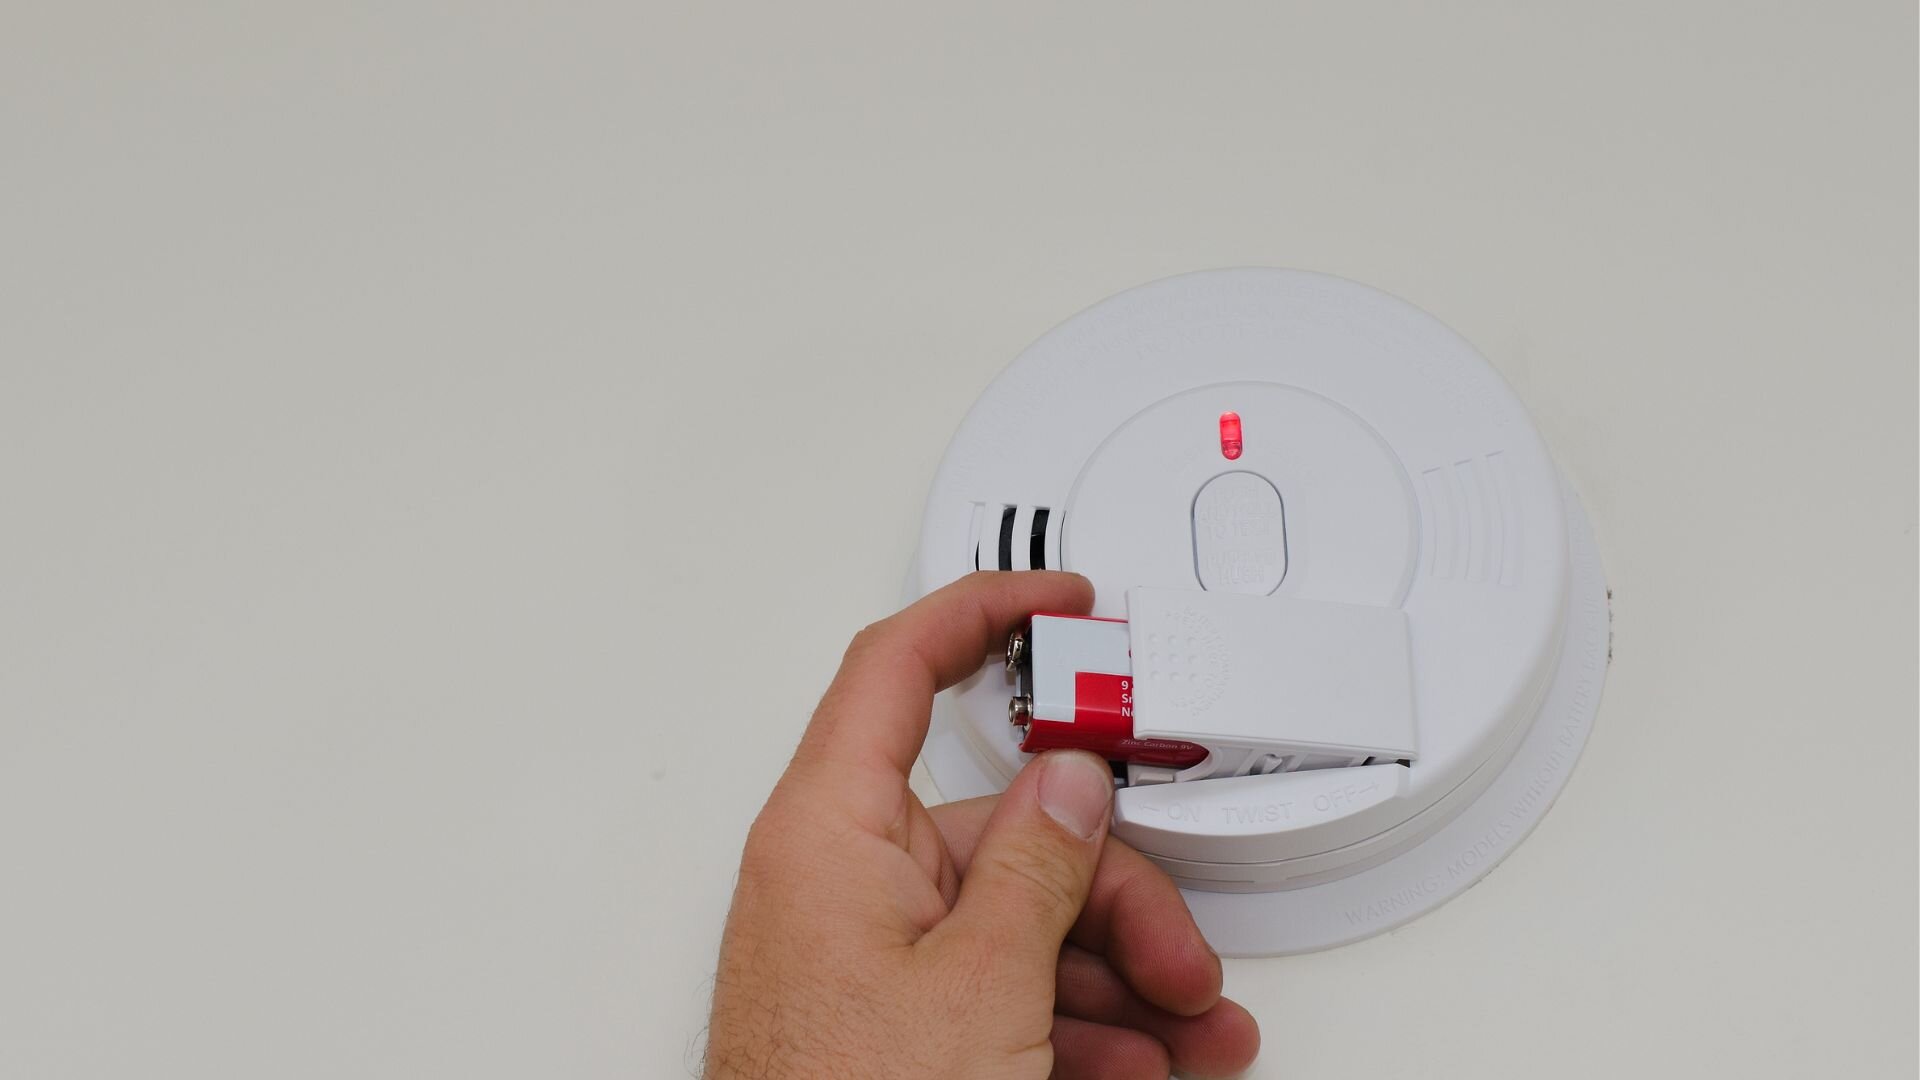
Step 2: The Grand Battery Extraction (Again!)
Even if you just did it, go ahead and remove the battery again. Yes, really. It’s part of the magic. We're going for a full system purge here.
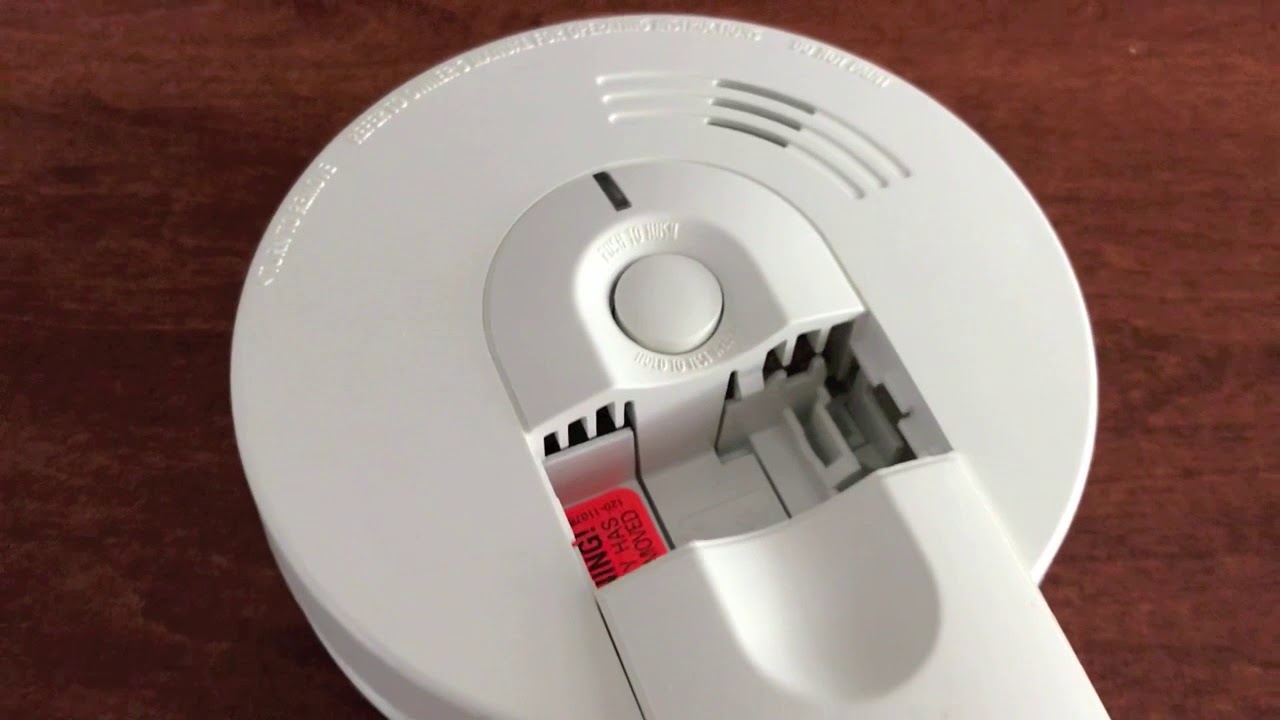
Step 3: The Secret Sauce – Hold That Test Button!
This is where the real trick comes in! With the battery out, find the test button on your smoke alarm. It's usually a prominent button, sometimes labeled "Test." Now, press and hold that test button down for about 15-20 seconds.
What's happening here? You're actively draining any remaining power from those pesky capacitors. Think of it as giving the alarm a good, long sigh and releasing all its tension. You might hear a faint, final chirp as it expels its last bit of energy – consider it a mini "whew!" from your alarm.
Step 4: Introduce the New Power Source
Alright, with all the old energy banished, it's time to reintroduce the hero of our story: your brand-new battery. Pop it in securely, making sure it's facing the right way (positive to positive, negative to negative, you know the drill!).
Step 5: The Moment of Truth – Test It!
Once the new battery is nestled in, give that test button another quick press and release. You should hear a loud, piercing alarm sound for a second or two. This is good! It means the alarm is powered up and ready to go. Don't be shy; a quick test ensures everything is working as it should. (Maybe warn anyone else in the house first, unless you enjoy seeing them jump! 😉)
Step 6: Reinstall and Rejoice!
Carefully reattach your now-silent (and fully functional!) smoke alarm back to its mounting bracket. Give it a gentle twist or push until it's secure. And there you have it!
A Few Bonus Tips for a Happier Home
- Check the Expiration Date: Smoke alarms don't last forever! Most have an expiration date on the back, usually 10 years after the manufacture date. If yours is past its prime, it's time for a full replacement, not just a battery swap.
- Clean It Up: While it's down, give it a quick wipe with a damp cloth or a gentle vacuuming. Dust can sometimes interfere with its sensors.
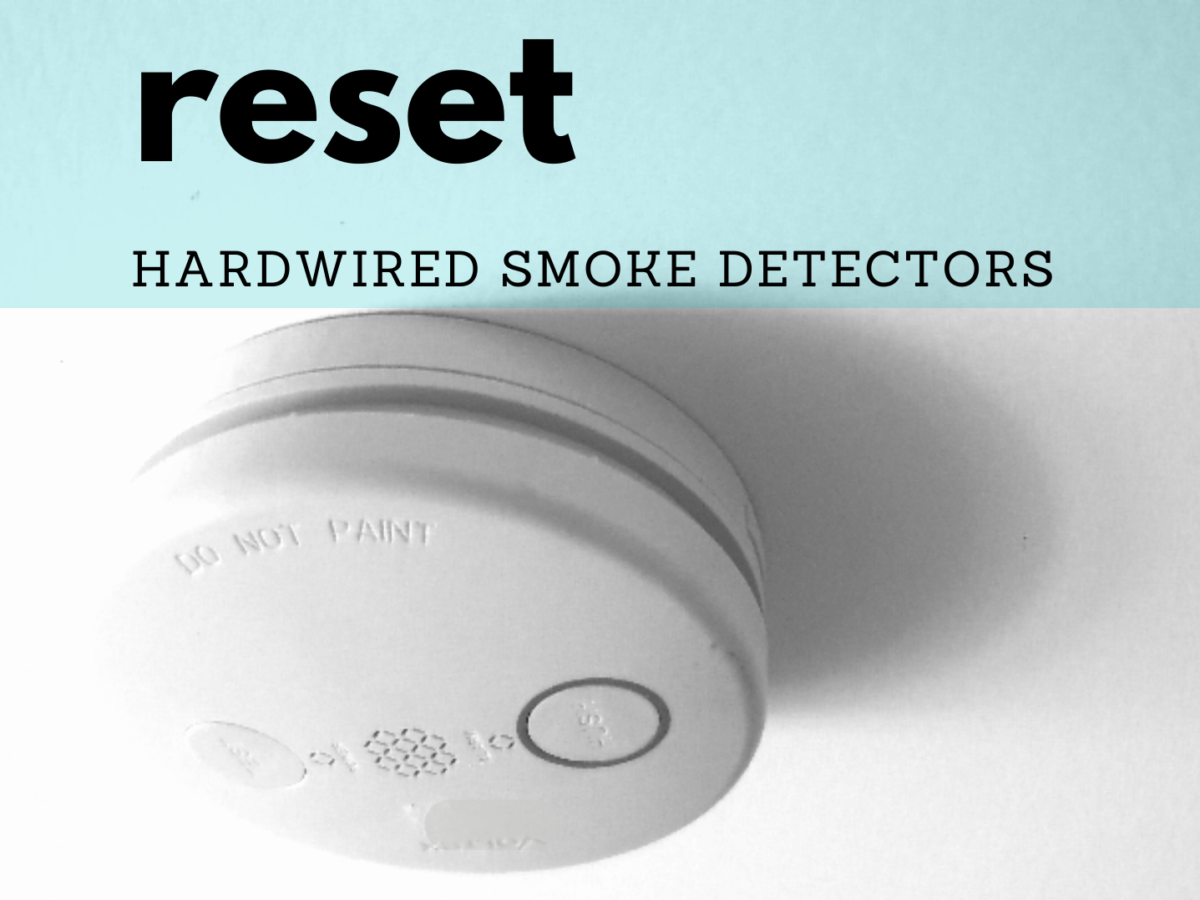
- Know Your Model: Some fancy models might have slightly different reset procedures (rare, but possible!). If in doubt, a quick peek at the manual (or a speedy Google search for your specific model) can save the day.
And just like that, you've conquered the rogue chirp, restored peace to your abode, and ensured your home is safer. You're not just changing batteries; you're maintaining a vital piece of safety equipment, keeping your loved ones (and your sleep schedule) protected.
So, next time that little red light starts blinking a low-battery warning, you'll tackle it with confidence, knowing exactly how to silence the beast and bring harmony back to your home. You're a true champion, a domestic wizard, and frankly, you deserve a cookie (or maybe a full night's undisturbed sleep!). Sweet dreams, my friend, sweet dreams!