How To Wire A Garage Door Opener Without Sensors
Ever gazed at the inner workings of something and thought, "I bet I could figure that out?" Well, when it comes to garage door openers, understanding the basics of how they connect to power and control can be a surprisingly satisfying deep dive! We’re not talking about bypassing modern safety features, mind you – those are crucial for your main household door. Instead, this is about appreciating the straightforward electrical connections often found in older models or perhaps for a simple utility door in a shed or detached workshop where modern safety sensors were never part of the original design. It’s a fantastic way to demystify everyday household tech, save a few bucks, and get that wonderful feeling of accomplishment that only a successful DIY project can bring.
So, who benefits from knowing a thing or two about wiring up a basic garage door opener? For beginners, it's an excellent entry point into understanding simple home electrical circuits. It’s a contained project that can build confidence without being overly complicated. For families with older properties or outbuildings, knowing how to connect an older, sensor-less unit can be incredibly useful for replacing a faulty one without needing a professional. Think about that old, detached garage door or a shed where you just need basic open/close functionality. Hobbyists and tinkerers will love the hands-on aspect, getting to connect wires, understand the power flow, and bring a functional piece of equipment to life. It’s about practicality, learning, and the joy of making things work.
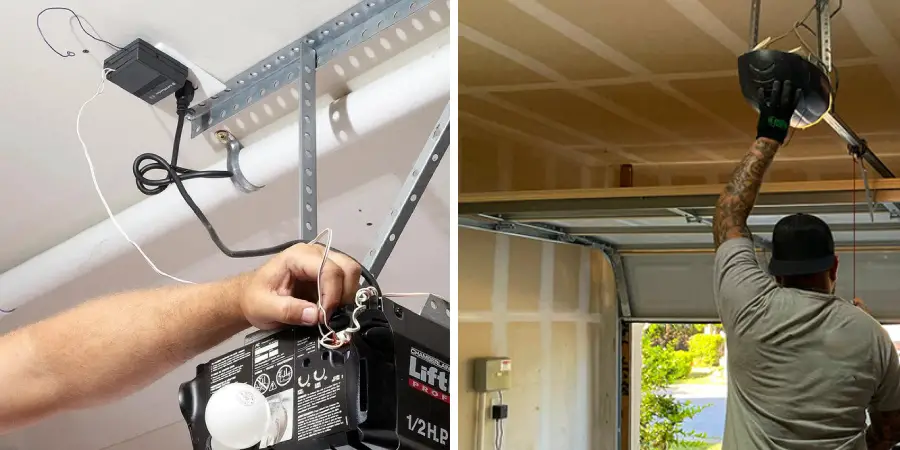
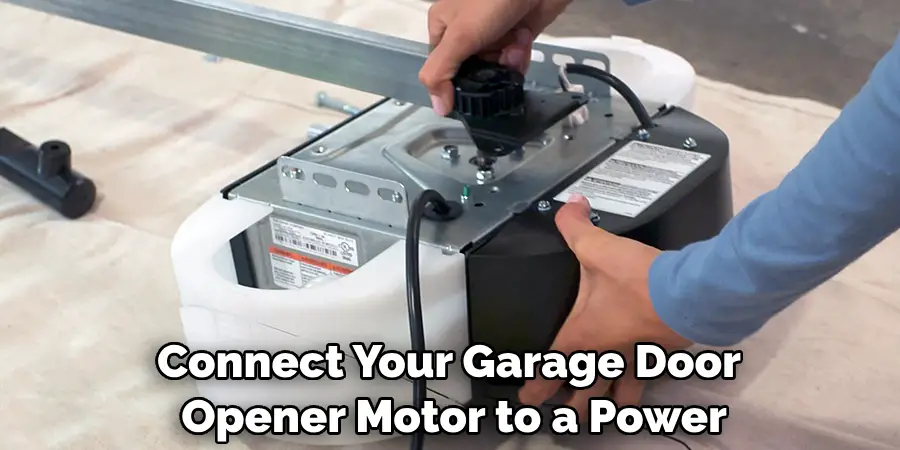
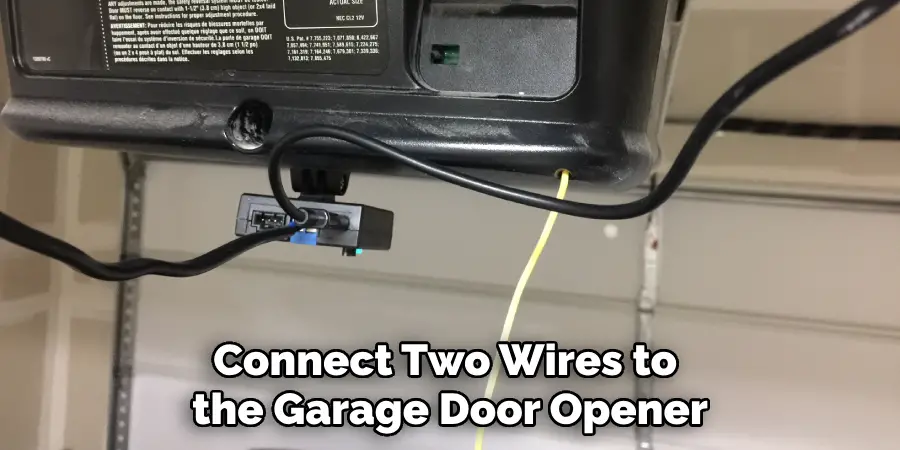
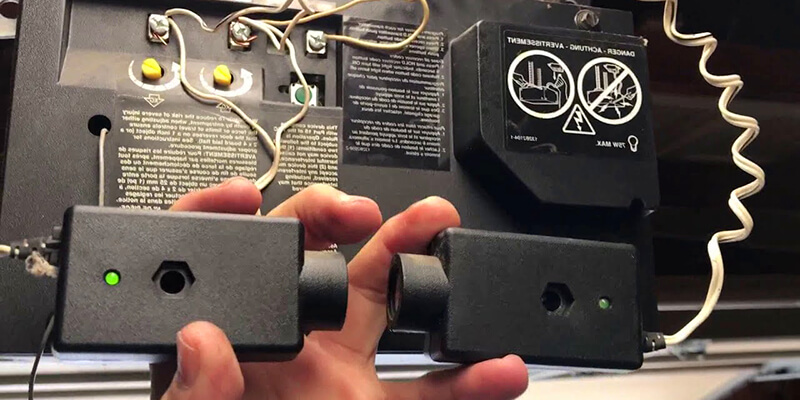
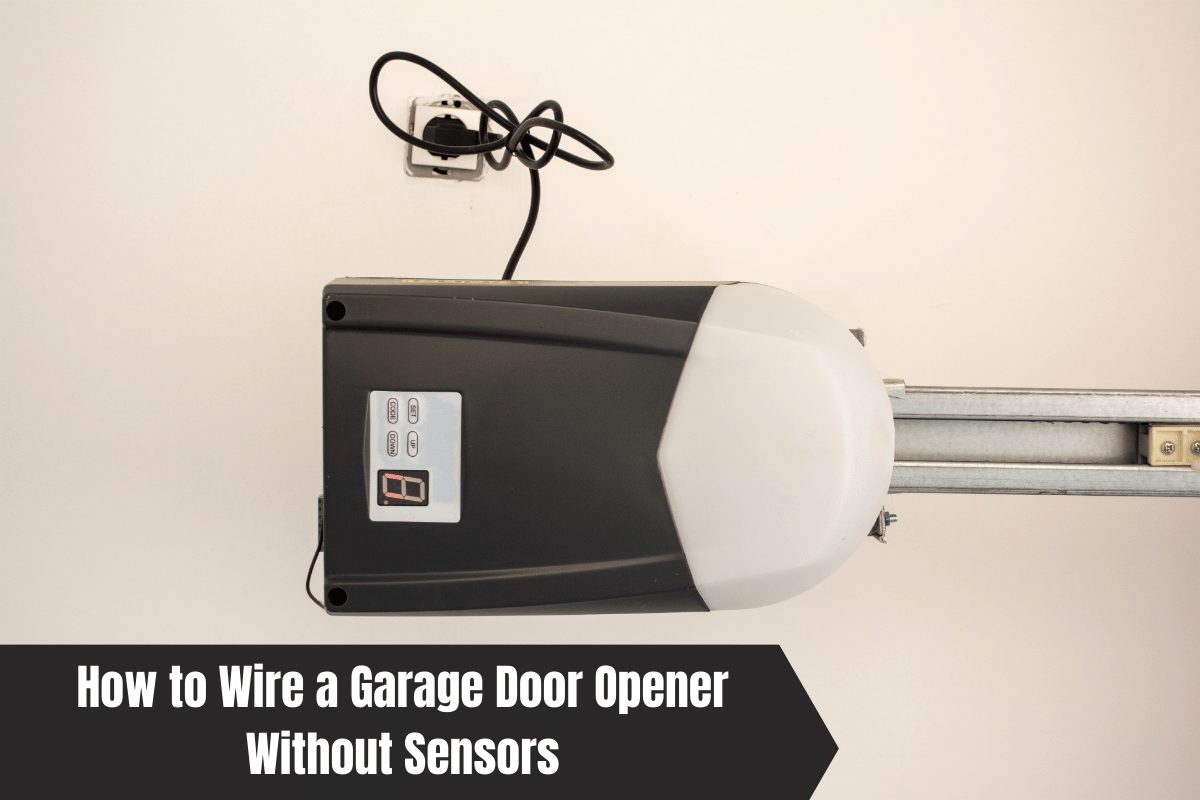
When we talk about "wiring" an opener in this context, we’re generally focusing on two main connections. First, there’s the power supply – essentially, plugging the unit into an outlet or, in some cases, hardwiring it to a junction box. This is where the opener gets its juice. Second, and equally important, is the control wiring for the wall-mounted button. This typically involves connecting a couple of low-voltage wires from the opener to the button itself, completing a circuit that tells the motor to activate. Older units might also have simple connections for an antenna wire for remotes. It’s a stark contrast to modern systems which have intricate sensor circuits, smart home integrations, and battery backups – highlighting just how much simpler the core function can be!
Must Read
Ready to get started on understanding these fundamental connections? Here are some simple, practical tips. First and foremost: safety is paramount. Always, and we mean always, disconnect power to the outlet or circuit you’re working on. Use a voltage tester to double-check! Next, try to locate the unit’s instruction manual online if you don't have a physical copy; even for older models, they often contain invaluable wiring diagrams. Identify the main power input and the terminals for the wall button. You’ll usually need basic tools like a screwdriver and perhaps some wire strippers. When making connections, ensure they are snug and secure to prevent arcing or loose contacts. Once everything is connected, stand clear, restore power, and test the operation carefully. Remember, for any door, especially one without modern safety features, always be present and observe its full movement when operating.
In conclusion, diving into the wiring of a basic garage door opener isn't just about saving money; it’s about gaining a deeper understanding of the mechanics behind everyday conveniences. It’s a hands-on project that offers a tangible reward and a real sense of achievement. So go on, embrace your inner DIY enthusiast – with caution and a multimeter in hand – and enjoy the satisfaction of knowing you’ve wired it yourself!
For an old, sensor-less unit, this means understanding the basic electrical connections to get it working. We are absolutely not advocating for disabling safety sensors on modern residential garage doors – those are life-saving devices! Instead, think of this as learning the fundamental power and control wiring for an older, simpler system that predates those requirements, or for a specific application like a shed or workshop door where the risk profile is different and human supervision is constant.