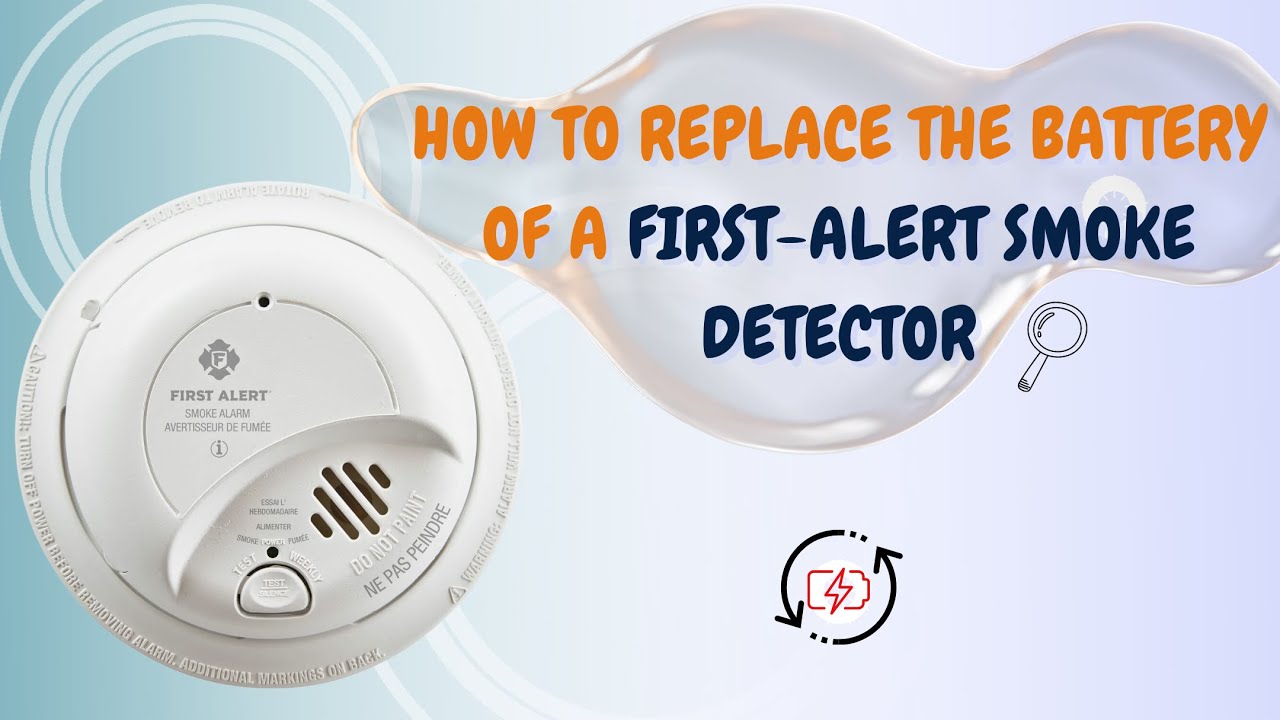
How To Replace Smoke Detector Battery

Ah, the infamous chirp. You know the one. It starts subtly, a tiny, insistent peep from somewhere up high, usually in the dead of night. It's not quite a full alarm, more like a gentle, rhythmic tap on your mental shoulder. What is it, you ask? It's your smoke detector, my friend, and it's trying to tell you something important: "Hey, I'm running low on juice!"
Now, before you groan and reach for a pillow to muffle the sound, let's flip the script. Instead of an annoying chore, what if we saw this as a moment of curiosity and connection with your home? What if replacing a smoke detector battery was actually... kind of cool?
Why the Chirp is Actually Genius (and Not Annoying)
Think about it: your smoke detector is a silent guardian, diligently standing watch 24/7. It's like a tiny, ever-vigilant superhero perched on your ceiling. And when its power source starts to wane, does it just give up and quit? No! It sends out a little distress signal. That chirp isn't just noise; it's a communication.
Must Read
It's telling you, "My internal power is getting low, and I want to make sure I'm still ready to protect you should the unthinkable happen." How considerate is that? It's like your car giving you a low fuel warning before you're stranded. Pretty smart, right? It's giving you an early warning about itself, so it can continue giving you early warning about fire. That's a fantastic design feature, if you ask me!
Your Moment of Home Heroism
Replacing that battery isn't just a maintenance task; it's an act of empowerment. You're not just silencing a chirp; you're actively ensuring the safety net for your loved ones. You're becoming the guardian's guardian! And here’s the best part: it’s surprisingly simple. No advanced degrees or complicated tools required. Just a few easy steps, and you're a home maintenance wizard.
Ready to embark on this thrilling (and slightly elevated) adventure?
The Chill Guide to Battery Swapping
Step 1: Gather Your Tools (The Minimalist Edition)
You'll need two things: a fresh battery (usually a 9-volt, the rectangular one with two terminals, but check your detector to be sure!) and potentially a sturdy step stool or small ladder. Think of the new battery as a healthy snack for your detector, and the step stool as your mini launchpad to greatness.
Pro tip: Keep a couple of spare 9-volt batteries in a drawer. Future you will thank present you profusely!

Step 2: Identify the Chirper (The Detective Work)
Locate the specific smoke detector that's chirping. Sometimes it's obvious, other times it feels like a ghostly sound traveling through walls. Stand still, listen intently, and point. You'll find your culprit!
Step 3: The Gentle Approach (No Brute Force Needed)
Most smoke detectors have a base that twists off or a small tab you press to release the main unit. Gently twist the detector counter-clockwise (like opening a jar) or look for a button or latch. It should pop open or release with minimal effort. Remember, we're being gentle, not wrestling a wild animal.
Step 4: The Battery Swap (The Heart Transplant)
Inside, you'll see the old battery. Take a moment to observe how it's connected. Usually, there's a small clip. Disconnect the old battery – it might be a little snug, but don't force it. Think of it like unplugging a tiny, very important gadget.

Now, grab your fresh battery. Connect it to the clip, ensuring the positive (+) and negative (-) terminals match up. You might hear a quick, loud beep as it powers up – don't worry, that's just your detector saying, "Ah, sweet relief! Power!"
Step 5: The Test Run (The Victory Lap)
Before you seal everything back up, press the "Test" button on your smoke detector. This is crucial! You should hear a loud, piercing alarm. This is its way of saying, "I'm back in business and ready for action!" It might be startling, but it's music to your ears.
If it shrieks loudly, you've done it! If it doesn't, double-check your battery connection. Still no luck? Time to consider a new detector, but usually, a fresh battery does the trick.

Step 6: Reassemble and Relax (Mission Accomplished!)
Gently reattach the smoke detector to its base, twisting it clockwise until it clicks securely into place. Step down from your stool, survey your handiwork, and enjoy the glorious silence. You've done it!
A Small Act, A Big Impact
See? That wasn't so bad, was it? You just performed a vital act of home maintenance, ensured your family's safety, and probably learned a little something cool about your tiny ceiling guardian along the way. It's a reminder that sometimes, the most important tasks are also the most straightforward.
So next time you hear that gentle chirp, don't sigh. Instead, approach it with a sense of curiosity and competence. You're not just replacing a battery; you're making your home a safer, smarter place. And that, my friend, is a pretty cool thing to do.