How To Maintain Aloe Vera Plant
Hey plant parent wannabes! Ever thought about getting an Aloe Vera plant? Trust me, it's easier than keeping your New Year's resolutions. Let's dive into the quirky world of Aloe care. Prepare for some seriously fun plant talk!
Getting Started: The Aloe Lowdown
First, Aloe Vera isn’t just a pretty face. It’s like having a tiny, spiky doctor on your windowsill. Burns? Scrapes? Aloe’s got your back (or, well, your skin).
But before you start slathering its goo all over yourself, let’s make sure your Aloe is happy. A happy Aloe is a generous Aloe, after all!
Must Read
Location, Location, Location!
Think of your Aloe as a sunbather. It loves bright, indirect light. A south-facing window is ideal, but east or west works too. Just don’t stick it in a dark corner; it'll get sad. And nobody wants a sad Aloe.
Too much direct sunlight? Uh oh! Your Aloe might get sunburned. Yes, plants can get sunburned! Look for brown spots. If you see them, move your Aloe to a shadier spot ASAP.
Watering Wisdom: Don't Drown Your Friend
This is crucial: Aloe Vera hates being overwatered. It's a desert dweller, remember? Think camels, not swimming pools.

Water deeply but infrequently. Let the soil dry out completely between waterings. Stick your finger in the soil. If it feels dry an inch or two down, it's watering time.
During the winter, you can water even less. Aloe goes into a semi-dormant state. It's basically taking a plant nap. Don't wake it up with too much water!
Signs of overwatering? Mushy leaves, drooping, and a general sense of unhappiness. Underwatering? Shriveled, dry leaves. Aim for the sweet spot!
Soil Matters: It’s All About Drainage
Aloe needs well-draining soil. Think cactus mix or succulent mix. You can even make your own by mixing regular potting soil with perlite and coarse sand. This is important for preventing root rot, the bane of Aloe existence.

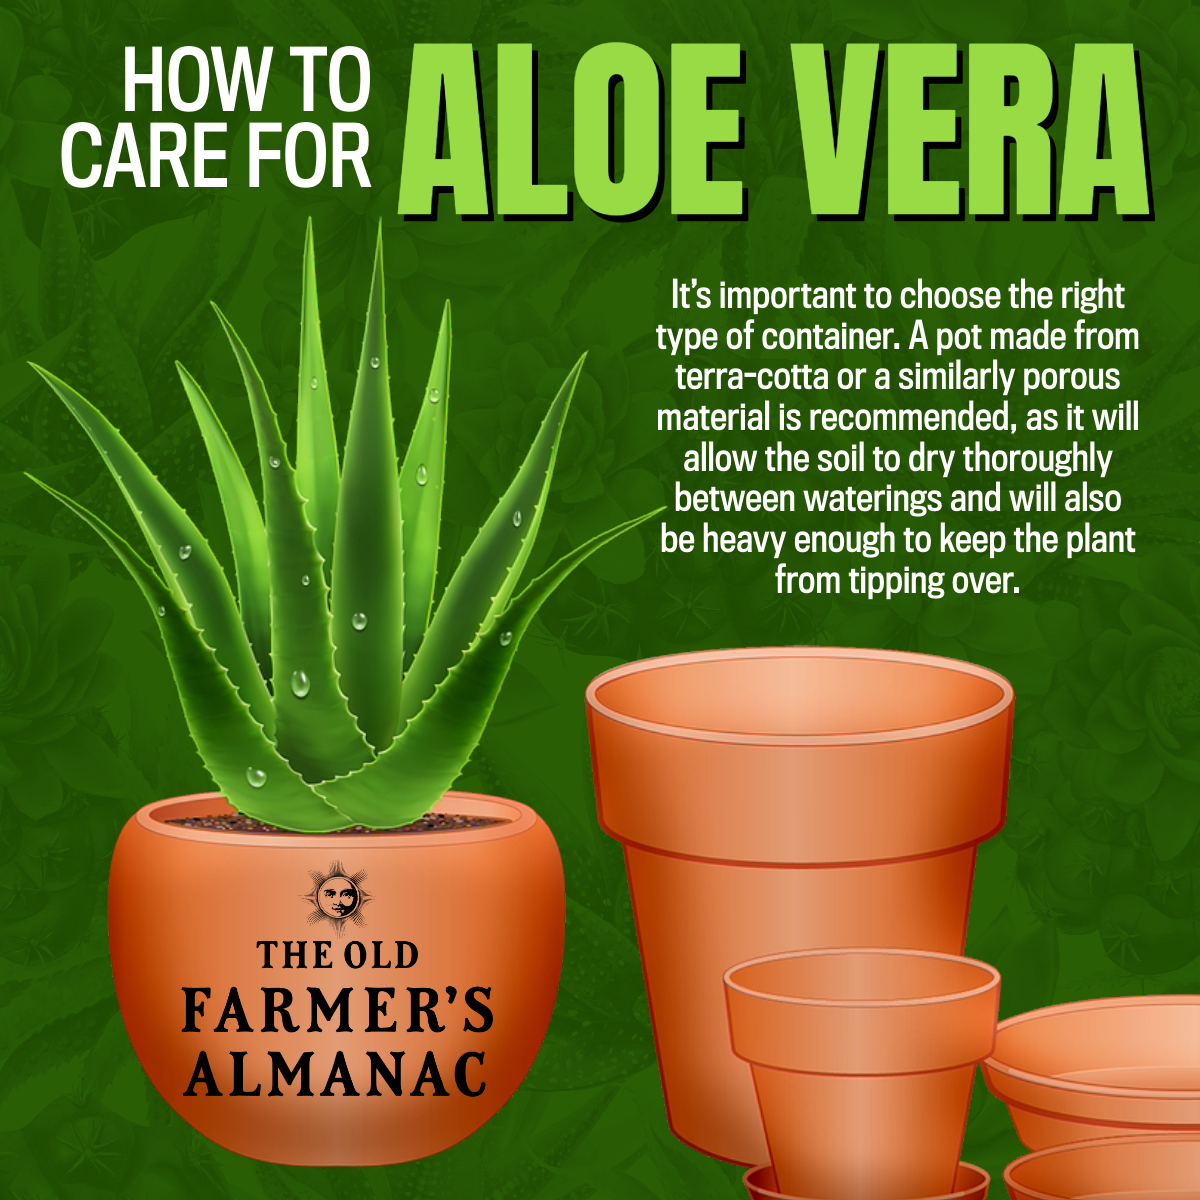
Choose a pot with drainage holes. This is non-negotiable. Seriously. Drainage holes are your Aloe’s best friend. Without them, the roots will sit in water and rot. Gross!
Potting Party: Give Your Aloe Some Space
Repotting? Usually, every one to two years is fine. Choose a pot that’s only slightly larger than the current one. Don't go overboard! A huge pot holds too much moisture.
Spring or early summer is the best time to repot. It’s like giving your Aloe a fresh start for the growing season.
Fertilizing Fun: A Little Snack Never Hurts
Aloe doesn’t need a ton of fertilizer. A light feeding in the spring and summer is plenty. Use a balanced liquid fertilizer diluted to half strength.

But really, don't overdo it. Over-fertilizing can harm your Aloe. Think of it as a little treat, not a full-course meal.
Dealing with Pests: Bug Off!
Thankfully, Aloe Vera is pretty resistant to pests. But sometimes, mealybugs or scale can show up. Yuck!
If you see these little critters, gently wipe them off with a cotton swab dipped in rubbing alcohol. Repeat as needed until they're gone. It’s like a mini bug spa treatment (for the plant, not the bugs).
Propagating Power: Make More Aloe Babies!
Want more Aloe plants? Propagating is surprisingly easy! Look for "pups" or offsets growing around the base of the mother plant. These are basically baby Aloe plants.

Gently separate the pups from the mother plant. Make sure they have some roots. Plant them in their own pots with well-draining soil. Voilà! You're a plant parent extraordinaire!
The Final Sprout: Aloe-mazing!
So there you have it: the lowdown on Aloe Vera care. It's not rocket science, but it does require a little TLC. Follow these tips, and you'll have a happy, healthy Aloe plant that's ready to soothe your sunburns and impress your friends.
Now go forth and conquer the world of Aloe! You've got this! And remember, even if you mess up, plants are pretty forgiving. Just learn from your mistakes and keep on growing!
Happy planting!