How To Remove Honeywell Pro Series Thermostat
Hey there, fellow home adventurer! So, you’ve decided it’s time to bid farewell to your trusty (or maybe not-so-trusty anymore) Honeywell Pro Series thermostat. Perhaps you’re upgrading to something smarter, or maybe it’s just seen better days. Whatever your reason, you’re in for a treat because removing one of these bad boys is way less intimidating than it sounds. Think of it like breaking up with a toaster – a little sad, but ultimately for the greater good of your toast (or, in this case, your home comfort!).
No need to call in the cavalry (or an expensive HVAC tech) for this one. With a few simple steps, you’ll have that old thermostat off the wall faster than you can say “perfectly regulated indoor temperature.” Let’s dive in, shall we?
Step 1: Power Down, Buttercup!
This is arguably the most important step, and honestly, the one that prevents you from having an impromptu, electrifying dance party. You absolutely, positively, must turn off the power to your HVAC system before you start tinkering. Head to your electrical panel, usually in the basement, garage, or a utility closet. Look for the breaker labeled for your furnace, air handler, or simply “HVAC” or “Thermostat.”
Must Read
Flip that switch to the OFF position. Seriously. Don't skip this. We want to avoid any accidental zaps or, worse, damaging your system. Think of it as putting your thermostat to sleep before you gently nudge it off the wall. Better safe than sorry, right? Plus, it’s a great excuse to finally figure out which breaker is which. You're basically becoming a home electrical detective!
Step 2: Gather Your Trusty Sidekicks (Tools)
Good news! You won't need an elaborate toolbox worthy of a professional astronaut. For this mission, you’ll likely only need one or two humble heroes:
- A Phillips-head screwdriver (the one with the cross shape) is usually all you'll need.
- Sometimes, a small flathead screwdriver can be helpful for gently prying things or releasing wires, but it's often optional.
- And, super important: your smartphone camera! More on that in a sec.
See? Told you it was easy. You probably already have these lurking in a drawer somewhere, waiting for their moment to shine.
Step 3: The Great Faceplate Reveal
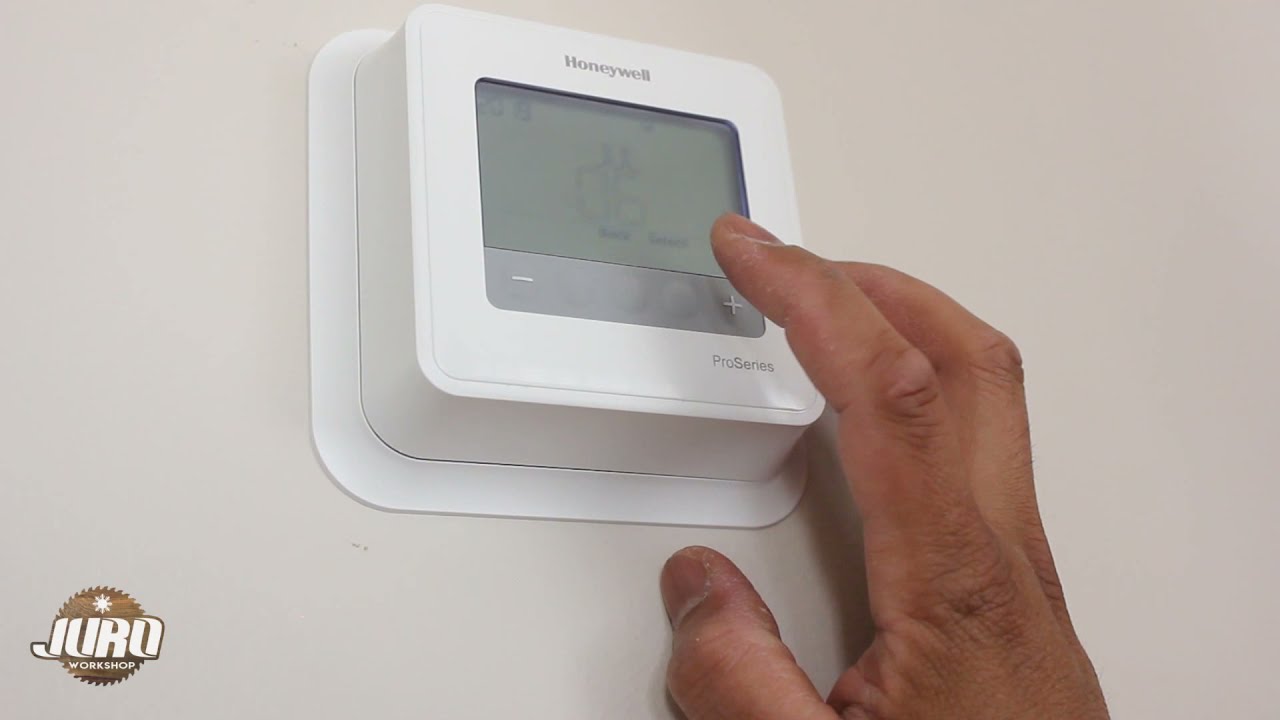
Now for the fun part! Most Honeywell Pro Series thermostats have a faceplate that simply snaps off the backplate, which is the part actually screwed to your wall. Look for little notches or a seam around the edge. You might need to gently pull from the bottom or top, or sometimes there’s a small release tab at the bottom that you push in.

Go easy, and don't yank it like you're trying to win a tug-of-war. A gentle but firm pull is usually all it takes. Once the faceplate pops off, you’ll see the internal wiring and the backplate still attached to the wall. Tada! You've just exposed its inner workings. It's like opening a secret treasure chest, but instead of gold, you get... wires!
Step 4: The Wire Disconnect Dance (with Labels!)
Okay, this is where your smartphone camera becomes your best friend. Before you touch a single wire, take a picture! Or two! Or five! Get a clear shot of how all the wires are connected to their respective terminals. Trust me, your future self (or the person installing the new thermostat) will send you a mental high-five for this.
Each wire will be connected to a terminal, usually labeled with letters like R, C, G, Y, W, etc. These letters tell your thermostat what to do (call for heat, turn on the fan, etc.). You’ll usually see little screws holding the wires in place. Use your screwdriver to gently loosen each screw and pull the wire out.
Pro Tip: If you're super keen, you can even buy a pack of small adhesive labels and label each wire as you remove it. "R for 'Really important!'" or "G for 'Goes here!'" – whatever helps you remember. This way, there's absolutely zero guesswork later. Avoid letting the exposed wire ends touch each other or the wall, just in case a rogue electron decides to wander. (Even though the power is off, old habits die hard, right?)
Step 5: The Backplate's Last Stand
With all the wires disconnected and safely tucked away (or labeled, you superstar!), the only thing left is the backplate itself. You'll typically see two to four screws holding it flush against the wall. Use your Phillips-head screwdriver to unscrew these fasteners.

Once the screws are out, the backplate will simply lift away from the wall. And just like that, you've done it! You’ve successfully removed your Honeywell Pro Series thermostat! Give yourself a pat on the back. You're practically an HVAC wizard now.
What's Next?
Now you've got a little hole in your wall (and maybe some wire confetti). This is the perfect blank canvas for your new, snazzier thermostat, or if you're just removing it for a repair, you now have access to what you need. Don't forget to turn the power back on to your HVAC system at the electrical panel once you're completely done with whatever your next step is!
See? That wasn’t so bad, was it? You faced the thermostat, you conquered the thermostat, and now you’re ready for whatever home comfort adventure comes next. Go forth and enjoy your perfectly controlled climate, knowing you’ve got the skills to make your home truly yours. You’re awesome, and your home is going to be so much happier (and probably smarter) because of you!