How To Change Nest Thermostat Battery
Ever found yourself marveling at the sheer genius of your Nest Thermostat? It's like having a tiny, climate-controlling wizard living on your wall, effortlessly adjusting temperatures to keep you cozy or cool, and even saving you energy without you lifting a finger. It learns your habits, connects to your phone, and generally makes life feel a little bit more, well, smart. But even wizards need a power-up now and then, and your Nest is no exception!
That's right, we're talking about the Nest Thermostat's battery. While your Nest is usually powered by your home's HVAC system, it also contains a rechargeable internal battery. This battery keeps the brains ticking when the main power fluctuates, or if your system isn't providing a consistent charge (which can happen, especially if you don't have a C-wire). When this little workhorse runs low, your smart thermostat can start acting a little less-than-smart: flickering screen, Wi-Fi disconnects, or even going completely blank. Don't panic! This isn't a sign of the apocalypse; it's simply your Nest asking for a little TLC.
The purpose of this quick fix? To keep your climate control humming along flawlessly! The benefit? Peace of mind, continued energy savings, and the satisfaction of being a DIY hero. You get to avoid a chilly morning or a sweltering afternoon, prevent those annoying connectivity issues, and skip the hassle (and cost!) of a service call. Plus, it’s surprisingly easy, and empowering, to take charge of your smart home’s needs.
Must Read
So, how do you perform this magical battery refresh? Grab a sturdy chair (you might be looking up for a bit!), and maybe a USB cable if your Nest is truly low on juice. No special tools needed for most models!
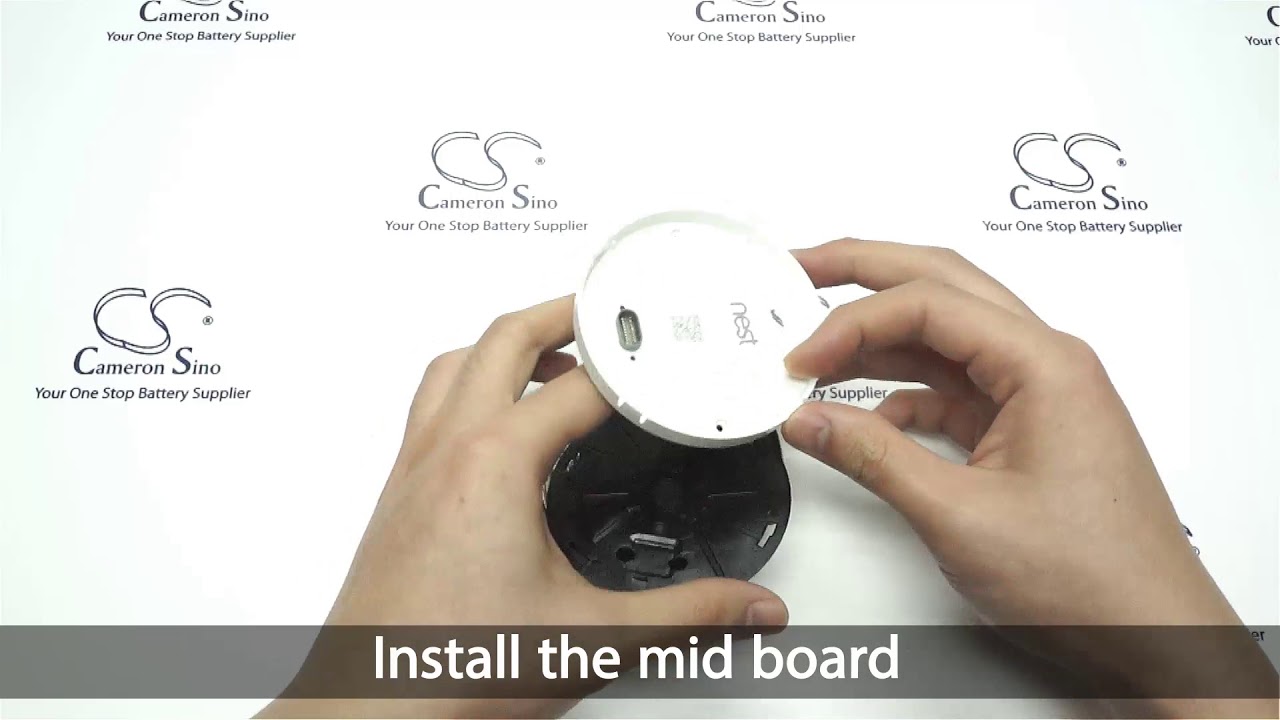
- Give it a Gentle Twist: The display unit of your Nest Thermostat actually detaches from its base. Simply grab the outer ring of the display and gently pull it straight off the wall. Don't twist too hard, just a firm, steady pull. It should pop right off.
- Check for Power Signs: Once detached, you'll see the baseplate still connected to your wall. This is where the magic happens (or doesn't). Check if your Nest has a C-wire connected to its base. A C-wire provides continuous power to your thermostat, helping to keep that internal battery topped up.
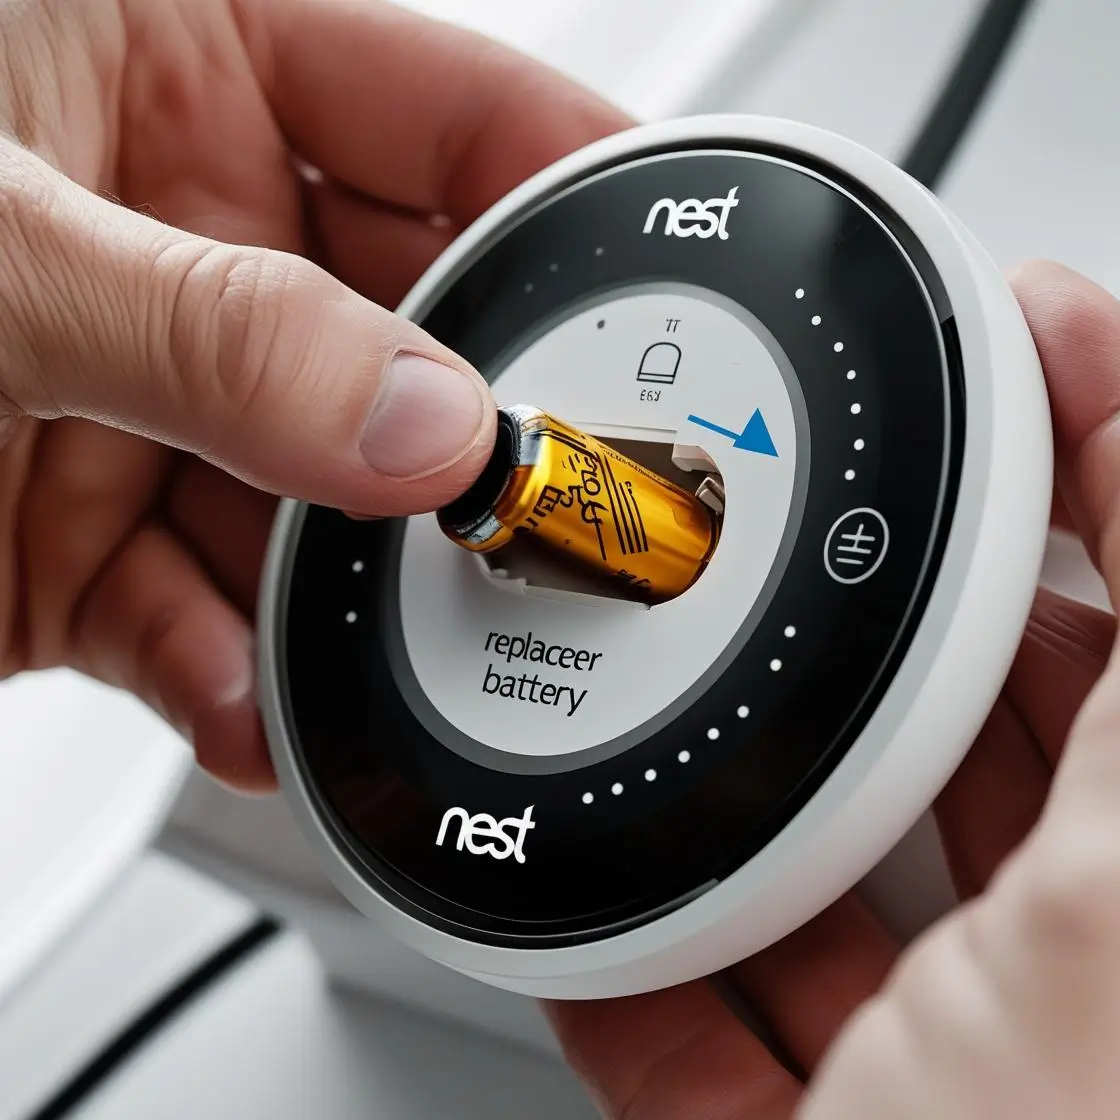
- The USB Boost (If Needed): If your Nest screen was completely blank or showing a very low battery warning, its internal rechargeable battery might need a kickstart. Many Nest models have a micro-USB port on the back of the display unit. Plug it into a standard USB wall adapter (like the one for your phone) for about 30 minutes to give it a good charge. This is often the quickest way to revive a truly drained unit.
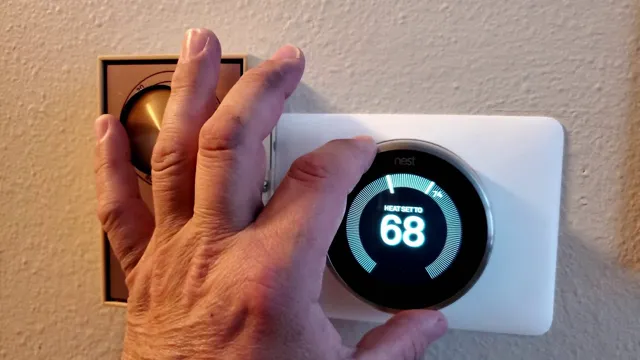
- Reattach and Recharge: Once you've given it a boost or simply checked its connections, carefully align the display unit back onto its baseplate. It should snap into place with a satisfying click. Your Nest should now power back on, and if connected properly, it will resume charging its internal battery from your HVAC system.
- Monitor and Enjoy: Give your Nest a few minutes to boot up and reconnect to your Wi-Fi. You should see its familiar interface and know that your home's climate control is back in expert (and now fully powered!) hands.
And just like that, you've changed your Nest's "battery" by ensuring it gets the power it needs to keep running smoothly. It's a small task that makes a big difference in maintaining the smart comfort of your home. High five, DIY superstar!