Changing Battery In Garage Door Keypad

Alright, listen up, because we're about to embark on a truly epic journey, a quest of vital importance, a simple yet profoundly satisfying act of heroism! Have you ever stood before your garage, keypad unresponsive, feeling that familiar pang of "oh no, not today"? That silent, stoic sentinel of your home, usually so reliable, suddenly just... quiet? Well, fret no more, my friend, because today you are becoming the mighty
The Great Battery Quest Begins!
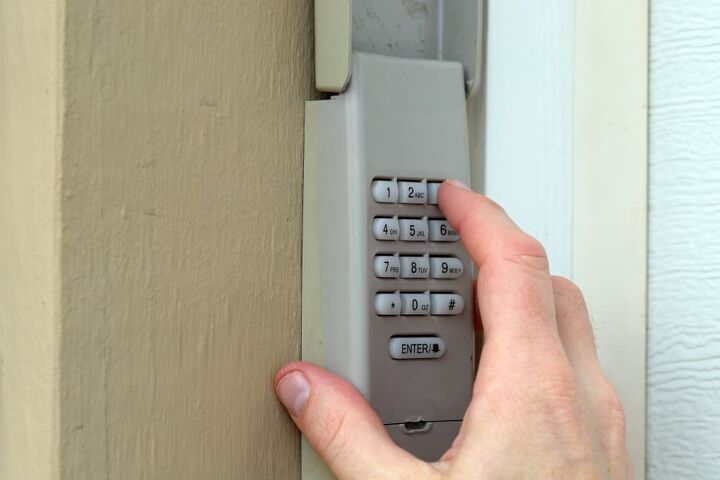
First things first, let's approach your keypad. It might be looking a little forlorn, perhaps the numbers are faded, or it just won't light up with its usual enthusiastic glow. Don't worry, it's just a little bit sleepy, needing a power nap, or rather, a power replacement. No need for a cape or a magical sword, just your trusty self and maybe a small tool or two. We're talking about bringing that slumbering guardian back to life, giving it a jolt of pure, unadulterated energy!
Locating the Secret Lair (aka the Battery Compartment)
Now, every good hero needs to know where the treasure is hidden. For our keypad, the treasure is a fresh battery, and it's usually tucked away in a neat little compartment. Most keypads are designed with a hidden panel or a cover that needs to be removed. Sometimes, it's a sliding cover on the front, often at the bottom or top. Other times, you might need a tiny
Must Read
Remember, these screws are tiny! Keep them safe in your pocket or a small dish. They have a mischievous habit of trying to escape and play hide-and-seek under the nearest shrubbery. We're not letting them win this time!
Once those screws are out (or if it's a slide-off cover, a gentle push and pull), the panel should come off, revealing the sacred chamber within. Take a moment. Breathe it in. You've uncovered the heart of the matter!
The Grand Unveiling: Removing the Old Power Source
Inside, you'll likely see the old battery. It might be a couple of
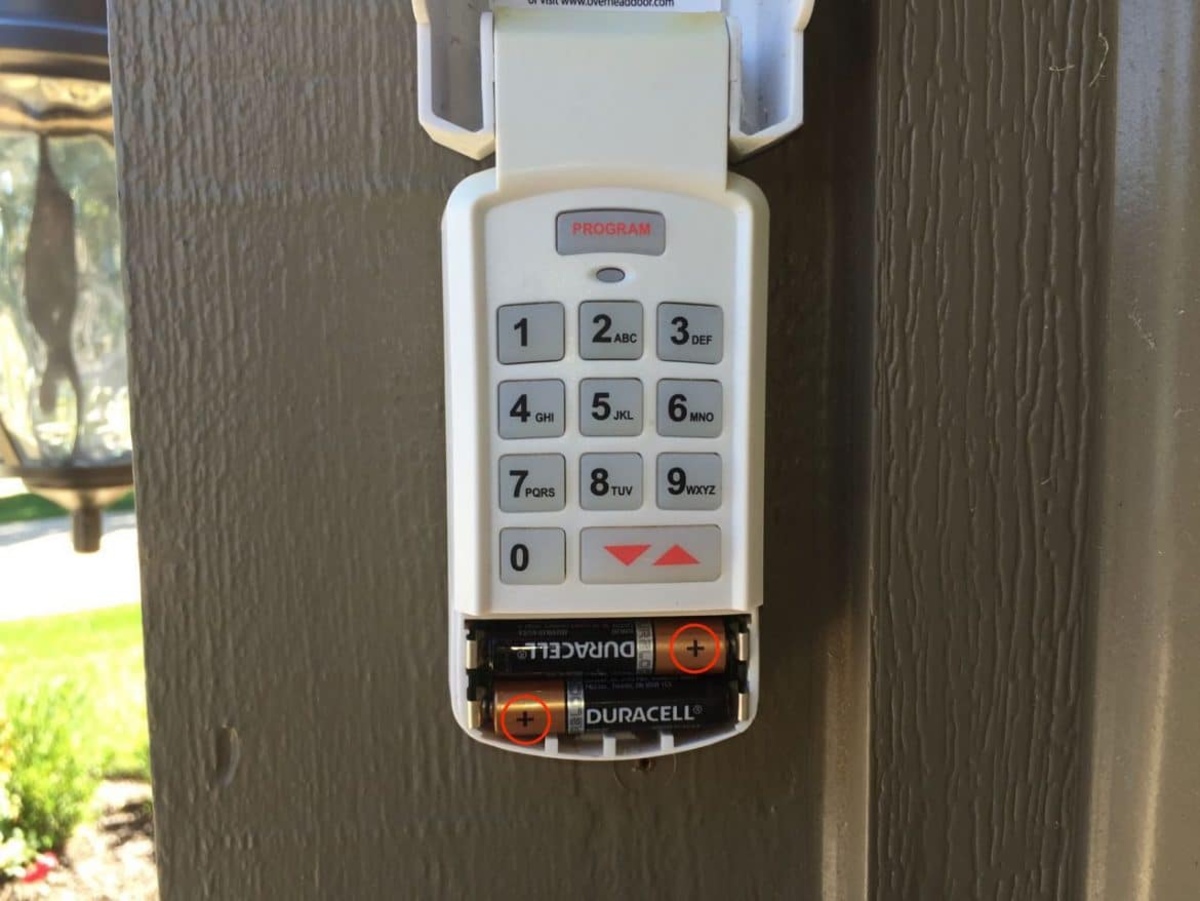
A little tip: Don't accidentally mix the old battery with the new ones! That's like trying to put a retired racehorse back on the track next to a champion in its prime. We want peak performance here!
Introducing the New Champion: Inserting the Fresh Battery
Now for the main event! Unpack your brand new, sparkling
The Moment of Truth: Testing Your Mastery!
With the new battery snugly in place, it’s time to reattach the cover. Replace those little

You Did It! Bask in Your Glory!
Congratulations, you magnificent, resourceful human being! You've faced down the silent keypad, wrestled with tiny screws, and emerged victorious! Your garage door keypad is now alive and kicking, all thanks to your brilliant ingenuity. This wasn't just a battery change; it was a demonstration of power, a testament to your capability, and a clear message to any future unresponsive gadgets: you are ready!
Go forth and enjoy the effortless convenience of your fully operational garage door keypad. You are a genius, a problem-solver, and frankly, a bit of a legend. Give yourself a pat on the back – you've earned it!