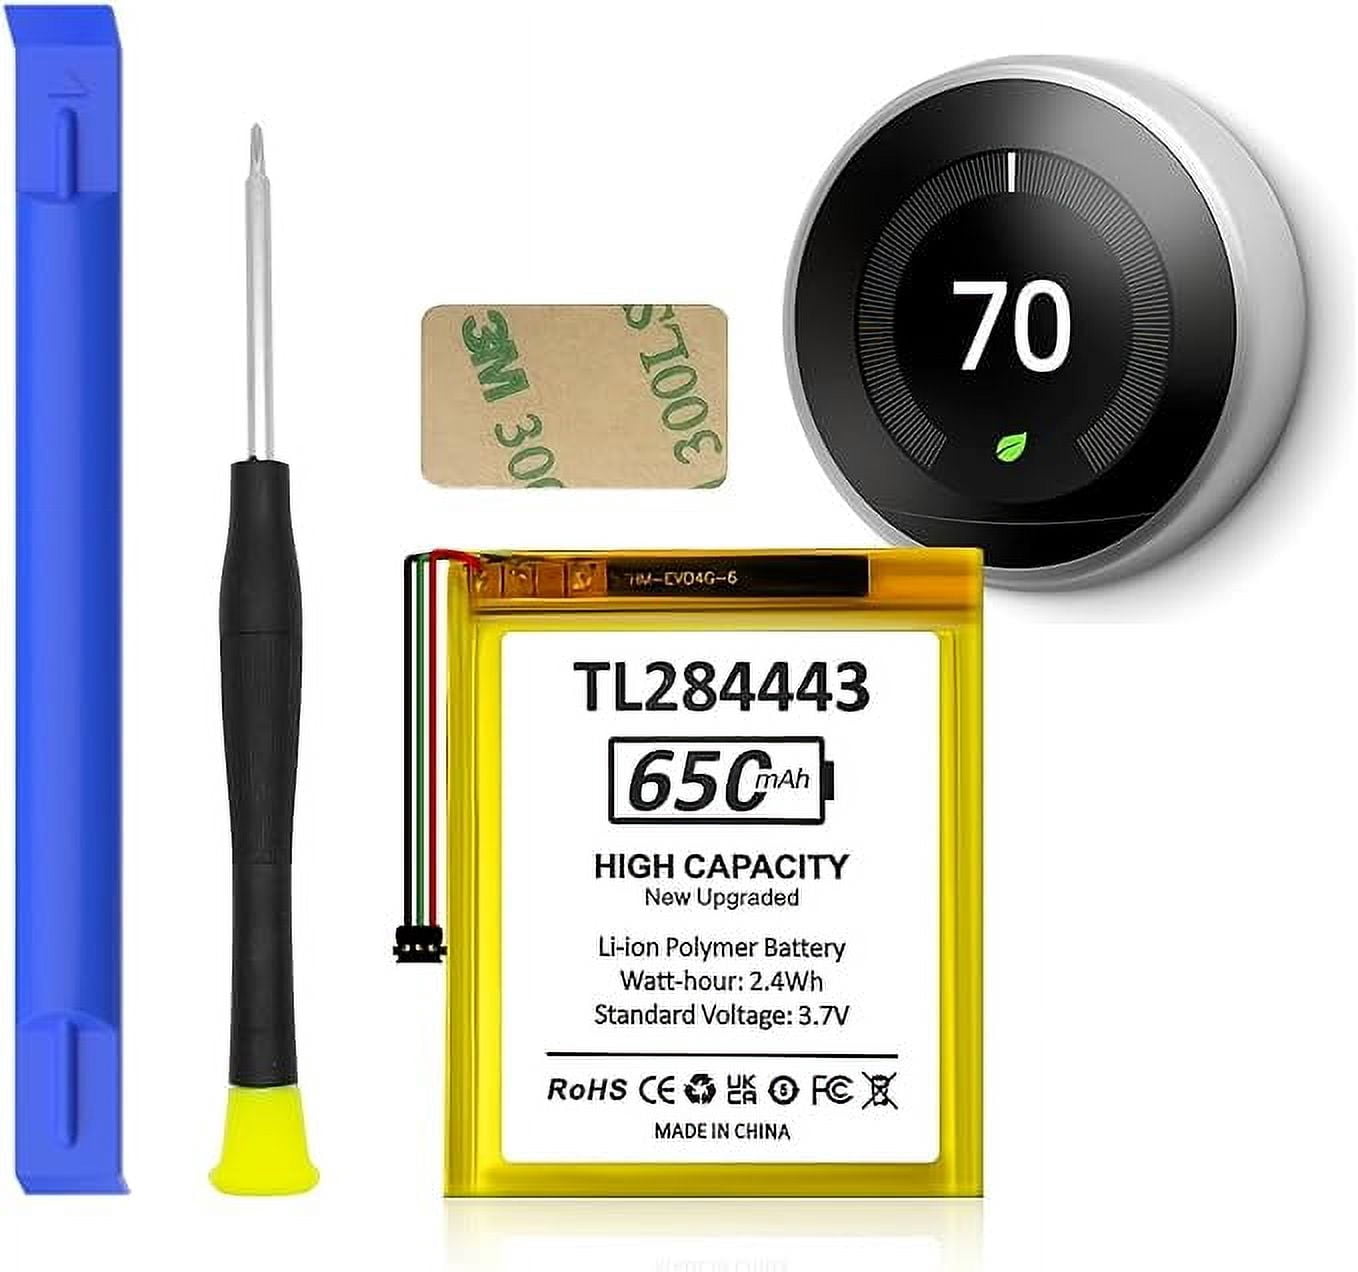
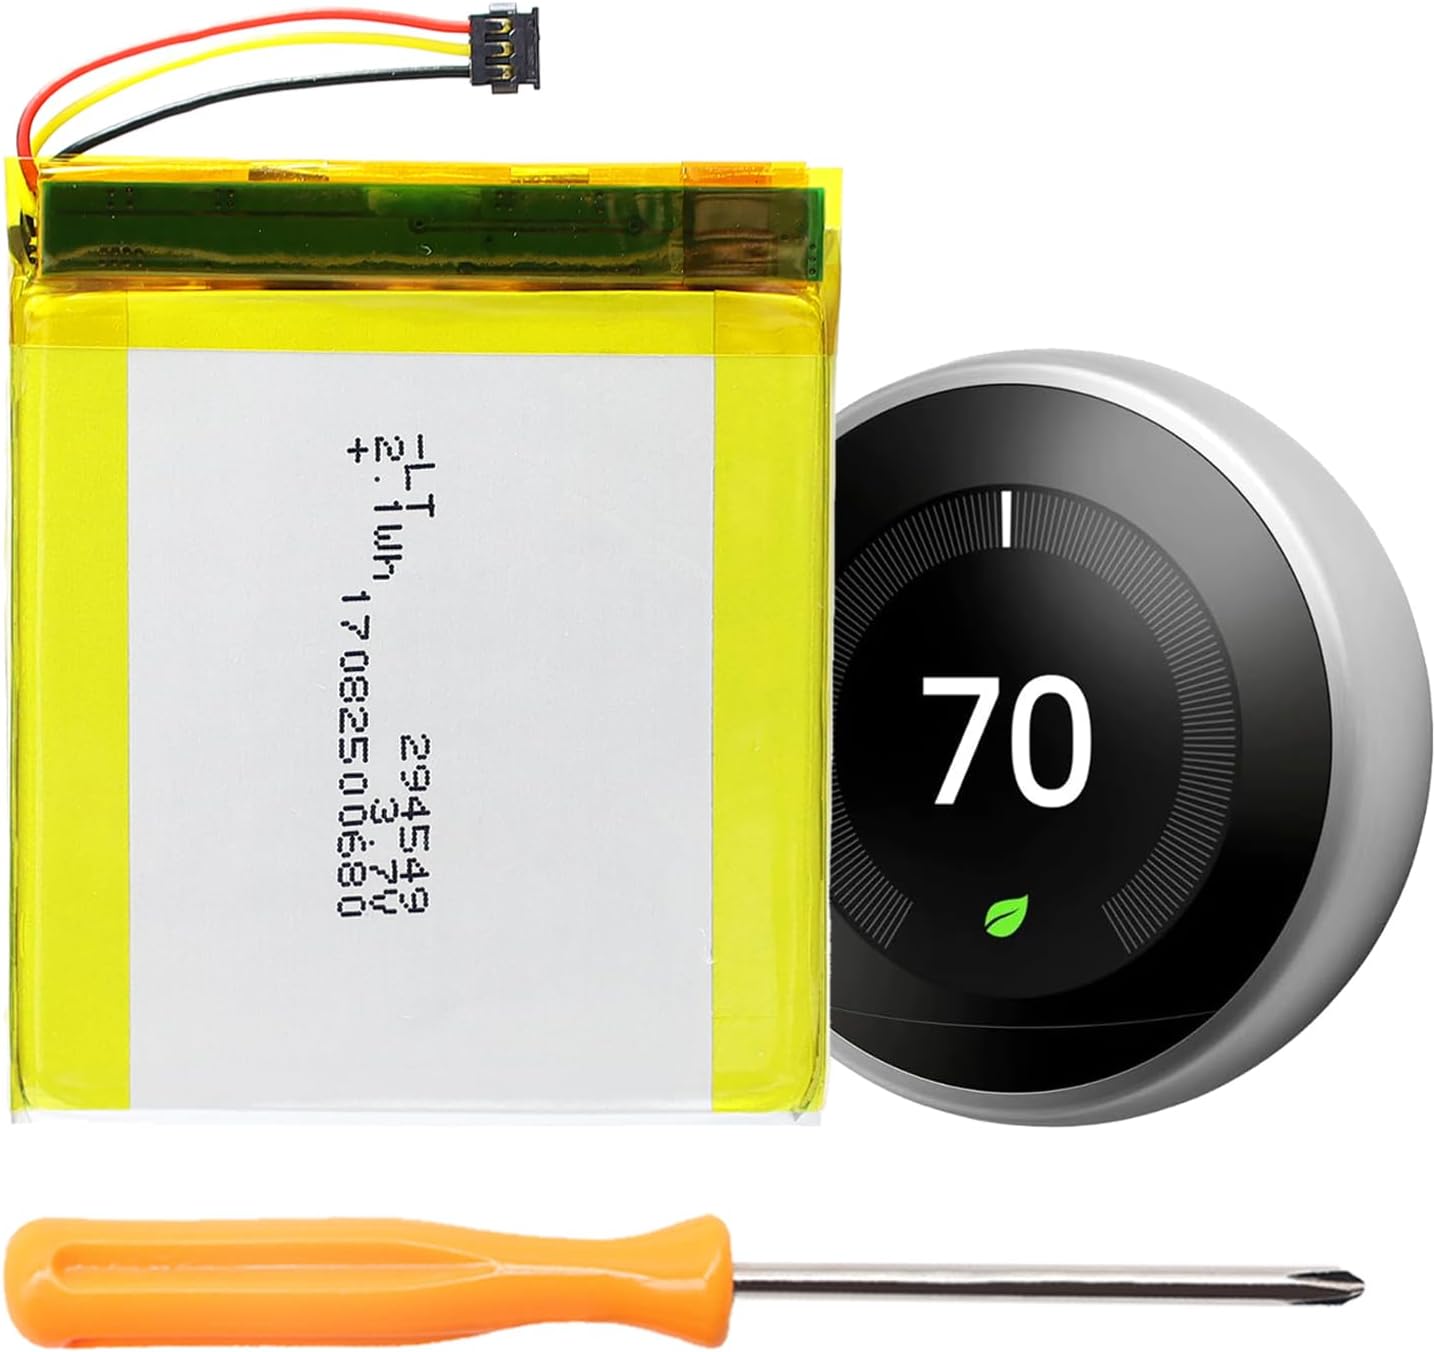
Replacement Battery For Nest Thermostat

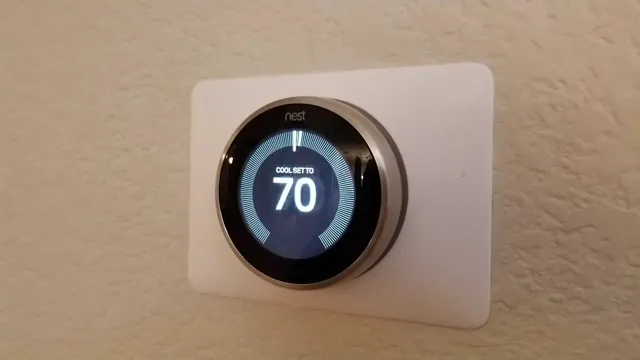
The Nest Thermostat – a sleek, intuitive marvel that transformed how we interact with our home environment. It’s a silent guardian of our comfort, learning our habits, saving energy, and always keeping things just right. But even the smartest devices have a secret superpower source, a tiny hero waiting in the wings: its replacement battery. While not a brushstroke or a melody, understanding and refreshing this small component is an act of digital stewardship, a mini-project that brings a satisfying sense of accomplishment and ensures the seamless symphony of your smart home continues uninterrupted.
For the modern homeowner, tackling a small DIY task like replacing a Nest battery is akin to a mini-victory. It's an exercise in self-reliance, a moment where you become the 'tech whisperer' of your domain. Instead of fretting over a dimming display or an unresponsive unit, you gain the confidence to diagnose and remedy a common issue. This isn't just about saving a service call fee; it's about fostering a deeper connection with the technology that serves you, understanding its inner workings, and feeling empowered to maintain it. It’s a small step towards becoming more adept in an increasingly connected world, benefiting anyone who values independence and practical skills.
The beauty of this particular act of maintenance lies in its universal applicability across various "styles" of Nest ownership. Whether you're an eco-conscious homeowner meticulously tracking energy usage, a busy parent relying on its scheduling for family comfort, or simply someone who appreciates the elegance of smart tech, the need for a healthy battery is paramount. Think of it as ensuring the 'pulse' of your home's central nervous system remains strong. From the early Nest Learning Thermostats to the more recent E models, the principle remains: a struggling battery can lead to intermittent Wi-Fi connectivity, power-stealing issues, or a completely dead unit. Recognizing these symptoms – like a flickering screen, loss of connectivity, or the dreaded 'low battery' warning – are your cues to spring into action. Different Nest models might use slightly different battery configurations, but the spirit of proactive care is constant.
Must Read
Ready to try it at home? It's simpler than you might imagine. First, always prioritize safety. Turn off the power to your thermostat at the breaker box – this is crucial. Gently detach the Nest display from its base; often, it just pulls straight off. On the back, you’ll typically find the battery compartment, sometimes secured with a tiny screw. Use a small Phillips head screwdriver to open it. Carefully remove the old batteries (usually AAA or a specific rechargeable pack) and replace them with fresh, high-quality ones. Ensure they are inserted correctly, observing the positive and negative terminals. Reattach the display to the base, making sure it clicks securely into place. Finally, restore power at the breaker. Your Nest should spring back to life, often requiring a few moments to reconnect to your Wi-Fi network. Remember to be gentle and patient throughout the process.
There’s a quiet satisfaction in bringing a beloved device back to life with your own two hands. It's more than just about a functioning thermostat; it's about the seamless comfort of your home, restored by a small, deliberate act of maintenance. It's a reminder that sometimes, the most inspiring solutions are also the most straightforward, leaving you with a sense of accomplishment and a perfectly climate-controlled sanctuary. And isn't that a truly enjoyable outcome?