Removing A Honeywell Thermostat Cover
Ever gazed at your Honeywell thermostat, that unassuming guardian of your home's comfort, and wondered what secrets lie beneath its sleek exterior? Perhaps you've stared intently, contemplating a blinking battery icon or a dust bunny peeking from the side, but felt a pang of trepidation about actually touching it. Well, my friend, prepare to unleash your inner DIY hero, because learning how to remove a Honeywell thermostat cover is not just useful; it's a surprisingly fun and empowering little adventure!
Why is this seemingly mundane task so delightful? Because it demystifies a piece of technology we rely on daily. Suddenly, you're not just a passive user; you're the master of your climate domain. It's like finding a secret panel in your own house – a small act of rebellion against the "don't touch the wires!" voice in your head. Plus, knowing how to do this simple maneuver can save you time, money, and a tiny bit of dignity when faced with a dead battery on a freezing morning.
So, what's the big deal? Why would you even need to pop that cover off? The most common reason, by far, is the dreaded low battery indicator. Modern thermostats are often battery-powered, keeping your settings safe even during a power outage. When those batteries get low, a quick cover removal is all that stands between you and restoring full functionality. Beyond batteries, removing the cover allows you to:
Must Read
- Clean out dust and debris that can accumulate and potentially affect sensor accuracy.
- Access internal switches or wiring terminals for troubleshooting (always remember to turn off power at the breaker first for any wiring work!).
- Prepare for a thermostat upgrade or replacement.
- Simply satisfy your curiosity and get a better understanding of how your home's HVAC system is controlled.
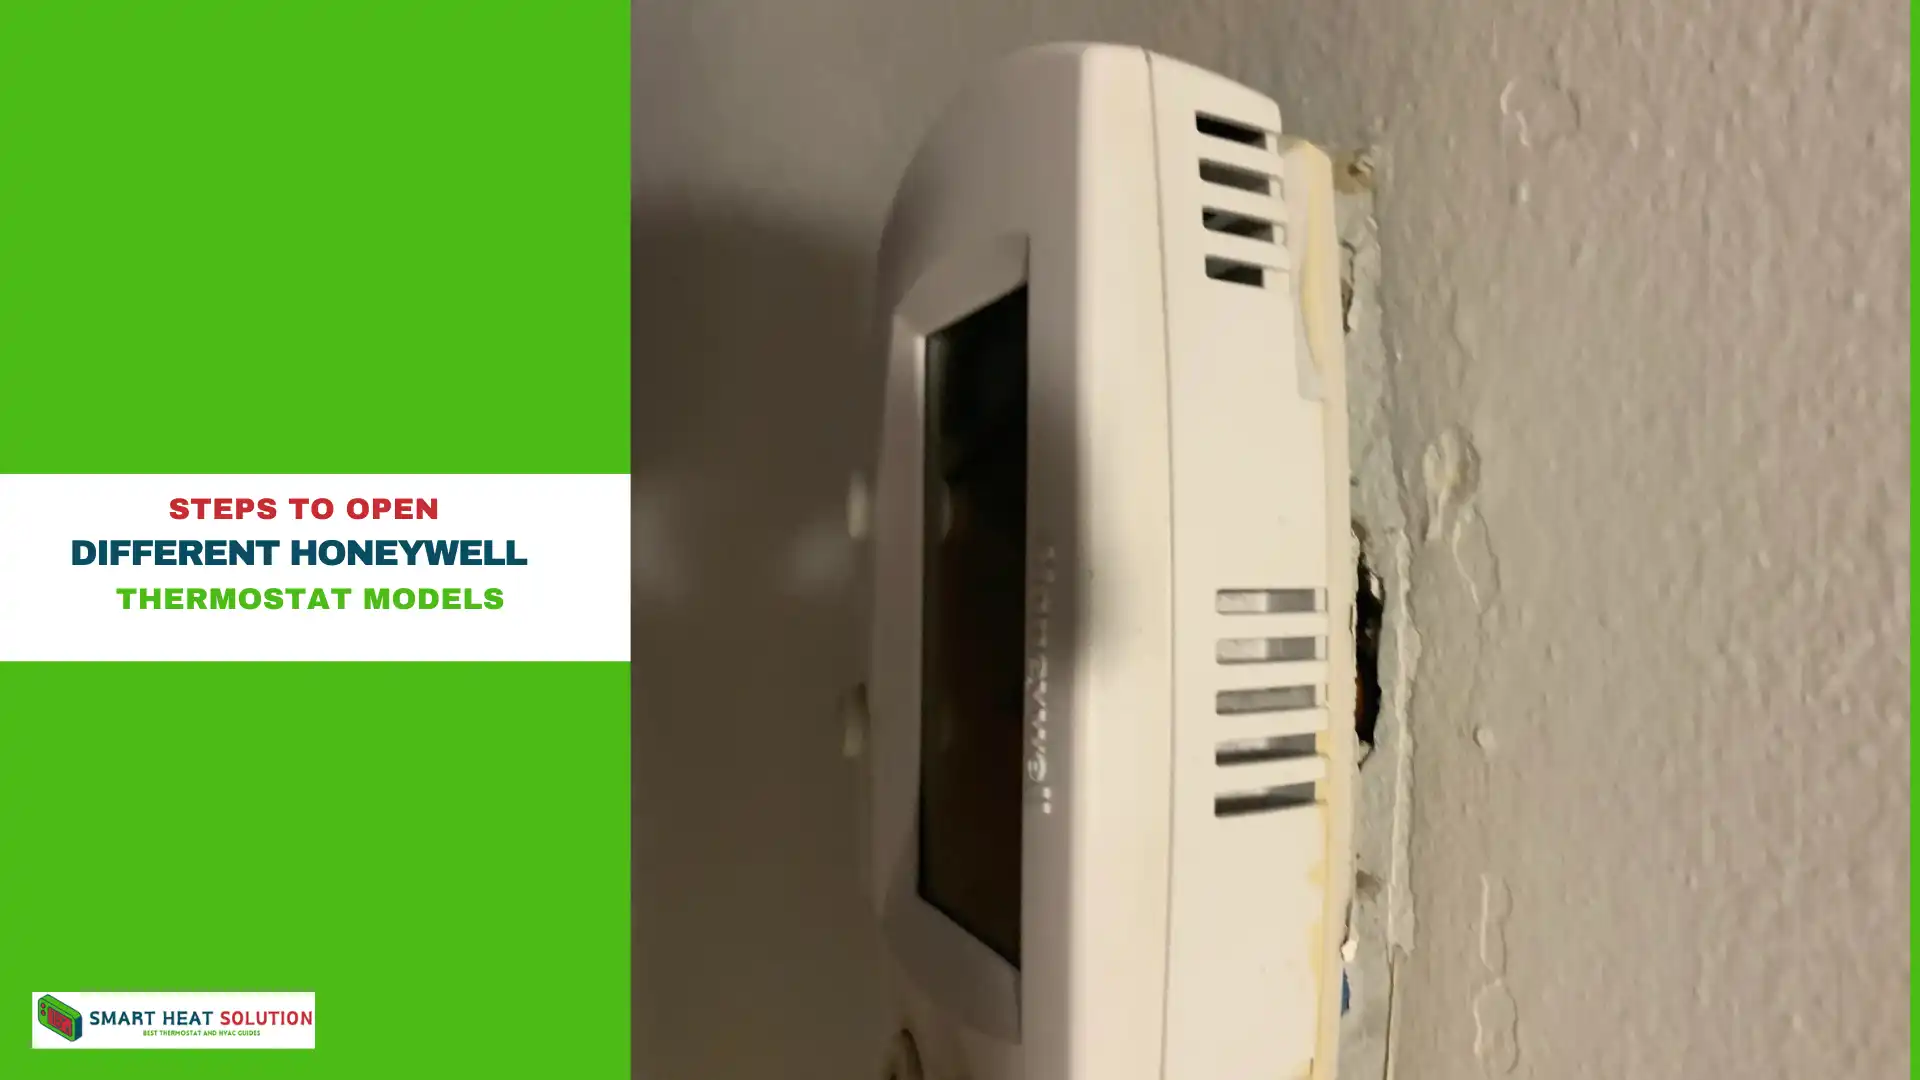
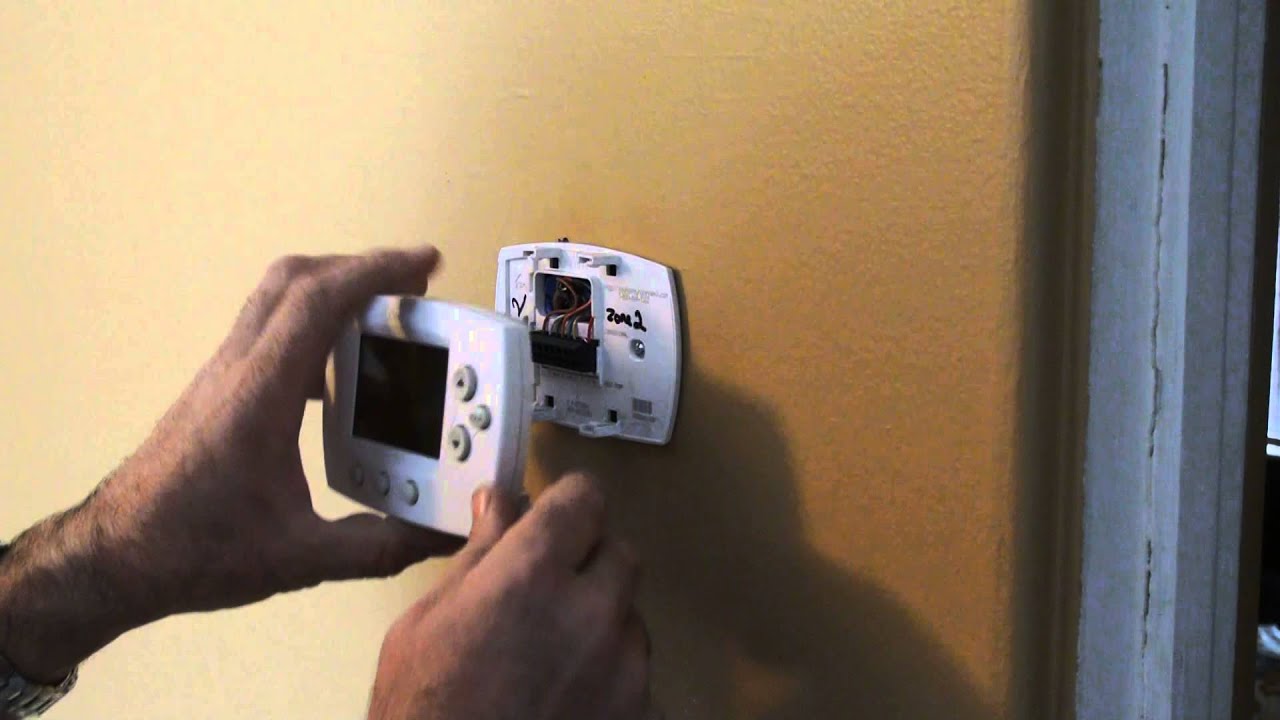
The best part? Honeywell thermostats are designed with user-friendliness in mind, and that includes their covers. There's usually no need for special tools or brute force. Many models feature a simple pull-off design – just apply gentle, even pressure from the bottom or sides, and it will pop right off. Others might have small release tabs or clips on the sides or top that you gently squeeze or push. Some may even have a hinge, allowing the cover to swing open like a tiny door. The key is to look for seams, small indentations, or slight resistance, and remember the golden rule: never force it! A little exploration and a gentle touch are usually all you need. You'll often hear a satisfying click or feel a slight give as the cover detaches, revealing the electronic wonders within.
Once you've successfully removed the cover, you're free to swap those batteries, give it a quick dust-off, or simply admire your handiwork before snapping it back into place. You've conquered the thermostat! It's a small victory, perhaps, but one that adds to your growing confidence as a homeowner. Go ahead, give it a try – you'll be surprised how empowering this little act of discovery can be!