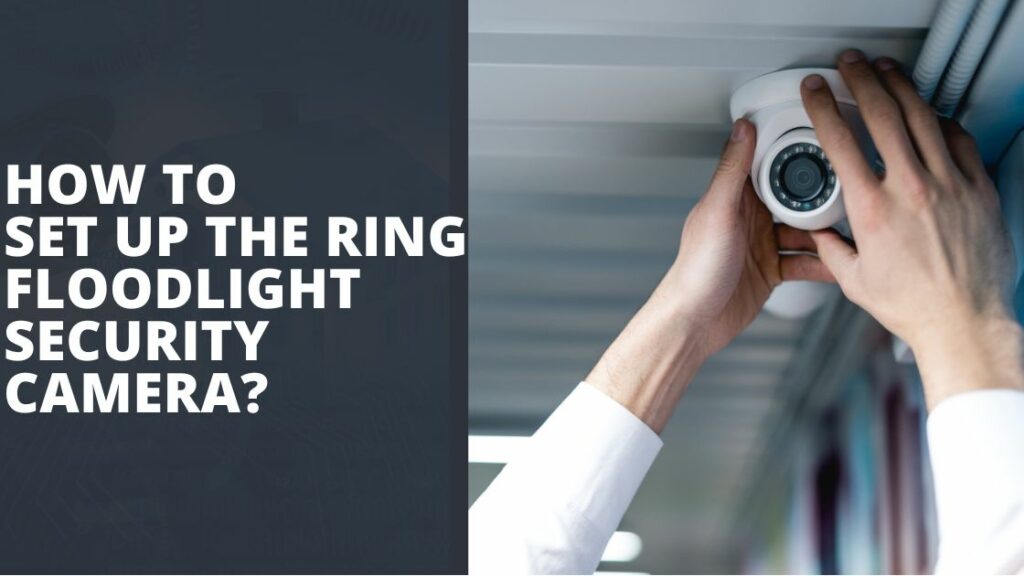
How To Set Up Ring Floodlight Camera

Okay, so picture this: it's a dark, stormy night. You're tucked in, just drifting off, when suddenly – THUMP! – something just hit your porch. Or was it a branch? Your mind races. Is it a possum? A rogue squirrel? Or, dare I say, someone casing the joint? You peer through the curtains, straining your eyes, but the darkness is an impenetrable wall. Nothing. Just the wind, probably. But that little knot of anxiety in your stomach? That lingers.
Sound familiar? We've all been there, haven't we? That moment when you realize that while you love your cozy home, you'd also really love to know what's going on outside when you're not peering through a tiny gap in the blinds like a suburban spy. That's exactly where I found myself a while back, staring into the abyss of my backyard, wishing I had eyes in the back of my house.
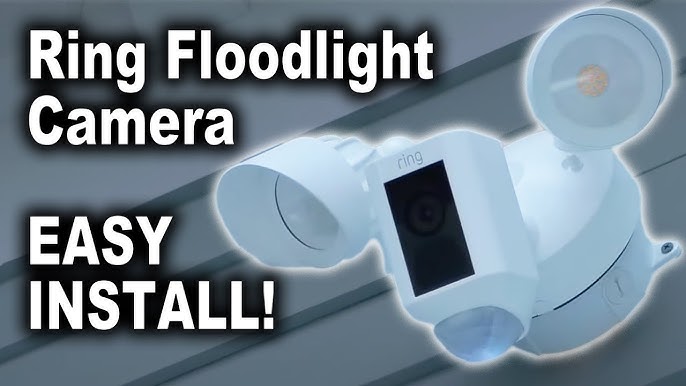
Enter the Ring Floodlight Camera. Ah, sweet relief! It's like having your own personal security guard, complete with a spotlight, a siren (if you're feeling feisty), and a direct line to your phone. But then comes the next hurdle, doesn't it? The box arrives, you crack it open, and suddenly you're looking at wires, screws, and a manual that might as well be written in ancient Sumerian. "Can I really do this myself?" you wonder, probably while holding a screwdriver you haven't touched since that flatpack furniture disaster last year.
Must Read
Fear not, my friend! You absolutely can. And honestly, it’s far less intimidating than it looks. Think of it less as a complex electrical project and more like a grown-up LEGO set, but with a satisfying sense of security at the end. I’m here to walk you through it, step by friendly step. Consider me your cheerleading, slightly ironic guide to getting that floodlight camera up and running. Let's make your home the safest, best-lit pad on the block!
Gather Your Arsenal (Tools, That Is!)
Before we even think about touching wires, let's make sure you've got your gear. You wouldn't go into battle without your shield, right?
- Screwdriver: Phillips head, probably. Maybe a flathead for prying.
- Ladder: A sturdy one. You'll be up there for a bit, so no wobblers!
- Wire Nuts: Usually included, but good to have extras.
- Voltage Tester: This is non-negotiable! Seriously, don't skip it. It literally tells you if the power's off.
- Electrical Tape: Just in case, for a little extra insulation love.
- Work Gloves: Protect those precious digits!
- Your Phone: With the Ring app downloaded and ready to roll.
- A Buddy (Optional but Recommended): For holding the ladder, handing you tools, and moral support. Plus, they can make sure you haven't accidentally turned into a human lightning rod.
The All-Important Prep Work (No Skipping!)
Alright, before you become an electrician for the day, let's do some crucial groundwork.
First and foremost: find your breaker box. You know, that gray metal box that looks like it belongs in a secret lab? Find the breaker that controls the light fixture where your Ring cam will go. Flip it OFF. Like, really off. And then, test the wires with your voltage tester to make absolutely, positively sure there's no juice flowing. Trust me on this, a little zap is a great way to ruin your day (and your hair).
Next, download the Ring app if you haven’t already. Set up an account. You can even open the Ring box and make sure all the parts are there. Get familiar with your camera. Think of it as a pre-date meet and greet.
Finally, consider your location. Does your Wi-Fi signal reach out there? Is the existing wiring in good shape? You want that camera to have a clear view of whatever mysterious thumps occur at night, right?

Time to Get Hands-On: The Installation
Okay, deep breaths! We’re doing this. You've got this.
Step 1: Out with the Old (If Applicable)
If you're replacing an existing floodlight or porch light, carefully unscrew it. Remember, power is off! Disconnect the wires, paying attention to which color went where (usually black, white, and copper/green for ground). You might even snap a quick photo with your phone for reference. Smart move, champ!
Step 2: Mount the Mounting Bracket
The Ring Floodlight Camera comes with a handy mounting bracket. Attach this to your existing electrical box using the screws provided. Make sure it's snug and level. This is the foundation, so don't rush it.
Step 3: The Moment of Truth: Wiring It Up
This is where your inner electrician shines. You'll typically see three wires coming from your house: black (hot), white (neutral), and a copper or green (ground). Your Ring camera will have matching wires. The goal is simple:
- Connect the black wire from the Ring to the black wire from your house.
- Connect the white wire from the Ring to the white wire from your house.
- Connect the green/ground wire from the Ring to the copper/ground wire from your house (and sometimes to the mounting bracket).
Use those wire nuts! Twist them clockwise until they're tight and secure. Give each wire a gentle tug to make sure it's not going anywhere. This is where your buddy can really help hold the camera while you make those connections.
Step 4: Secure the Camera
Carefully tuck the wires into the electrical box. Then, align the Ring Floodlight Camera with the mounting bracket and secure it in place with the center screw. Don't overtighten, but make sure it's firm. Adjust the floodlights and camera lens to face the general direction you want them to cover.

The Grand Finale: Power On and App Setup
Alright, my friend. This is it. Head back to your breaker box and flip that breaker back ON. If all goes well, your Ring Floodlight Camera should power on, and the lights might flash or a voice might chime in to say "Hello!"
Now, grab your phone. Open the Ring app and select "Set Up a Device." Follow the on-screen instructions: scan the QR code on your camera, connect it to your home's Wi-Fi network, and give it a name. The app will guide you through customizing motion zones, light sensitivity, and even setting up the siren. Play around with it! Make it yours.
A Few Parting Words of Wisdom
If it doesn't immediately light up or connect, don't panic. First, double-check that breaker. Second, make sure your Wi-Fi is strong where the camera is. Sometimes a quick reset of the camera (there's usually a small button) can work wonders. And honestly, if you hit a snag you can't figure out, Ring's customer support is pretty good. There's no shame in calling in the cavalry!
And there you have it! You’ve tamed the wires, climbed the ladder, and brought light (and security) to your corner of the world. Now, when you hear that bump in the night, instead of guessing, you can simply pull out your phone and say, "Aha! It's just a giant squirrel plotting world domination." Or, you know, actually see what's going on. Enjoy your new peace of mind, you DIY superstar!