How To Replace Battery In First Alert Smoke Alarm

Ah, the dreaded chirp. It starts subtly, a little "peep" every minute or so, usually in the dead of night. At first, you might think it's a cricket, or maybe your phone making a mysterious sound. But then, as the hours tick by, it becomes clear: it's your smoke alarm, and it's doing its very best impression of a tiny, angry bird demanding attention. Sound familiar?
That persistent little chirp is your First Alert smoke alarm's way of telling you, quite emphatically, that its battery is on its last legs. And while it might feel like the most annoying sound in the world right now, it's actually a vital warning. Think of it as your home's guardian angel, just a bit grumpy when it needs a snack!
Why Bother with the Chirp? Let's Get Real (and a Little Fun)
I get it. Life is busy. You've got sourdough starters to tend, cat videos to watch, and socks that mysteriously disappear in the dryer to mourn. Replacing a smoke alarm battery probably isn't topping your "to-do" list. But hear me out:
Must Read
-
Silence is Golden: First and foremost, replacing that battery means blissful, uninterrupted sleep. No more phantom chirps haunting your dreams. No more leaping out of bed at 3 AM to find the source of the tiny monster sound. You'll feel like you've conquered a small, persistent villain, and that, my friend, is a victory.
-
Protect Your Precious Stuff: Beyond the obvious safety, think about it. Your grandma's heirloom teapot? Your super-comfy, broken-in couch? That epic collection of comic books? These aren't just things; they're memories, comfort, and sometimes, even investments. A working smoke alarm is like having a tiny, ever-vigilant bodyguard for all your treasures (and your actual loved ones, of course!).
-
Peace of Mind: Remember that feeling when you finally clean out that junk drawer? Or tackle that mountain of laundry? There's a certain satisfaction, a quiet sense of accomplishment. Replacing your smoke alarm battery gives you that same little mental high. You've done something responsible, something important, and you've made your home a safer, chirpless haven. Plus, you won't get that nagging feeling every time you walk past it!

First Alert Smoke Alarm Red Light-Troubleshooting Guide - Devices Mag
So, let's ditch the dread and embrace the DIY. It's surprisingly easy, I promise!
What You'll Need (It's Not Much!)
Gather your tools, intrepid home hero! This isn't brain surgery, so don't expect a whole toolbox.
-
A new 9-volt battery: This is the most common type for First Alert smoke alarms. You know, the rectangular one with two little nubs on top. Grab one from the pantry, or make a quick dash to the store. Think of it as a power-up for your little guardian!
-
A sturdy step stool or small ladder: Unless you're a professional basketball player, you'll likely need a little boost to reach the ceiling. Safety first, so make sure it's stable!
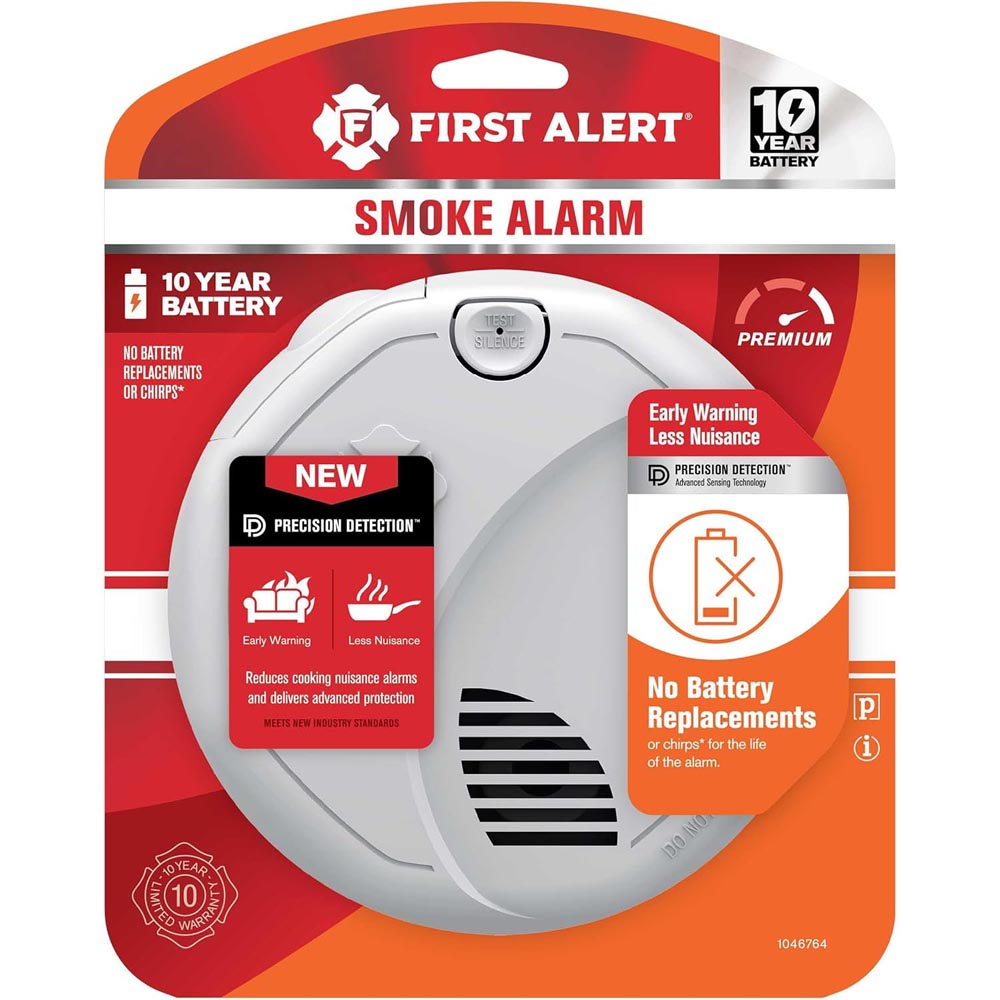
First Alert Smoke Alarm 10 Year Battery -
Maybe a buddy (optional): Not to do the work, but maybe to hold the ladder, or simply offer moral support (and perhaps a high-five when you're done).
Let's Do This: The Super Simple Steps
Okay, deep breaths. This is going to be easier than assembling that IKEA furniture.
Step 1: Silence the Squeaker!
If your alarm is still chirping, you might want to silence it first. Most First Alert alarms have a test/silence button right on the front. Press and hold it for a few seconds. It might give one final, indignant squawk, but then it should quiet down for a bit, giving you some blessed relief while you work.
Step 2: Locate and Loosen
Carefully climb your step stool to reach the smoke alarm. Look at the edges of the alarm unit. Many First Alert models attach to a mounting bracket with a simple twist. You'll usually see arrows indicating the "open" and "close" directions. Give the alarm a gentle twist counter-clockwise (to the left) to detach it from the ceiling bracket. It should pop right off. If it doesn't twist, look for small tabs or clips that you might need to push or squeeze to release the unit.

Don't worry, it's usually tethered by a couple of wires, so it won't plummet to the floor like a lead balloon. It's designed to hang there while you work.
Step 3: Pop the Hood (Battery Compartment!)
Once you have the alarm in your hand (or hanging comfortably), you'll need to open the battery compartment. This is often a small door or panel on the back or side. There might be a tiny latch or tab you need to press or slide. Think of it like opening the little plastic door on a TV remote. Easy peasy!
Step 4: Out with the Old, In with the New!
Now, carefully detach the old 9-volt battery. It's usually connected by two small terminals (a plus and a minus). Just gently pull the battery away from these connectors. It should come right off. Set that old battery aside for proper recycling – let's be kind to the planet!
Grab your shiny new 9-volt battery. Connect it to the terminals, making sure to match the positive (+) and negative (-) ends. It usually snaps right into place. You might hear a quick beep – that's a good sign! It means your alarm is getting its much-needed caffeine boost.

Step 5: Test, Test, Test!
Before you put everything back together, perform a quick test. With the new battery installed and the compartment still open (or lightly closed), press and hold the test button again. It should emit a loud, piercing alarm sound. This is your cue to know it's working properly! If it doesn't make a sound, double-check your battery connection. If it still doesn't work, you might have a faulty battery or, in rare cases, an alarm that needs replacing.
Step 6: Button Her Up!
Once you've confirmed it's working, close the battery compartment door. Then, line up the alarm unit with the ceiling bracket and twist it clockwise (to the right) until it clicks securely into place. Give it a gentle tug to make sure it's firmly attached.
You Did It! High-Fives All Around!
See? That wasn't so bad, was it? You've tamed the angry bird, protected your home, and gained a little boost of DIY confidence. Now you can go back to your regularly scheduled programming – perhaps celebrating with a well-deserved snack, knowing your First Alert smoke alarm is standing guard, fully charged and ready to protect.
Remember to make a note to check and replace your smoke alarm batteries at least once a year – maybe when you change your clocks for Daylight Saving Time. It's a small habit that makes a huge difference. Your future, well-rested self will thank you!