How To Replace Battery For Smoke Detector
Ever found yourself jumping out of your skin at 3 AM because of that relentless, high-pitched chirp? You know the one I'm talking about – the sound of your smoke detector telling you, quite loudly, that its battery is on its last leg. While it might feel like a tiny ninja attacking your ear drums in the dead of night, replacing a smoke detector battery is actually one of the most satisfying and crucially important DIY tasks you can tackle. It's not just about silencing that annoying noise; it's about safeguarding your home and loved ones. It's a quick win that gives instant peace of mind, making it a surprisingly popular topic for anyone who cares about home safety!
This simple task offers big benefits for everyone. For beginners, it's a fantastic entry point into basic home maintenance. It's low-risk, high-reward, and builds confidence for tackling other small projects around the house. You'll feel a sense of accomplishment knowing you've kept your home safe. For families, it’s not just a chore but a vital safety measure. Keeping smoke detectors properly powered means your family is protected in case of a fire, providing precious extra minutes to evacuate. It's also a great opportunity to teach kids about fire safety and the importance of these devices. Even for the more seasoned DIY enthusiasts, it's a fundamental step in comprehensive home safety – a reminder that even the simplest upkeep can have the most profound impact.
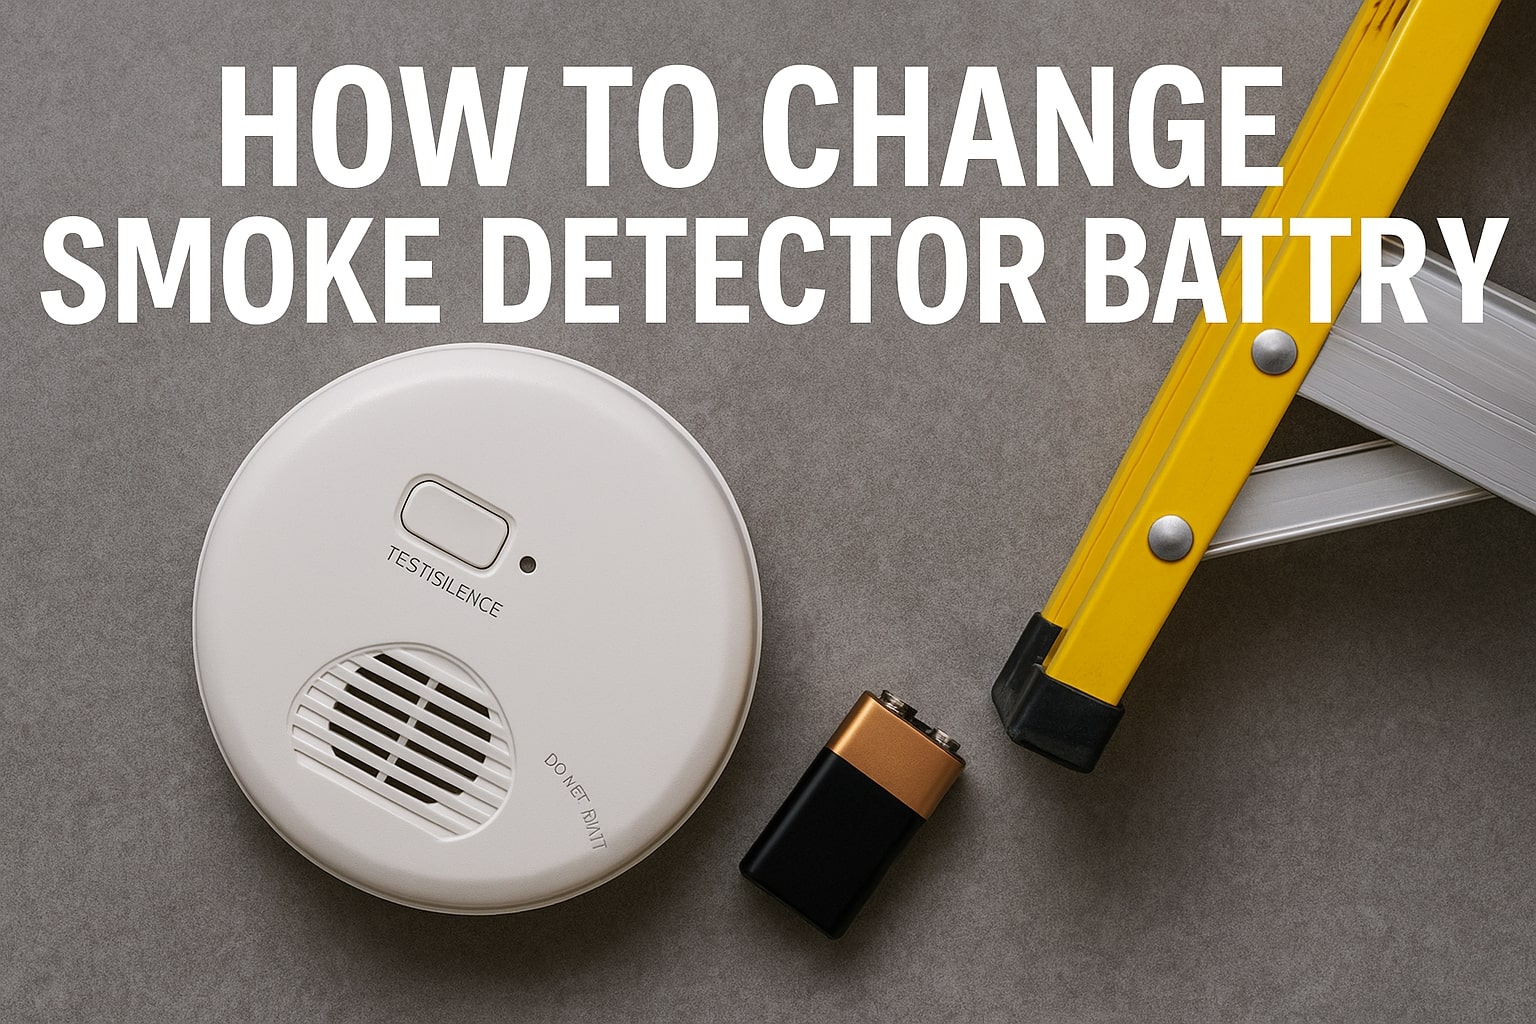
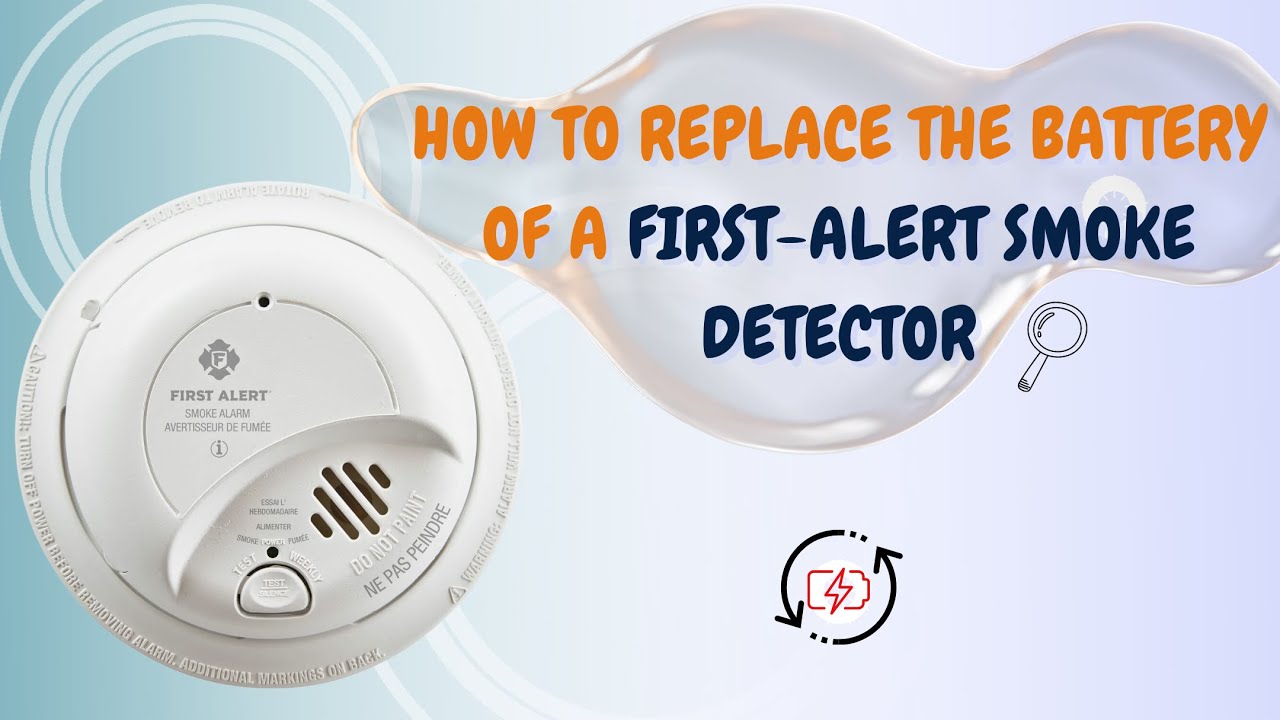
Smoke detectors come in a few flavors, and knowing yours can help. Most common are the battery-only units, which solely rely on battery power and typically use a standard 9-volt battery. Then there are hardwired detectors, which are connected to your home's electrical system but also have a battery backup (often 9V or AA/AAA batteries) to keep them working during a power outage. You might also encounter combined smoke and carbon monoxide (CO) detectors, which are super convenient as they cover two critical threats with one device. While the exact battery type might vary, the replacement process is generally very similar. And remember, that persistent chirp usually means the battery is low, but a full, continuous alarm means there might be smoke or CO present, so treat those differently!
Must Read
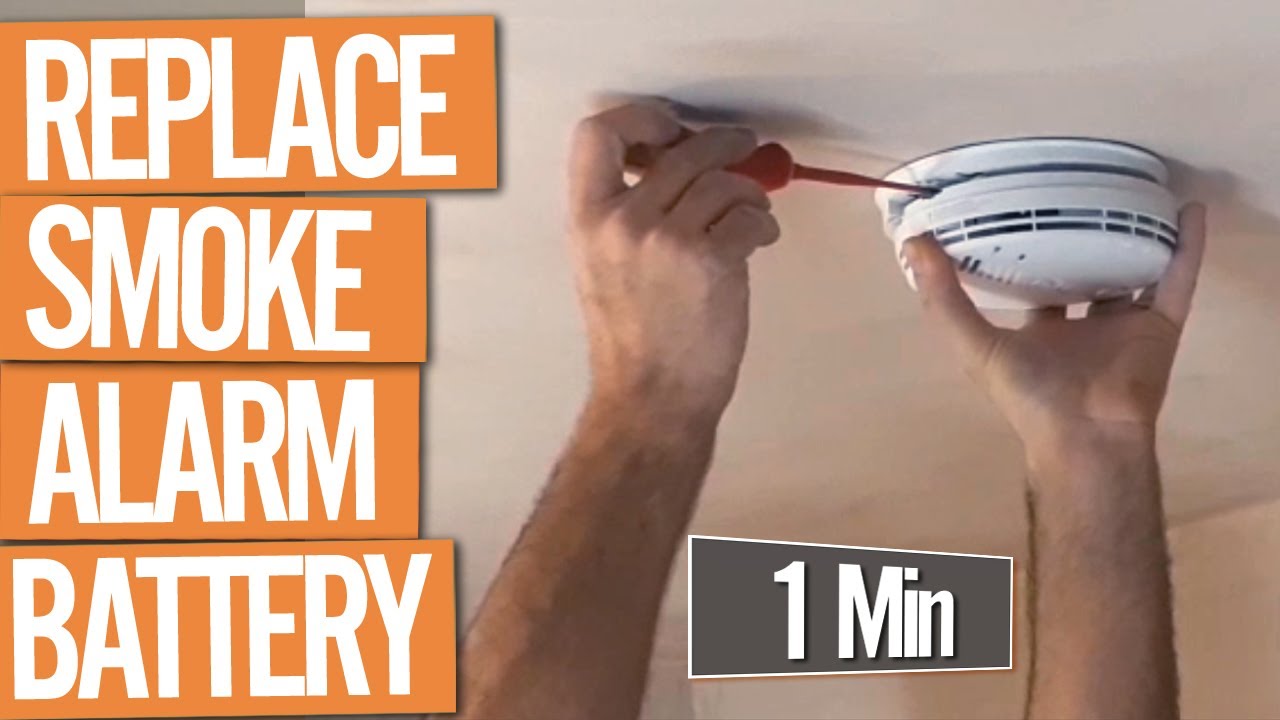
Ready to silence that chirp and boost your home's safety? Here are some simple, practical tips to get started. First, gather your supplies: you'll need a new battery (check your existing one for the type, typically 9V, AA, or AAA), and perhaps a sturdy step stool or small ladder to reach high detectors safely. Some detectors might require a small Phillips head screwdriver to open the battery compartment, but many are tool-free. Once you're safely positioned, gently twist or unlatch the detector from its base (check your manual if unsure). Locate the battery compartment, often on the back or side. Remove the old battery, noting its orientation, and then insert the new one correctly. Snap or twist the detector back into its base. The most crucial step? Test the detector! Press and hold the test button until you hear a loud, clear alarm sound. This confirms it’s working. Aim to replace batteries at least once a year, or immediately when you hear that infamous chirp.
See? That wasn't so bad! Replacing your smoke detector battery is a quick, easy, and incredibly valuable task. It's a small effort that reaps huge rewards in safety and peace of mind. So next time you hear that little chirp, don't dread it – embrace it as your cue to perform a quick, satisfying act of home heroism. Enjoy the silence, and more importantly, enjoy the immense value of a safer home!