How To Remove Nest Doorbell To Charge

In our increasingly connected world, smart home devices have become the unsung heroes of daily life, diligently standing guard, making our lives a little smoother. Among them, the Nest Doorbell holds a special place, a vigilant eye always on the lookout. But like any tireless sentinel, even your Nest Doorbell needs a moment to recharge its batteries. Far from being a mere chore, the act of removing your Nest Doorbell for charging can be transformed into a surprisingly
This isn't just about functionality; it's about engaging with your environment in a mindful way. For the artistically inclined, it's an appreciation of industrial design – the sleek lines, the intuitive engineering that allows for such a simple yet secure attachment. For the casual hobbyist, it’s a delightful miniature puzzle, a moment to understand the mechanics behind the magic. And for the everyday learner, it’s a quick win, a boost of confidence from mastering a practical skill that might initially seem daunting. It’s a chance to feel less like a consumer and more like a confident steward of your smart home.
Consider the various "styles" of Nest Doorbell removal. There's the "Zen Detach" – a slow, deliberate approach where you savor the tactile feedback of the specialized removal tool, appreciating the precision fit as the device gently disengages. Or perhaps you prefer the "Efficiency Expert" technique, a swift, confident motion born of practiced understanding. Then there's the
Must Read
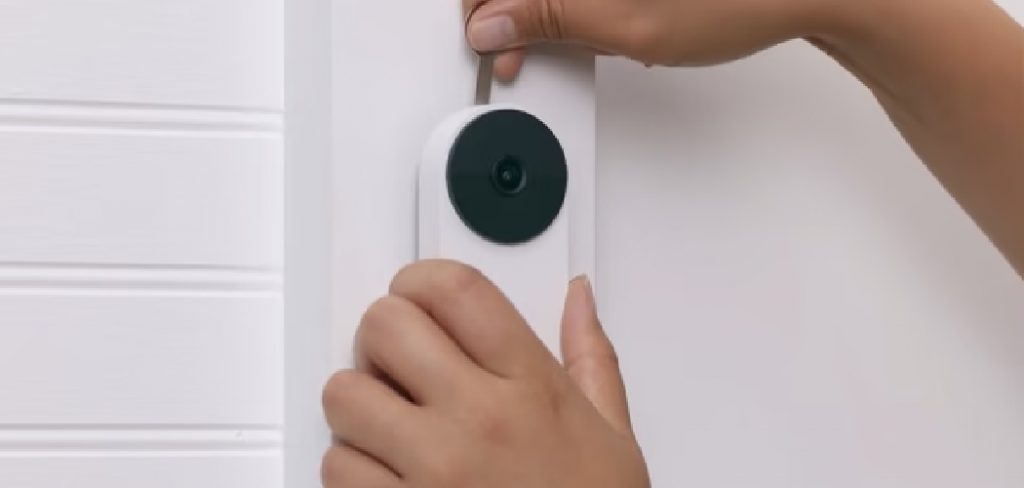
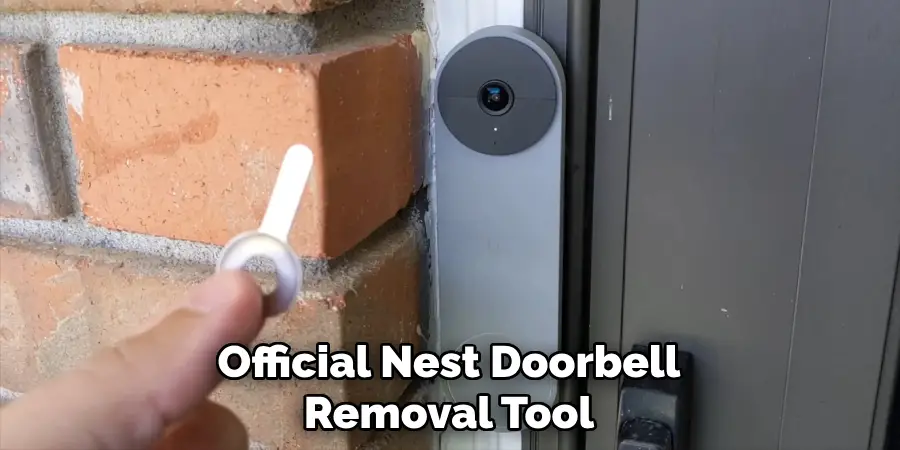
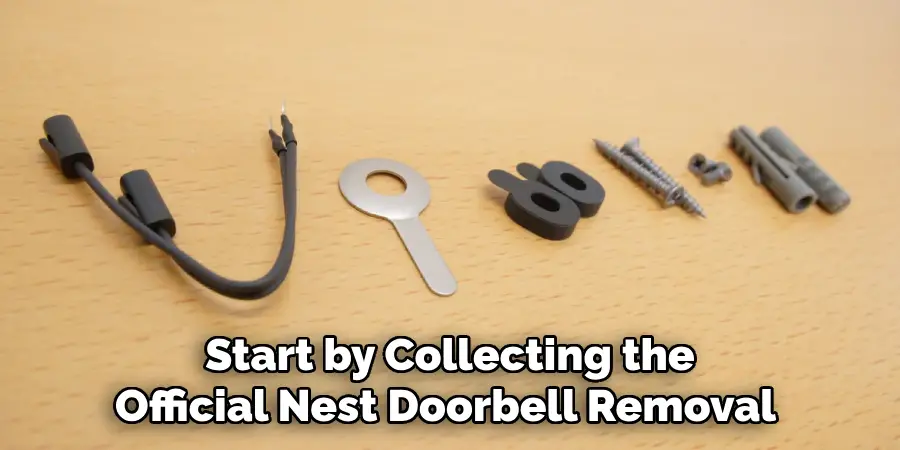
Ready to embrace this delightful domestic art form? Here are a few tips for trying it at home: First, locate your special Nest removal tool (it often looks like a small plastic key or metal pin). If you’ve misplaced it, a small paperclip can often do the trick. Second, identify the tiny hole at the bottom or top of your doorbell unit. This is where the magic happens! Gently insert your tool until you feel a slight resistance or click. This releases the latch. Then, with a gentle yet firm pull, guide the doorbell unit away from its backplate. Remember, patience is your best tool. Treat it like a delicate operation, a moment of focused attention. Once charged, simply align the unit with the backplate and press firmly until you hear a reassuring click, indicating it’s securely back in place.
The true enjoyment in this simple act comes from the quiet satisfaction of self-sufficiency. It's the knowledge that you understand a bit more about the devices that populate your daily life. It’s the feeling of competence as you restore your digital guardian to full power, ensuring your home remains secure and connected. This little ritual is a reminder that even the most mundane tasks can offer a moment of mindfulness and a genuine sense of accomplishment. Go on, embrace the satisfying hum of a fully charged Nest Doorbell!