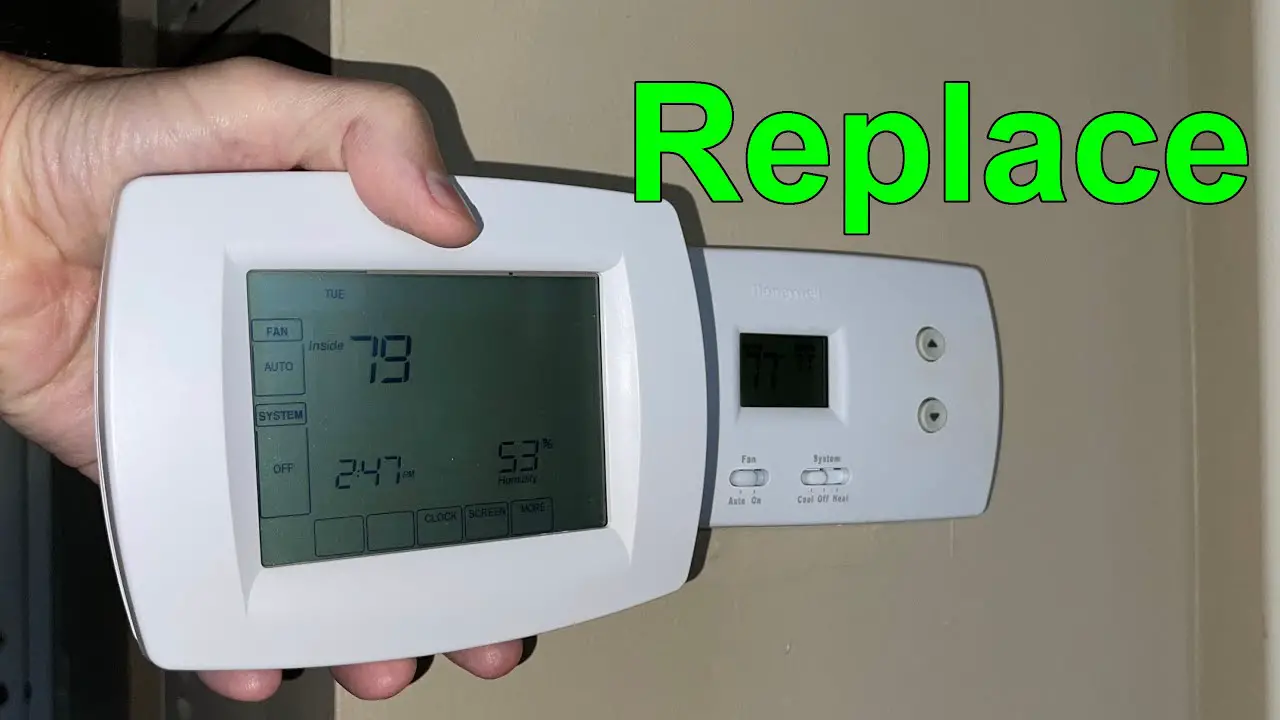
How To Remove Honeywell Home Thermostat

Alright, settle in, grab a coffee – maybe even a scone. We’re about to embark on a thrilling, adrenaline-pumping journey. No, we're not scaling Everest, nor are we attempting open-heart surgery. We're doing something far more daring, far more fraught with... okay, maybe not fraught at all, but certainly fulfilling! We’re going to tackle that little rectangular dictator on your wall: your Honeywell Home thermostat.
Perhaps you’re upgrading to a smart-home marvel that can practically read your mind (and your temperature preferences). Maybe you're moving and want to take your beloved, custom-programmed climate controller with you, like a cherished family pet. Or, perhaps, you just looked at it one day and thought, "You know what? I'm curious what's behind there." Whatever your noble quest, fear not, my friend. Removing a Honeywell Home thermostat is less like diffusing a bomb and more like, say, untying a shoelace that’s been particularly stubborn – rewarding, but ultimately quite simple.
The First Commandment: Thou Shalt Cut the Power!
Before we get all gung-ho and start yanking wires like a mad scientist, let's observe the absolute, non-negotiable, first-and-foremost rule: TURN OFF THE POWER TO YOUR HVAC SYSTEM. I cannot stress this enough. Unless you fancy a surprise hair-raising tango with 120 volts or want to accidentally summon a small, localized blackout, find that circuit breaker.
Must Read
It’s usually labeled something delightfully vague like “Furnace,” “AC,” or “HVAC.” If you’re truly stumped, just flip the main breaker. Yes, your entire house will go dark for a glorious, adventurous moment. Embrace the temporary caveman lifestyle! It’s all part of the thrill. Think of it as a brief, intentional power outage, designed purely for your safety and dramatic effect. Better safe than sparking!
Tools of the Trade (Mostly a Screwdriver and a Sense of Adventure)
Good news! You won't need an elaborate workshop or a degree in electrical engineering to complete this magnificent feat. For this grand undertaking, you'll likely require:
- A small Phillips or flathead screwdriver: Your trusty sidekick in this grand saga.
- Your smartphone: Not for doom-scrolling, but for taking a critical photo (more on that later, it's a game-changer).
- Optional (but recommended): A marker or some masking tape, for the extra-organized among us.
- A healthy dose of confidence: You've got this! And perhaps a small, celebratory dance move you've been practicing, just in case.
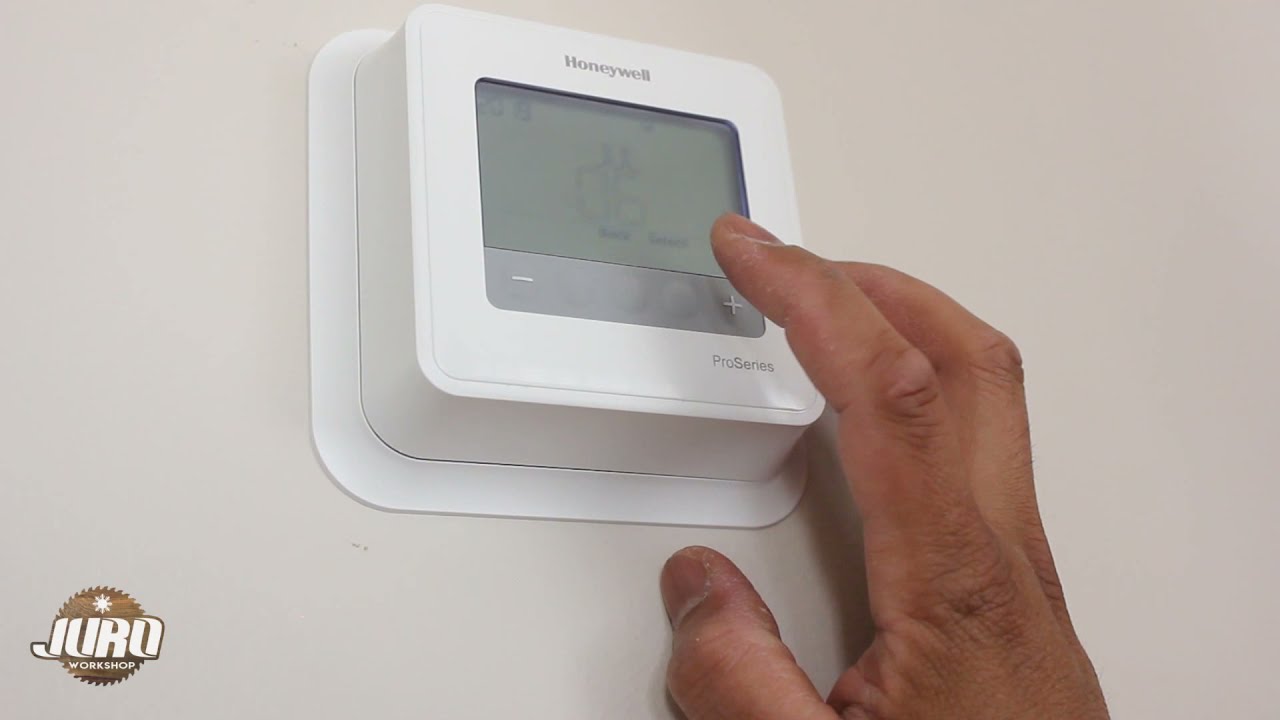
Unveiling the Mystery: The Thermostat Faceplate
Okay, power’s off, screwdriver’s in hand. Now, approach your Honeywell Home thermostat. Most Honeywell models are designed with a friendly, user-serviceable approach. You're usually looking for little tabs or buttons on the sides or bottom, or sometimes a slight indentation where you can pry.
It’s often a matter of gently pulling the front cover away from the wall plate, like separating two old friends who've been glued to each other for years. Don't be shy, but also don't treat it like you're trying to win a prize at a particularly violent claw machine. Gentle persuasion, a soft touch, and maybe a whispered word of encouragement are the key here. You might hear a little "snap" or "click" as the front unit detaches, a sound that, to the uninitiated, might signal catastrophe. But to you, my burgeoning HVAC enthusiast, it’s the sweet symphony of victory!
Inside, you might be greeted by a small battery compartment. If your thermostat has batteries (usually AAs or AAAs), now would be a good time to liberate them. They've served their purpose, probably for years, diligently powering your comfort. Give them a silent nod of thanks for their service to humanity.
The Wire Dance: A Moment for Photography (and Labeling!)
Now, this is where things get serious... for about 15 seconds. You'll see a bunch of colorful wires connected to terminals on the wall plate. These wires are the very nervous system of your home's climate control, the tiny messengers telling your furnace to blast heat or your AC to chill out. Think of it as miniature brain surgery, but with far less blood and way more color-coding.
STOP! Before you touch anything, grab your phone and take a glorious, high-resolution picture of these wires. Seriously. Multiple pictures, from different angles. This photograph is your personal Rosetta Stone, your sacred map, your "don't screw this up" insurance policy for when you (or someone else) eventually connects a new thermostat. This is the single most important step for a smooth reinstallation later. We're talking critical. Did you get the picture? Good!
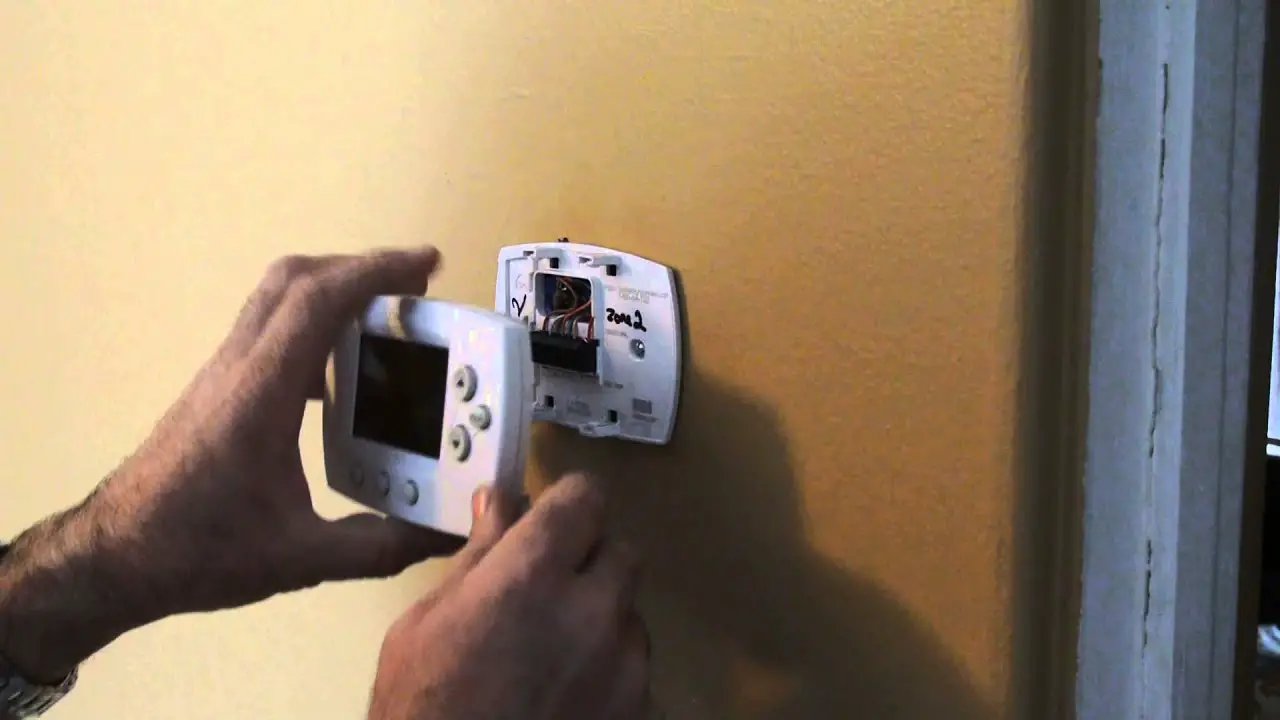
Now, for the actual disconnection. Each wire is usually held in place by a small screw or a push-in terminal. If it's a screw terminal, loosen the screw (you don't need to remove it completely, just enough for the wire to slide out). If it's a push-in, you might need to press a tiny tab next to the wire to release it. Gently pull each wire free. They’ll likely resist a little, like toddlers at bedtime, but they'll eventually come out.
As you remove each wire, if you're feeling extra meticulous (and a little bit fancy), you can use your marker or tape to label them. Common labels include R (for power), Y (cooling), G (fan), W (heating), C (common wire, for continuous power). But honestly, if you have a good picture, you're golden. The labels are like sprinkles on an already delicious donut.
The Grand Finale: Removing the Backplate
With the wires liberated, all that's left is the wall-mounted backplate. This is usually held in place by a couple of screws – often two, sometimes four. Find them, unscrew them, and gently pull the backplate away from the wall. Voilà! You've done it!

You'll probably be left with a rather forlorn-looking rectangular tan line on your wall, a small bundle of wires peeking out like curious little snakes, and a palpable sense of accomplishment. A tiny puff of dust might even emerge, like a theatrical smoke machine, signaling the true age of your dwelling and congratulating you on a job well done.
What Now, My HVAC Hero?
Congratulations! You've successfully performed a thermostatectomy. What comes next? Well, if you're installing a new thermostat, you simply reverse the process. Consult the new thermostat's instructions, but your trusty photo of the old wiring will be an invaluable resource, helping you match those colorful little wires to their new homes.
If you're patching up the wall because you're moving, well, that's a whole other adventure involving spackle and paint. But for now, take a moment. Savor the victory. You've tamed the Honeywell Home beast, and lived to tell the tale. And who knows, maybe you even learned a surprising fact or two along the way – like how old mercury thermostats were pretty cool, but also, you know, contained mercury! You’re practically an HVAC technician now – maybe not ready to install an entire system, but certainly qualified to judge other people's thermostat placement choices. Go forth and bask in your newfound power!