How To Record Your Screen With Internal Audio
Hey there, tech explorer! Ever wanted to capture that perfect moment on your screen? Maybe it's a hilarious meme in action, a crucial tutorial step, or even your legendary gaming skills being unleashed. We've all been there, right?
But here's the kicker: you want the audio too! Not just the visuals, but the sweet, sweet sound accompanying your screen shenanigans. Think of it like capturing the entire movie experience, not just the silent film version. Ready to level up your screen recording game?
Why Bother Recording Internal Audio?
Why, you ask? Well, imagine recording a walkthrough of your favorite video game without the epic soundtrack or the satisfying click of successful puzzle completion. Kinda falls flat, doesn't it?
Must Read
Or what about a software tutorial? Hearing the instructor's voice alongside the screen actions makes it so much easier to follow. It's the difference between reading a recipe and watching a chef cook – one's helpful, the other is, well, a feast for the senses!
Essentially, capturing internal audio adds a crucial layer of context and engagement to your screen recordings. It's like adding the secret sauce to your digital masterpiece!
The Quest for Internal Audio: A Few Paths to Choose
Okay, so how do we actually do it? Unfortunately, it's not always as simple as hitting "record." Depending on your operating system (Windows, macOS, ChromeOS, etc.) things can get a little tricky. Think of it like navigating a digital maze, but don't worry, we'll get you to the cheese at the end!
Let's explore some common routes:
Windows Wonders
Windows can be a bit finicky. Straight up built-in recording with internal audio? Not always a given. But fear not! Third-party software is your friend here. Programs like OBS Studio (free and powerful!) and ShareX (another excellent free option) can do the trick.
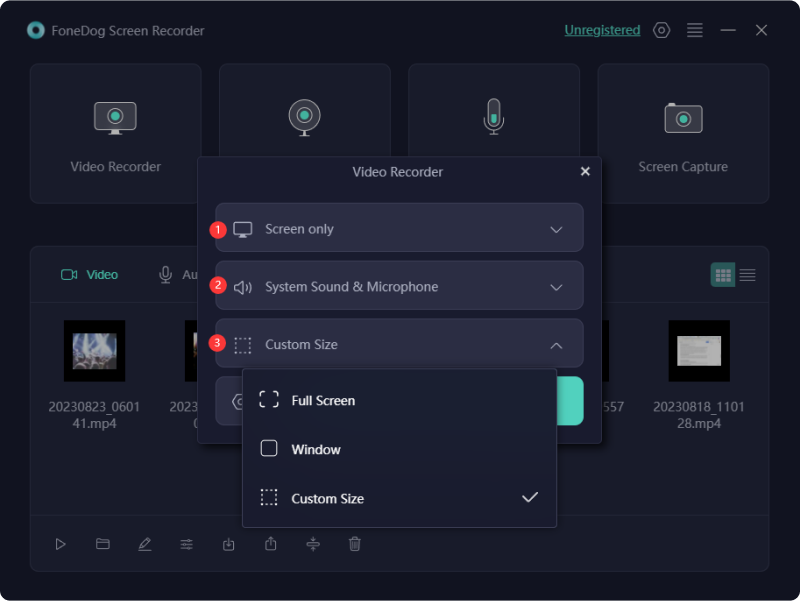
These programs often require a bit of configuration. You might need to create a virtual audio device (like "Stereo Mix") to capture the sound being played by your computer. It's a bit like setting up a microphone specifically to listen to your computer's speakers, but virtually. Don't be scared, tutorials abound online!
Imagine trying to tune a radio for the first time. There's some trial and error, but once you find the right frequency, it's pure sonic bliss!
macOS Magic
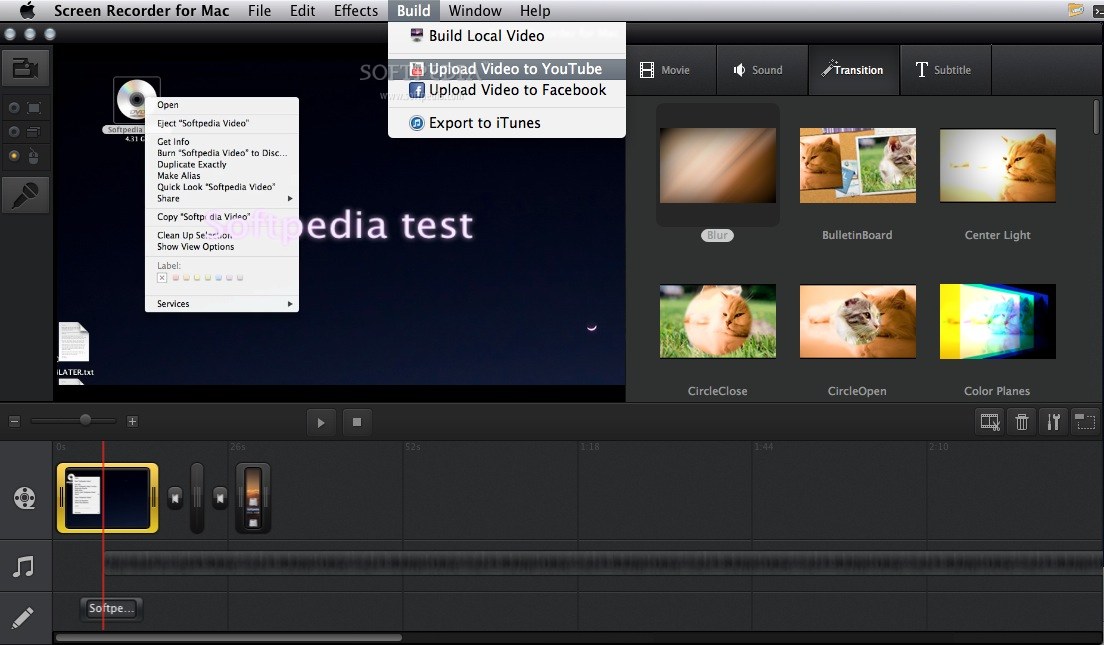
Ah, macOS! Known for its user-friendliness. Luckily, recording the screen is built-in (Shift-Command-5, remember it!). However, recording internal audio natively is a different story. Apple, in their infinite wisdom, prefers you use third-party tools for this.

Again, OBS Studio is your champion! Or, you can explore other options like QuickTime Player combined with an audio routing tool like iShowU Audio Capture (free for personal use). This setup might seem a little complicated at first, but think of it like building a LEGO set. A few steps, and you've got a masterpiece!
ChromeOS Crusaders
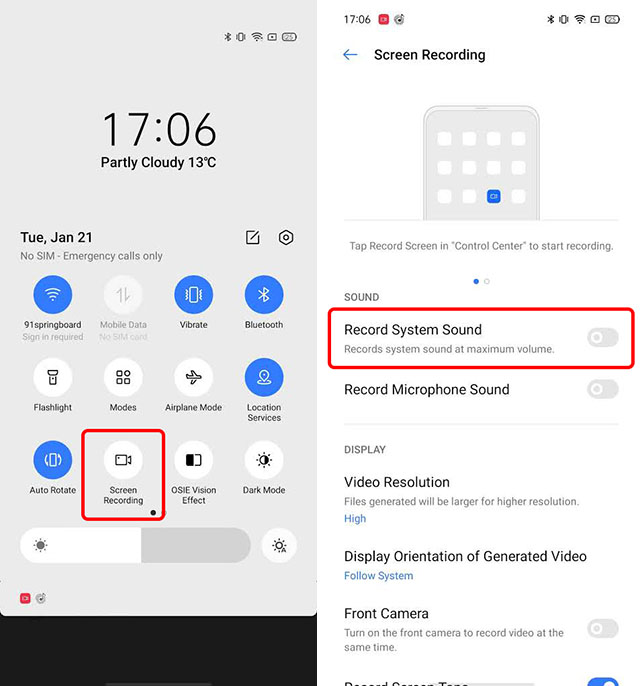
ChromeOS has been catching up in the screen recording game. It has a built-in screen recorder, but internal audio recording can be a challenge. Some Chromebooks may support it directly, but others will require extensions or Android apps to bridge the gap. This is an area that continues to evolve, so stay tuned for updates!
Tips and Tricks for Audio Awesomeness
Alright, you've chosen your weapon (software) and are ready to record. But wait! Here are a few golden nuggets of wisdom to ensure your audio is crisp and clear:

- Test, test, test! Before recording anything important, do a quick test run to make sure your audio is being captured correctly and at the right volume. Think of it like a soundcheck before a concert.
- Minimize background noise. A quiet environment will make a huge difference in the quality of your recording. Turn off the fan, close the window, and shoo away any noisy pets (easier said than done, I know!).
- Adjust your levels. Make sure your microphone (if you're using one) and your internal audio aren't competing with each other. A good balance is key!
- Choose the right audio format. MP4 with AAC audio is a generally good choice for compatibility.
By taking these simple steps, you'll avoid the dreaded "tinny audio" or the "muffled voiceover" nightmares that haunt screen recorders everywhere!
Go Forth and Record!
So there you have it! Recording your screen with internal audio might seem a bit daunting at first, but with a little experimentation and the right tools, you'll be capturing epic moments in no time. It’s like learning a new language; it might seem hard at first, but once you get the hang of it, a whole new world opens up.
Now go out there and create some amazing content! Don't be afraid to experiment, have fun, and share your creations with the world!