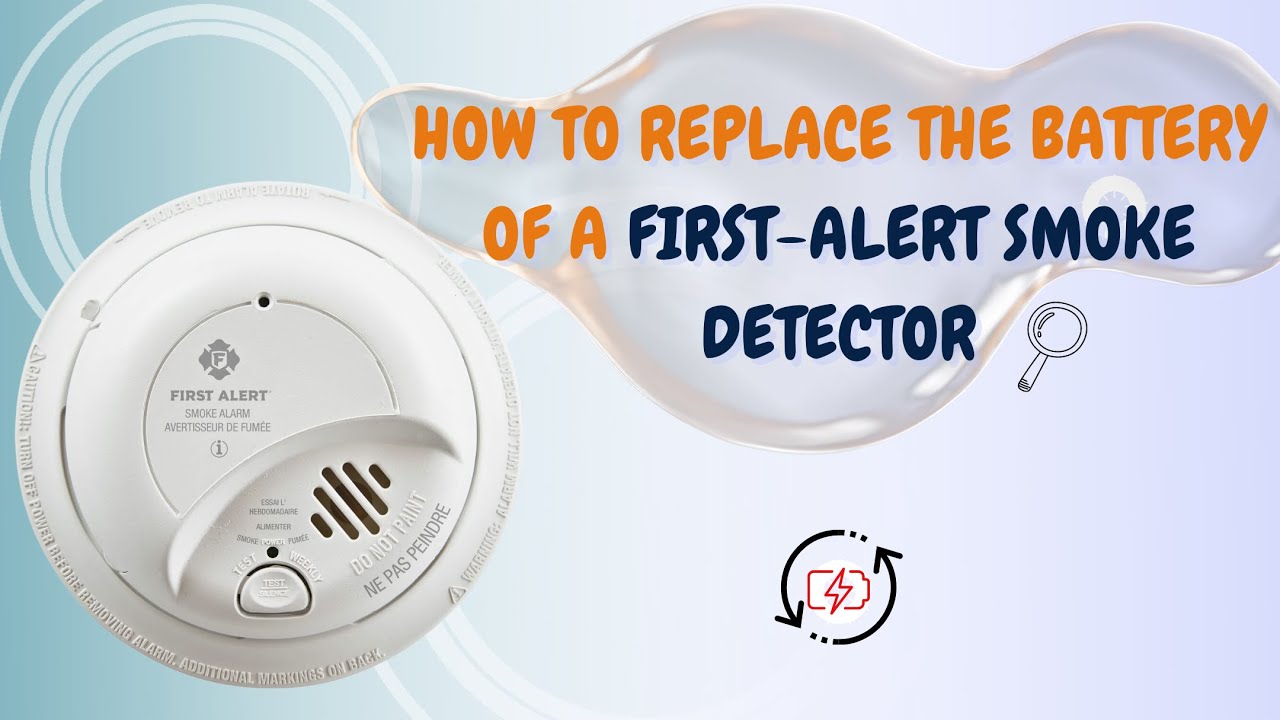
How To Put Battery In Smoke Detector

Hey there, friend! Ever been minding your own business, perhaps enjoying a quiet evening, when suddenly – BEEP! A tiny, insistent chirp pierces the peace? Yeah, you know the one. It's your smoke detector, gently (or not so gently) reminding you it needs a little TLC. Specifically, a fresh snack! Don't fret, because changing a smoke detector battery is one of those wonderfully simple tasks that feels like a huge victory once it's done. Let's tackle it together, shall we? You got this!
Why Your Smoke Detector is Beeping (and Annoying You)
That intermittent, high-pitched chirp isn't your house trying to communicate with aliens, nor is it a ghost playing pranks. It's actually your smoke detector's very important, albeit incredibly irritating, way of saying, "Hey! My battery is on its last legs! Get me a new one, pronto!" Think of it as a tiny, demanding roommate who only speaks in beeps. And trust me, it’s much easier to feed it a new battery than to try to find a new roommate!
Gather Your Supplies (aka Your Arsenal Against Annoyance)
Alright, before we embark on this noble quest, let's gather our tools. Don't worry, you won't need a soldering iron or a degree in rocket science. Just a few humble items:
Must Read
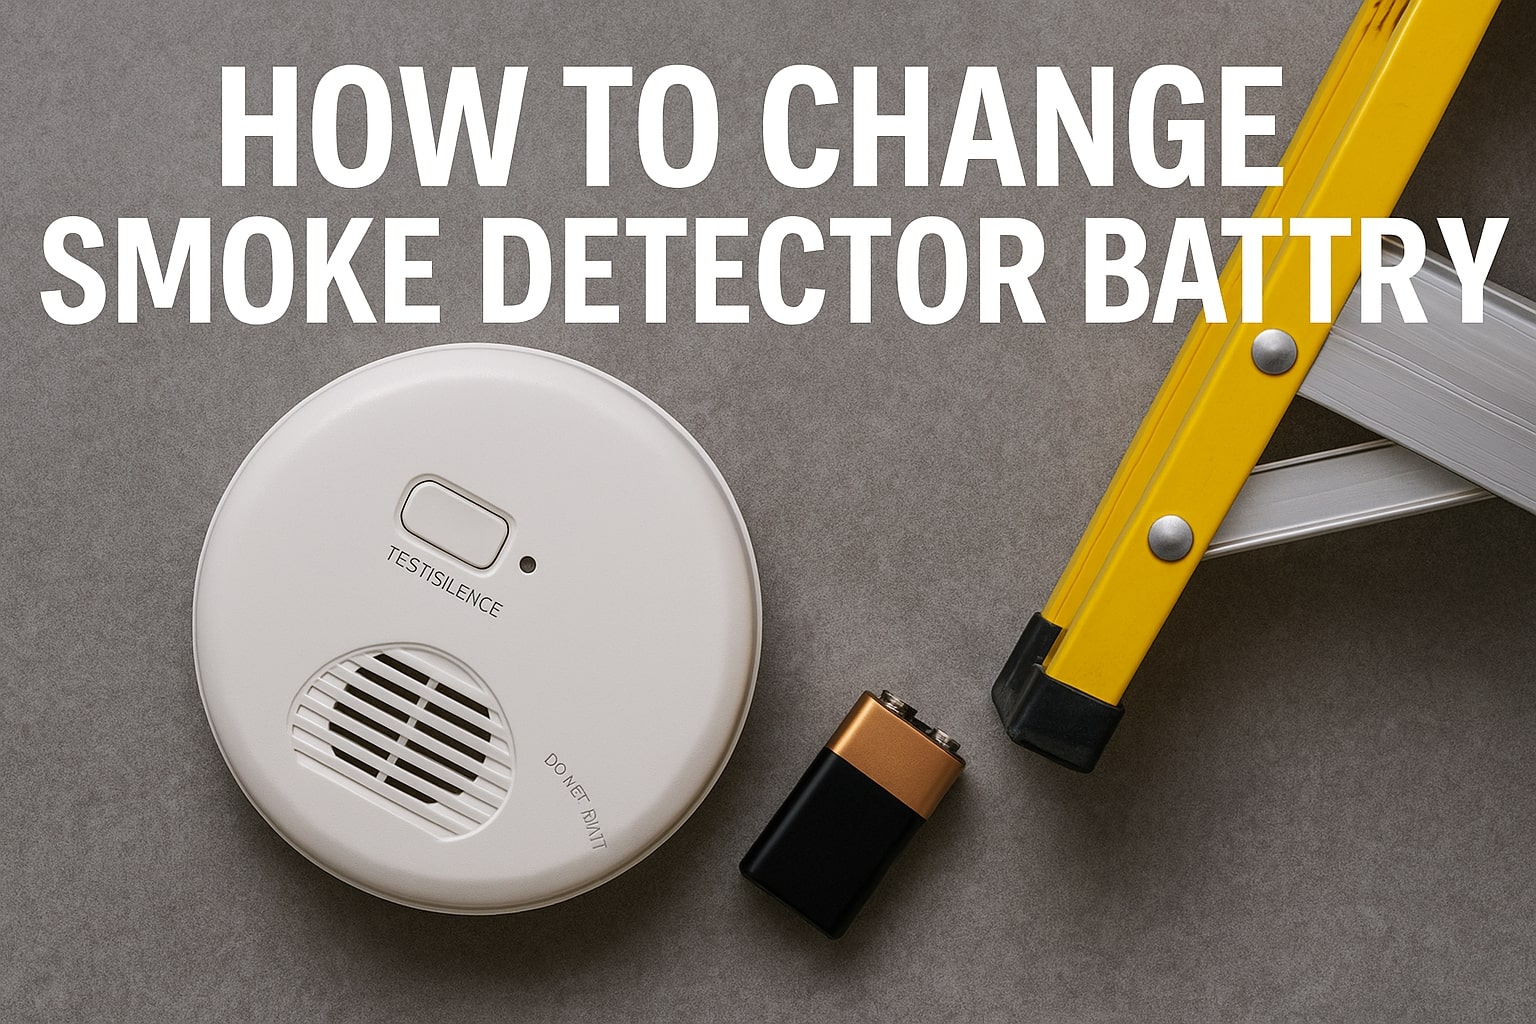
- A fresh 9-volt battery: This is the most common type, often shaped like a tiny brick. If your detector uses AA or AAA, make sure you have the right ones! Check the old battery if you're unsure.
- A sturdy step stool or ladder: Unless you're secretly an NBA player, you'll likely need a boost. Safety first, folks! No standing on wobbly chairs or precarious stacks of books. We want to change batteries, not perform circus acts.
- Possibly a small flathead screwdriver: Some detectors have a little latch that needs a gentle nudge to open.
Step 1: The Great Climb (Safely, Please!)
Time to elevate! Carefully position your sturdy step stool or ladder directly underneath your smoke detector. Make sure it's stable and won't wobble. Take your time, climb up, and get a good look at your detector. Admire its ceiling-dwelling commitment to keeping you safe. Just don't get too mesmerized – remember the mission!
Step 2: Open Sesame! (Accessing the Battery Compartment)
This is where things can vary a smidge, but generally, it's pretty straightforward. Look for a small tab, latch, or a twist-off cover. Here are a few common scenarios:
- The Twist-Off: Some detectors simply twist off their base. Give it a gentle counter-clockwise turn.
- The Slide-Open: Many have a small door or panel that slides open. Look for an arrow or a little lip you can push with your thumb.
- The Latch-and-Pop: There might be a tiny tab you press or push with your finger (or that small screwdriver if it's being stubborn) to release the cover.
Be gentle, no need for brute force! You're trying to open it, not arm wrestle it. Once open, you should see the culprit battery staring back at you.
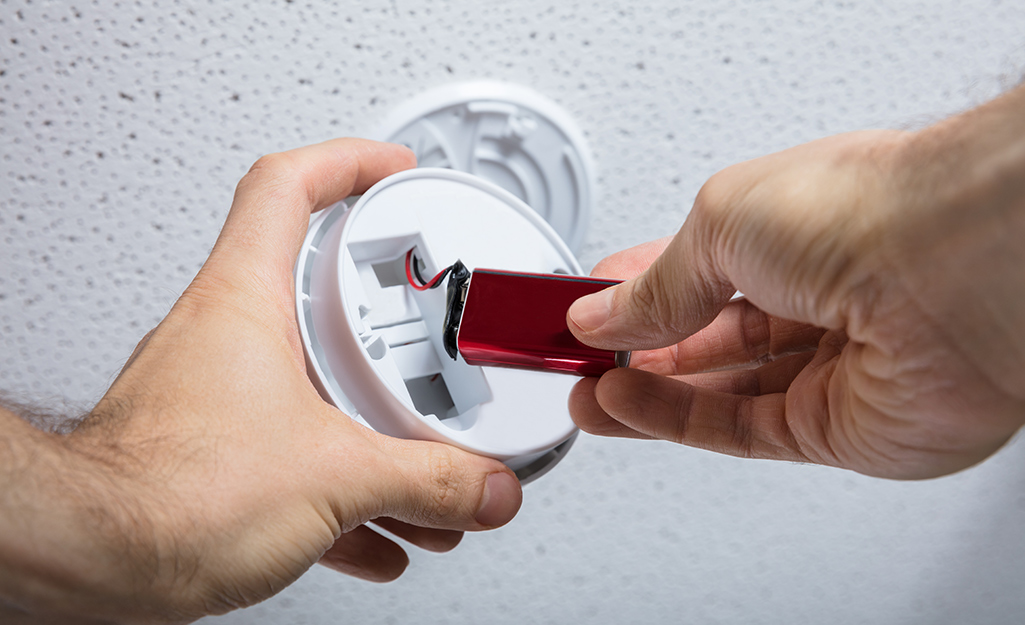
Step 3: The Old Switcheroo (Out with the Old, In with the New)
Alright, you've found the old battery. It's probably a 9-volt, connected by two little snaps. Gently pull it out. Don't yank it like you're starting a lawnmower; just disconnect the snaps. Now, grab your brand-spanking-new battery. See those positive (+) and negative (-) terminals? They need to match up with the snaps. It’s like a tiny, high-stakes game of connect-the-dots!

Snap the new battery firmly into place. It should feel secure. Give it a little wiggle test – if it feels loose, double-check that those terminals are properly connected. You don’t want it falling out and causing another round of beeps!
Step 4: The Moment of Truth (Testing It Out)
Before you close everything up, let's make sure your new battery is doing its job. Every smoke detector has a "Test" button. It's usually a small, clearly marked button on the outside. Press and hold it for a few seconds. You should hear a loud, piercing alarm. This is a good thing! It means the detector is working and has power. If it doesn't make a sound, double-check your battery connection or try a different new battery. Sometimes, even new batteries can be duds (boo!).
Step 5: Celebrate Your Victory (and Descend Gracefully)
Hear the glorious test alarm? Fantastic! Now, carefully close the battery compartment. Whether it twists, slides, or snaps shut, make sure it's secure. Give it a gentle push or twist until it feels locked in. Then, just as carefully as you climbed up, descend from your step stool or ladder. You’ve successfully tamed the beeping beast!
And there you have it! You’ve conquered the incessant chirp and ensured your home is safer. It’s a small task, sure, but a mighty important one. Plus, now you get to enjoy the sweet, sweet sound of silence (until the kids wake up, anyway!). You’re not just changing a battery; you’re being a home hero, a safety champion, and a master of peace and quiet. Give yourself a pat on the back, because you absolutely nailed it! Keep shining, and keep those detectors chirpless!