How Do You Change Battery In Garage Door Opener

You know that feeling, right? It’s Monday morning, you’re already running five minutes late, coffee’s brewing but not quite ready, and you hit the garage door opener button with all the hopeful anticipation of a lottery winner. Nothing. Absolutely nothing. You try again, maybe a little harder this time (because that always helps, obviously). Still nada. Your car is trapped, your coffee is mocking you from the kitchen, and your carefully planned morning routine has just been thrown into the chaotic abyss of a broken garage door.
Panic sets in. Is it the motor? The sensors? Is the universe just conspiring against your peaceful existence today? More often than not, my friend, the culprit is far less dramatic and far more fixable than you think: the battery in your garage door opener remote has probably just decided to call it quits.
And guess what? You don't need to call a technician, nor do you need a engineering degree to fix this. It’s one of those satisfyingly simple DIY tasks that makes you feel like a total superhero afterwards. Let's get that door moving again, shall we?
Must Read
First Things First: Gather Your Troops (aka Tools)
Before you embark on this epic quest, let’s make sure you have everything you need. It’s not much, I promise:
- A small screwdriver: Most remotes use either a tiny Philips head or a small flathead. Take a peek at your remote; you’ll usually see the screw type.
- A new battery: This is the crucial part! Pop open your remote (we'll get to that in a sec) and check the old battery type. They’re often coin-style batteries like a CR2032 or CR2016, but some might use a small cylindrical one like an A23 or even a standard AAA. Don't guess! Write down the number on the old one.
- Optional (but helpful): A pry tool or even a credit card if your remote doesn't have screws and needs a gentle nudge to open.
Got everything? Excellent! Let’s dive in.
The Grand Operation: Swapping Out That Dead Battery
Step 1: Locate Your Patient (The Remote, That Is)
Okay, this might sound obvious, but grab the remote that's giving you grief. Sometimes we have multiple, and it's easy to get them mixed up. Make sure it's the one that's stubbornly refusing to cooperate. (Unless you’re proactively changing all of them, which, kudos to you for being so organized!)
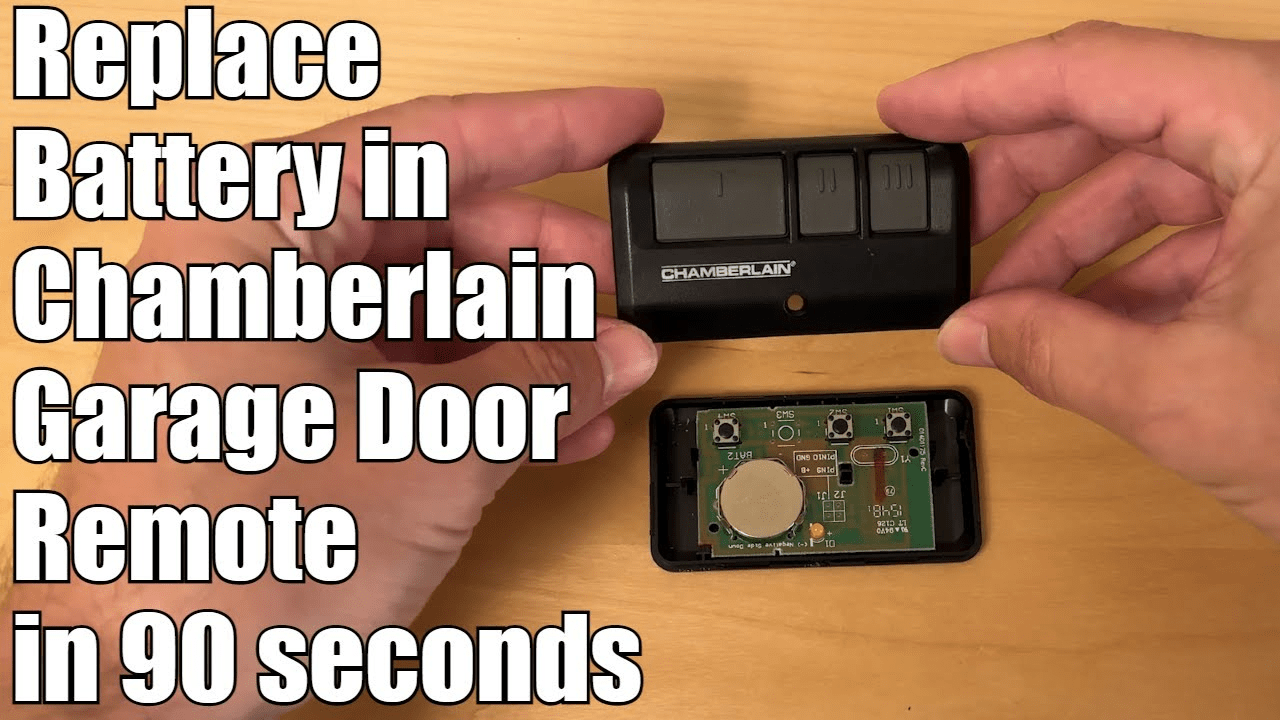
Step 2: The Big Reveal – Opening the Remote Case
This is where things can vary a smidge. Most garage door remotes fall into one of two categories:
- Screwed Together: Look for a small screw (or sometimes two) on the back or bottom of the remote. Use your tiny screwdriver to carefully remove it. Keep it somewhere safe – these little guys love to vanish!
- Snap-Together: If there are no visible screws, your remote probably snaps together. Look for a small indentation or seam along the edge. You might need to gently pry it open using your fingernail, a small flathead screwdriver, or even a credit card. Be gentle! You don't want to snap any clips or scratch the casing.
Once you’ve cracked it open, you’ll see the internal circuit board and, crucially, the battery.
Step 3: Evict the Old, Welcome the New
Take a good look at how the old battery is sitting. Note which way the positive (+) and negative (-) sides are facing. This is super important for the new battery! Some batteries are held in by a small clip; you might need to gently push it aside or slide the battery out. Others just sit in a little tray.

Carefully remove the old, deceased battery. Now, take your shiny new battery and insert it exactly the same way the old one was. Make sure it's snug and secure.
Step 4: Close 'Er Up and Test!
Put the remote case back together. If you had screws, put them back in. If it snaps, press the two halves firmly until they click into place. Give it a good squeeze to make sure everything's sealed.
Now for the moment of truth! Step within range of your garage door opener and press the button. Did it work? Did that mighty door spring to life? Hooray! (I knew you could do it.)
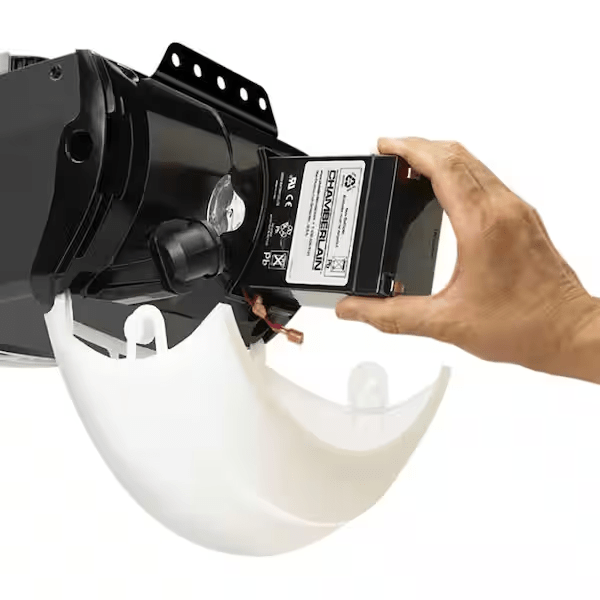
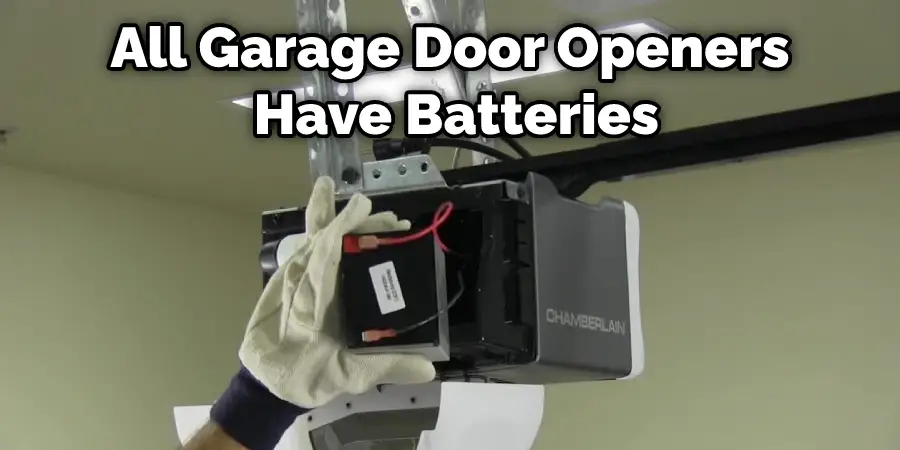
A Quick Word on the Main Opener Unit
Just a quick side note: while we've been talking about the remote control, some newer garage door opener motors (the big box on your garage ceiling) also come with a backup battery. This usually kicks in during power outages. Changing those is a slightly different process, usually involving opening a specific compartment on the motor unit itself. But for 90% of "my garage door opener isn't working" scenarios when the power is on, it's the remote's battery that's the culprit. So, you've likely fixed your problem!
There you have it. A few minutes of your time, a tiny bit of elbow grease, and you've conquered a common household vexation. See? Not so scary after all, was it? Now go enjoy that coffee – you’ve earned it, DIY hero!