How To Remove A Honeywell Thermostat From Wall
Ever gazed at your thermostat, sitting there stoically on the wall, and thought, "What’s behind that thing?" Or maybe you're plotting a smart home upgrade, planning a fresh coat of paint, or just curious about how these temperature-controlling marvels actually work. Whatever your reason, the idea of removing a Honeywell thermostat might sound a bit intimidating, like a task reserved for a seasoned HVAC pro. But guess what? It’s often as straightforward as a Sunday morning stroll.
Let's peel back the layers (literally!) and discover the surprisingly simple world behind your home's comfort control. It’s less about being a tech wizard and more about a gentle curiosity and a few easy steps. Think of it less as a daunting electrical project and more like opening a secret compartment in your house.
Why Untether Your Thermostat?
There are a bunch of perfectly good reasons why you might want to temporarily liberate your Honeywell thermostat from its wall perch. Perhaps you’re finally upgrading to one of those fancy smart thermostats that learns your habits and can be controlled from your phone – a total game-changer, by the way! Or maybe you're just giving your wall a much-needed makeover and need a clear space. Maybe your current thermostat is on the fritz, and you suspect a loose connection, or you're just doing a bit of investigative maintenance. Whatever the motive, the journey of removal is often more interesting than you'd expect!
Must Read
The Golden Rule: Safety First (and it's super easy!)
Before you even think about touching your thermostat, there’s one absolutely, positively, non-negotiable step: cut the power. We're dealing with your home's electrical system, even if it's low voltage. It's like checking for oncoming traffic before crossing the street – just good sense! Head to your circuit breaker panel (the big metal box, usually in your basement, garage, or utility closet). Look for the breaker labeled "Furnace," "AC," or "HVAC." Flip it to the "OFF" position. This is a crucial moment. You've just disarmed the system, making your exploration completely safe. Give yourself a little high-five!
Meet the Thermostat: It's Friendlier Than You Think
Now that the power is off, take a moment to really look at your Honeywell thermostat. It's probably made up of two main parts: the faceplate (the part you interact with) and the sub-base or backplate (the part attached to the wall, holding the wires). Many Honeywell models are designed for easy detachment, like a Lego piece fitting into its base.
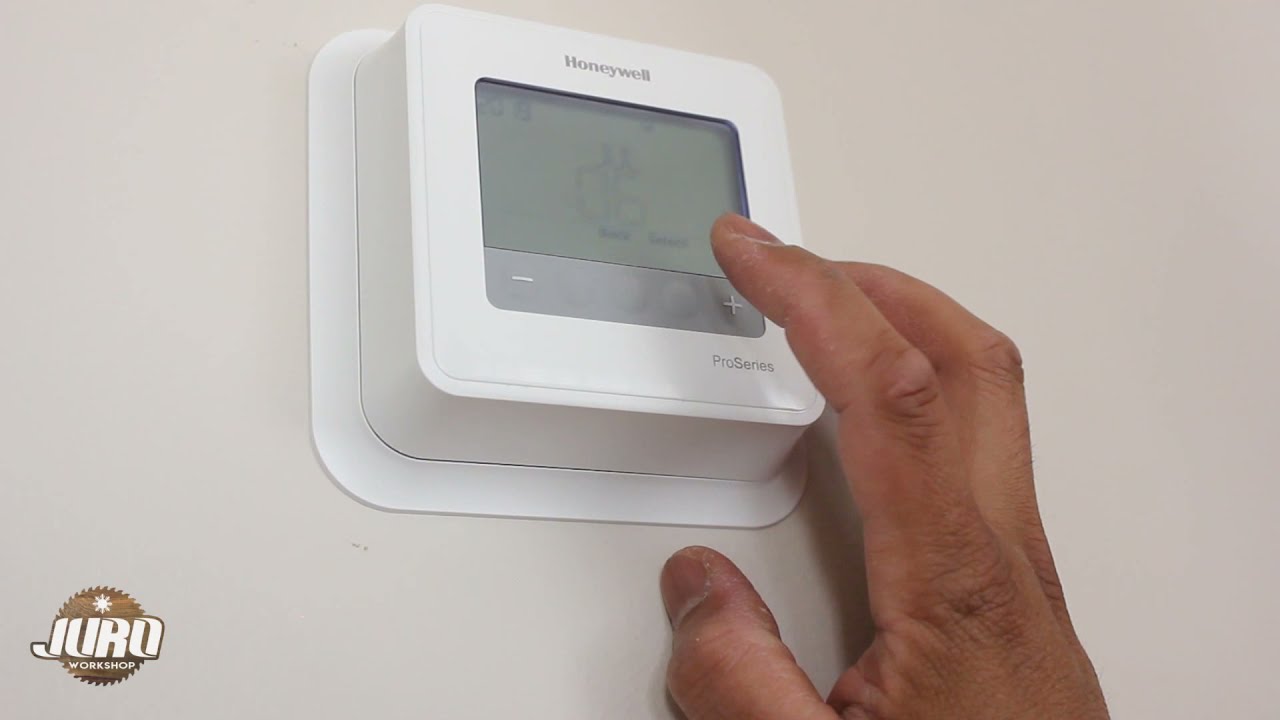
First, the Faceplate!
Most modern Honeywell thermostats, especially the digital ones, are designed to snap right off their backplate. Look closely around the edges, top, or bottom. Do you see any small tabs, latches, or maybe a tiny slot where you could insert a flathead screwdriver? Often, it's as simple as gently pulling outwards from the bottom, or pressing a release tab and then lifting. It’s not usually glued on like a stubborn sticker, so don't force it! If it doesn't budge with a gentle tug, look harder for those tabs or screws. Sometimes, there are one or two tiny screws on the sides or bottom that just need a quick turn.

Once you feel that satisfying click or release, the faceplate should come right off, revealing the wiring connections underneath. Pretty cool, right? You're now peeking into the brains of the operation!
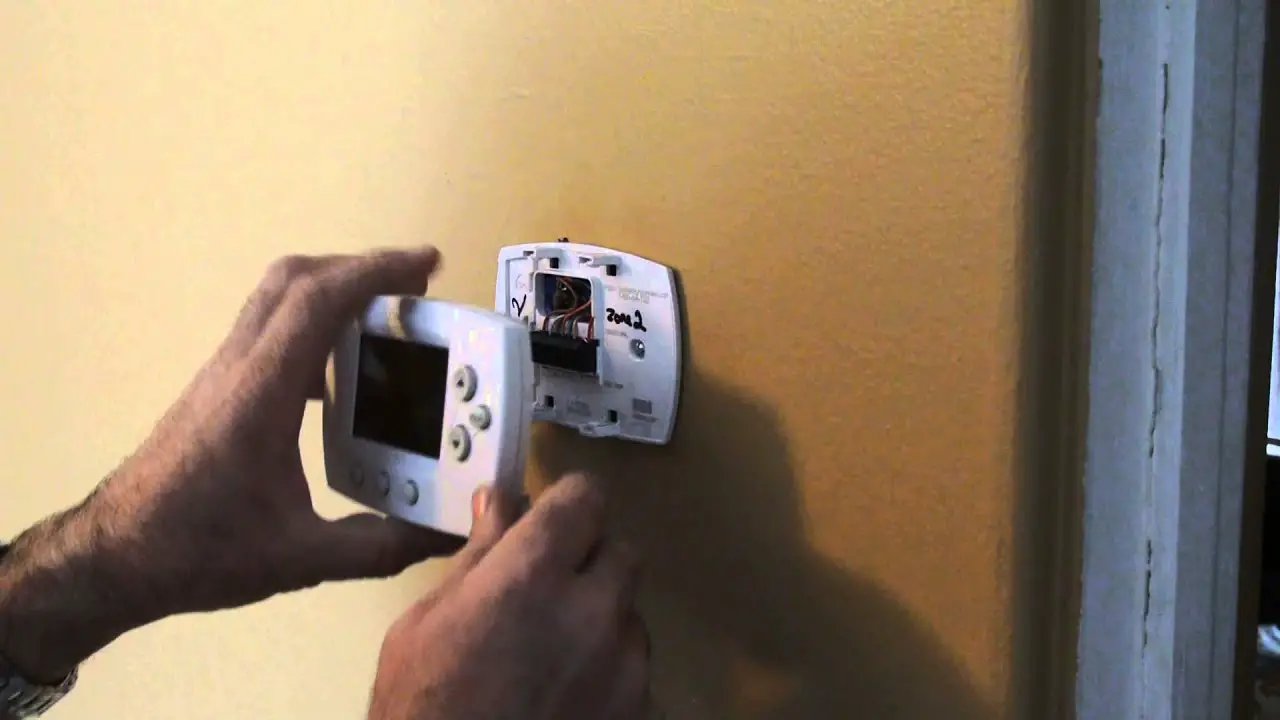
The Wired World: Don't Panic, Just Observe
With the faceplate removed, you’ll see a neat (or sometimes not-so-neat) array of colorful wires connected to screw terminals on the sub-base. These wires are the messengers, telling your furnace to heat, your AC to cool, or your fan to blow. Each wire color usually corresponds to a specific function (e.g., red for power, white for heat, yellow for cooling, green for fan). While removing the faceplate is often enough for tasks like painting or swapping out AA batteries, if you need to remove the entire backplate, you'll need to deal with these wires.

If you're only removing the entire unit for a full replacement, take a picture with your phone! Seriously, this is the most useful tip. A quick snapshot will be your roadmap when you connect the new thermostat. Note which wire goes into which terminal (e.g., Red to R, White to W). You can then unscrew each terminal and gently pull the wires free. Usually, there’s a bundle of wires neatly tucked into the wall, perhaps with a little bit of slack.
Taking Off the Backplate: The Final Frontier
Once the wires are detached (and you’ve definitely taken that photo!), the backplate itself is typically held to the wall by a couple of screws. These are usually visible once the faceplate is off. A standard Phillips head screwdriver is all you’ll need to loosen them. Once the screws are out, the backplate should lift right off, revealing the small hole in your wall where the wires emerge.
And there you have it! Your Honeywell thermostat, fully liberated from its wall-bound duties. It’s quite satisfying, isn't it? You've successfully navigated a little DIY adventure, all thanks to a bit of curiosity and confidence.
What's the Big Deal?
Beyond the practical reasons, there’s something genuinely cool about understanding the simple mechanics of things we use every day. Your thermostat, humble as it may seem, is a vital piece of your home's comfort ecosystem. Knowing how to safely and easily remove it not only empowers you to handle minor repairs or upgrades but also gives you a deeper appreciation for the technology that keeps your living space just right.
So, next time you see that Honeywell device, remember: it's not some enigmatic black box. It’s a well-designed, often user-friendly piece of tech, just waiting for a curious mind to gently uncover its secrets. And now, you know how!