How To Open Nest Doorbell
Alright, gather 'round, my friends. Pull up a virtual chair, grab your favorite (non-alcoholic, probably) beverage, because today we're tackling one of life's great mysteries, one that has undoubtedly kept you up at night: how on Earth do you open that fancy Nest Doorbell thingy?
You know the one. It sits there, stoic and all-seeing, silently judging your Amazon deliveries and that one time you almost tripped over the garden gnome. It’s got that sleek, minimalist design that screams “don’t you dare touch me with your grubby fingers, mere mortal.” But sometimes, you just have to get inside.
Why Play Doorbell Surgeon?
Now, why would anyone want to crack open their perfectly functional, high-tech guardian of the threshold? Are you expecting it to contain secret snacks? Perhaps a tiny, yet surprisingly aggressive, alien civilization? While those are valid theories, the truth is usually a bit more… mundane.
Must Read
For many of you, especially those with the Nest Doorbell (battery) model, the most common reason is a simple one: battery change. Yes, even our fancy gadgets need a little juice-up now and then. Your doorbell isn't immortal, despite its imposing presence. It's like a tiny, watchful vampire that needs a steady diet of electrons. When it starts whining about low power, you can either charge it directly, or, for maximum convenience, pop it off and swap out the battery (if you've got a spare charged and ready – pro tip!).
Other reasons? Maybe you’re repainting the front door trim and want to avoid giving your doorbell an accidental new coat of lavender. Maybe you’re troubleshooting a connectivity issue and want to give it a good, stern talking-to off the wall. Or, perhaps, you're convinced a rogue spider has set up a miniature discotheque behind it, and you need to investigate. (Don't judge, we've all been there.)
The Sacred Tool (or its Understudy)
First things first, you’re going to need a tool. Not a hammer. Not a crowbar. And definitely not that butter knife you almost bent trying to open a particularly stubborn jar of pickles. You need the release tool.
“The what now?” you ask. It’s a tiny, unassuming little pin, usually made of plastic or metal, that came in the original box with your Nest Doorbell. It looks suspiciously like the SIM card ejector tool you get with your phone. That’s because, in the grand scheme of things, they’re basically cousins in the tiny-stick-that-pushes-things family.
Lost it? Don't panic! This isn't like losing your car keys right before a road trip. A straightened paperclip or a small eyeglass screwdriver can often pinch-hit quite nicely. Just be gentle. We're performing delicate surgery here, not trying to win a strongman competition.
The Grand Unveiling: Step-by-Step (with minimal theatrics)
Okay, deep breaths. This is easier than assembling IKEA furniture, I promise. No cryptic diagrams, no missing screws (unless you’re troubleshooting, then all bets are off).

1. Locate the Tiny Hole of Destiny
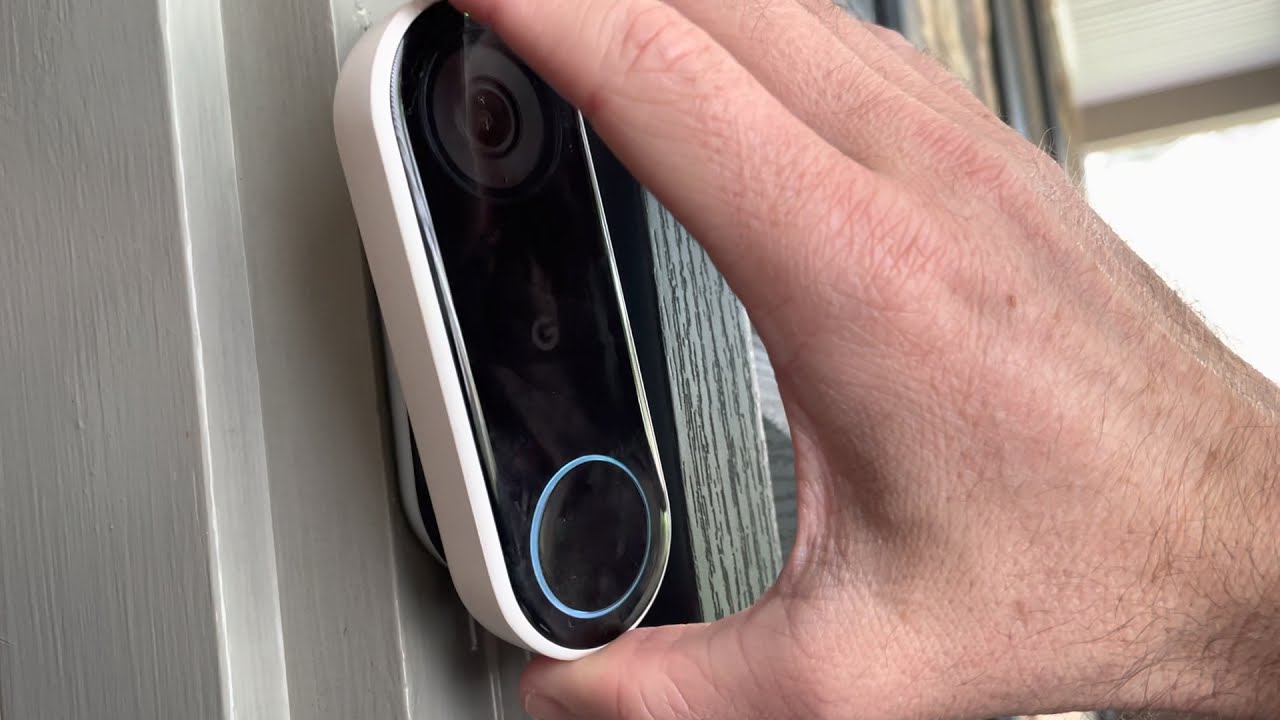
Walk up to your Nest Doorbell. Be polite. Introduce yourself. Then, look carefully at the very bottom edge. You'll spot a small, almost imperceptible hole. It’s usually smack in the middle. This isn’t a design flaw; it’s the secret access point, the keyhole to your doorbell’s inner workings. For the Nest Doorbell (battery), it’s just one hole. For the older Nest Hello/Wired, there might be two – you’ll be aiming for the one that looks like it wants to be poked.
2. Insert and PUSH! (Gently, please)
Take your trusty release tool (or its paperclip understudy) and gently insert it into that tiny hole. You'll feel a slight resistance. Don't be afraid! This is where the magic happens. Now, here's the crucial part: push upwards firmly but not aggressively. You should feel a small click or release. This mechanism is designed to disengage a small tab that holds the doorbell securely to its mounting plate.
It’s like cracking a secret code, but instead of numbers, it’s just a tiny pin and a satisfying click.

3. The Big Reveal: Pull It Off
While keeping that tool pushed in (or immediately after you feel the click), gently pull the doorbell unit away from the wall plate. It should detach fairly easily. If it feels stuck, re-insert the tool and push again. Don't yank it like you're trying to win a tug-of-war against a very stubborn badger. We’re aiming for finesse, not brute force.
For the wired versions (like the Nest Hello), remember that it's still connected by wires to your home’s electrical system. So, don’t wander off with it like it's a prize trophy. Let it dangle gracefully, or prop it up carefully. If you need to fully disconnect the wires, always turn off the power at your breaker box first! Safety first, folks. We don’t want any unexpected hair-raising experiences.
The Anti-Climax: Putting It All Back
Congratulations, you’ve opened your Nest Doorbell! Now for the less glamorous, but equally important, part: putting it back. This is generally much easier than taking it off.

Simply align the top of the doorbell unit with the top of the mounting plate on the wall. Then, gently push the bottom of the doorbell inwards towards the wall until you hear a satisfying click. That click means the retaining tab has re-engaged, and your doorbell is once again securely in place, ready to resume its duties of surveillance and announcing visitors.
Give it a little wiggle test. If it feels solid, you're golden. If it wobbles like a jellyfish on a trampoline, you haven't quite clicked it in. Try again!
You Did It!
See? That wasn't so bad, was it? You've conquered the mighty Nest Doorbell! You've peered into its soul (or at least its battery compartment). You've saved yourself the embarrassment of calling a technician just to replace a battery. You are now a certified Nest Doorbell Whisperer, a true tech-savvy hero of your own home. Go forth and brag to your neighbors! Just try not to open it too often, or it might start charging rent for all the attention.