How To Make Live Resin Vape Carts

Okay, let's talk live resin vape carts! Why? Because they're deliciously potent and offer a super convenient way to enjoy your favorite cannabis strains. Plus, making them yourself? That's where the real fun begins! It might sound intimidating, but with a little know-how, you can be puffing on your own homemade carts in no time.
So, who is this for? Well, beginners who are curious about cannabis concentrates and want a more controlled experience than dabbing. Think of it as your entry into the world of next-level flavor and effects. For hobbyists, it's a chance to get creative and experiment with different strains and terpene profiles. You can fine-tune your vaping experience to perfectly match your mood. And while "families" might not be the target audience per se, responsible adults who are already consuming cannabis might find making their own carts a more discreet and economical option compared to constantly buying pre-made ones.
The whole point of live resin is capturing the true essence of the cannabis plant. Unlike other concentrates made from dried and cured flower, live resin is made from fresh, flash-frozen plants. This process preserves more of the plant's terpenes – the aromatic compounds that give each strain its unique smell and flavor. The result? A richer, more complex, and often more potent vaping experience.
Must Read
Now, for the practical part. I won’t lie, making live resin from scratch requires some specialized equipment. But for making vape carts using commercially available live resin, here’s a simplified breakdown:
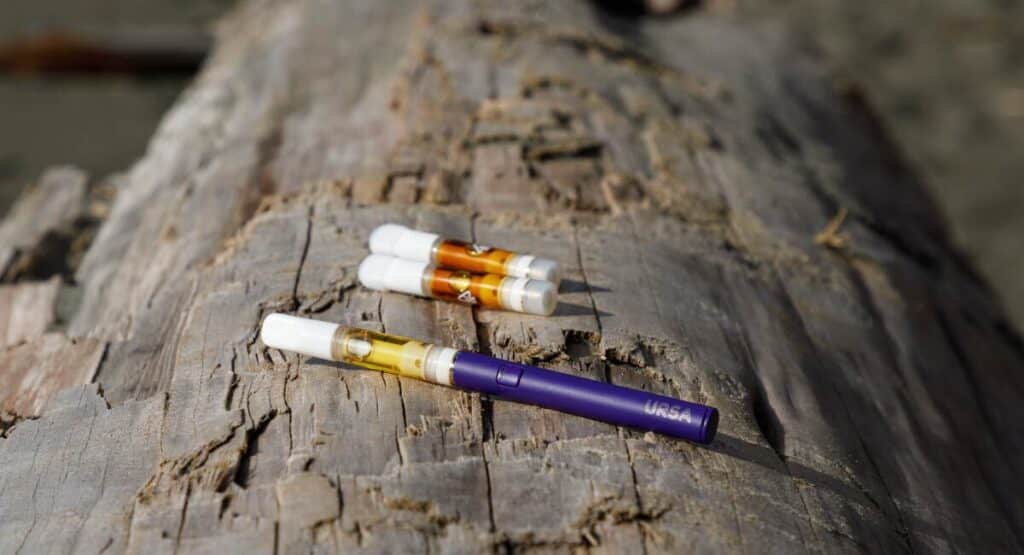
- Gather your supplies: You'll need live resin (obviously!), a vape cart (510-thread is the most common), a syringe or blunt-tip applicator, and potentially a pre-heating device.
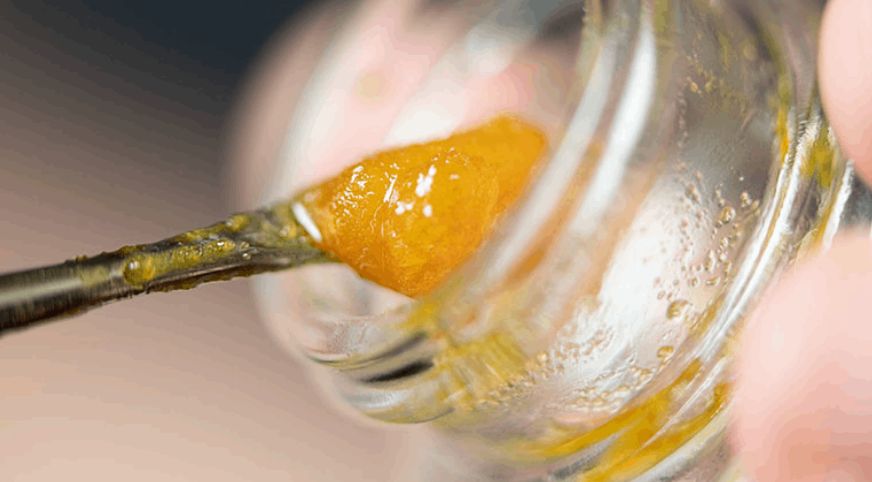
- Warm it up (gently!): Live resin can be thick. Warm it slightly (a hair dryer on low or placing the container in a warm water bath for a few minutes works) to make it easier to work with. Don't overheat it – you don't want to degrade the terpenes!
- Load it up: Carefully draw the warmed live resin into your syringe. Slowly inject the live resin into the vape cart, avoiding the center hole (that's for airflow!). Don't overfill! Leave a little space at the top.
- Let it settle: Allow the cart to sit upright for a few hours to allow the resin to fully saturate the wick.
- Enjoy (responsibly!): Attach the cart to your vape pen and start low and slow. Take small puffs and see how you feel.
Practical tips for getting started:
- Start with quality resin: The better the live resin, the better the final product.
- Don't rush the process: Patience is key when filling the cart.
- Cleanliness is crucial: Use clean equipment to avoid contamination.
- Experiment with strains: Find the flavors and effects you enjoy most.
Variations? You could experiment with adding small amounts of flavorless vape liquid (usually a blend of PG/VG) to adjust the viscosity of the resin if it's particularly thick. However, try to avoid this, as it can dilute the flavor. Also, research different cart brands. Some are known for better wicking and airflow than others.
Making your own live resin vape carts is a rewarding experience. It allows you to control the quality of what you're vaping and customize it to your preferences. There is so much enjoyment to be found in mastering this skill. Have fun, be responsible, and enjoy the flavorful world of homemade carts!