How To Make Custom Press On Nails

Ever scrolled through Instagram and envied those perfectly manicured hands, sporting dazzling nail art that seems straight out of a salon? What if I told you that achieving that level of nail glamour is totally within your reach, and you can do it from the comfort of your own home? Enter the wonderful world of custom press-on nails! It's a fun, accessible, and surprisingly addictive craft that lets you express your unique style without the commitment (or expense!) of traditional manicures.
So, what's the purpose of making your own press-on nails? Simply put, it's about creative freedom and convenience. You're no longer limited by salon appointments, budget constraints, or pre-designed sets. You can create a set of nails for every outfit, every mood, or every special occasion. Imagine having a collection of stunning nail looks ready to go, saving you time and money. Think of it as your own personal, portable nail salon!
The benefits extend far beyond just aesthetics. For example, educators might use nail art as a fascinating subject for teaching students about color theory, design principles, or even basic chemistry related to nail polish formulas. In daily life, press-ons are incredibly practical. Got a last-minute event? Pop on a pre-designed set and you're instantly red-carpet ready. Working with your hands and worried about damaging your nails? Press-ons offer a protective layer. And for those who love to experiment but are hesitant to commit to permanent nail designs, press-ons are the perfect solution.
Must Read
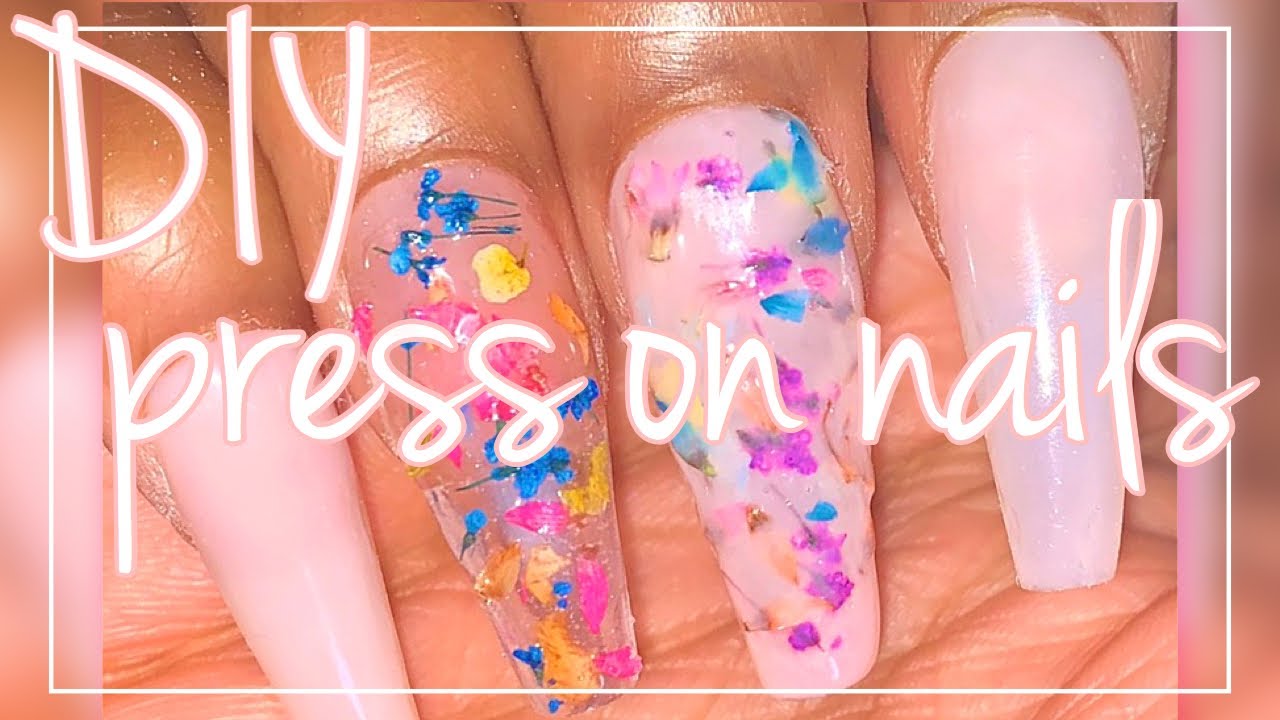
Getting started is easier than you might think! The basic supplies include: a set of blank press-on nails (available in various shapes and sizes), your favorite nail polishes, a base coat and top coat, nail glue or adhesive tabs, and any embellishments you desire (glitter, rhinestones, decals, etc.).
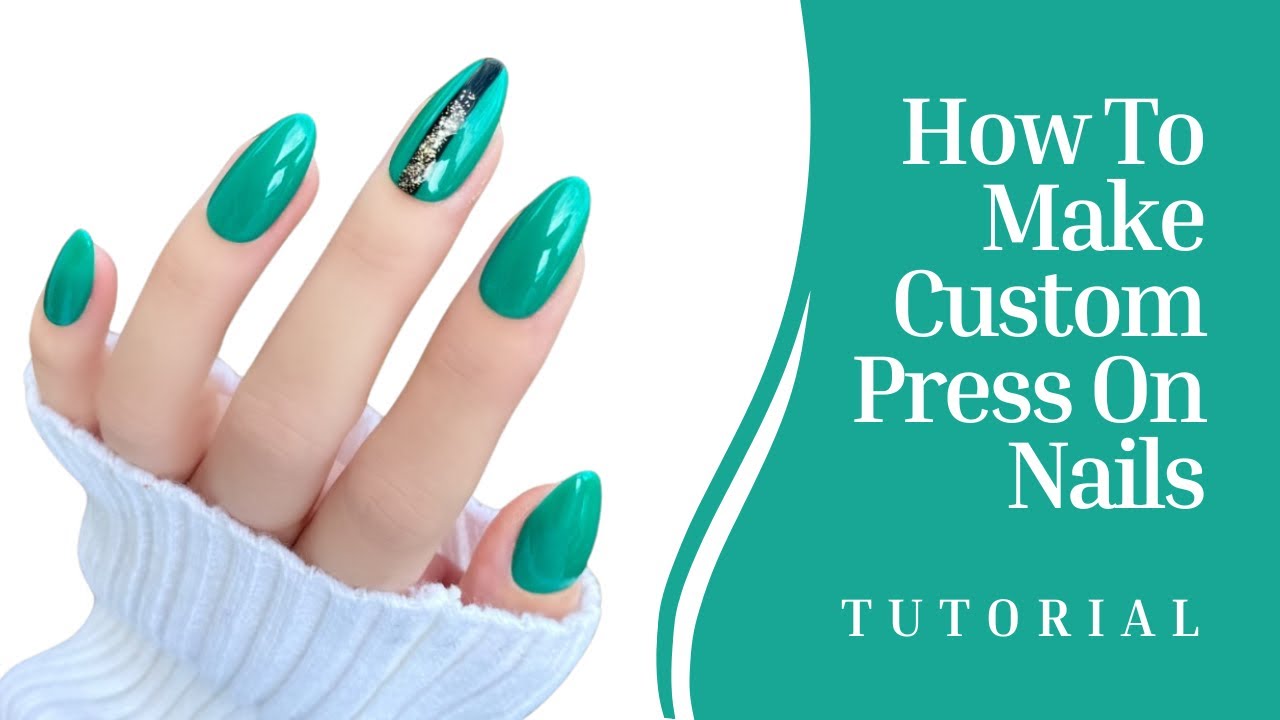
Here’s a simple way to explore: First, lightly buff the surface of your blank nails to create a better grip for the polish. Apply a base coat and let it dry completely. Next, paint the nails with your desired color(s). Feel free to experiment with different techniques like gradients, stamping, or freehand designs. Once the polish is dry, add any embellishments. Finally, seal everything with a top coat for a glossy and durable finish.
Practical Tips:
- Size matters: Ensure the press-ons fit your natural nails properly. You can file them down for a more customized fit.
- Thin layers: Apply thin, even layers of polish to avoid bubbling or smudging.
- Patience is key: Allow each layer to dry completely before moving on to the next.
- Protect your work: A good quality top coat is crucial for protecting your design and adding shine.
Don't be afraid to experiment! There are countless tutorials and inspiration online. Start with simple designs and gradually work your way up to more complex creations. Making custom press-on nails is all about having fun and expressing your individuality. So grab your supplies, unleash your inner artist, and get ready to have fabulous nails on demand! You might even discover a hidden talent and start selling your creations!
Remember, the most important ingredient is your creativity!

