
How To Make A Hole In A Belt

Alright, settle in folks, grab a metaphorical coffee (or a real one, I’m not your boss), because we're about to tackle a problem as old as… well, as old as belts, I guess. We're talking about adding a hole to your belt. Yes, that belt. The one that's currently mocking your waistline with its cruel, unwavering tightness.
Now, you might be thinking, "Isn't that, like, ridiculously obvious?" And maybe it is. But have you ever actually tried it? Without winding up with a mangled leather tragedy that resembles something your dog coughed up? Probably. That’s why you're here, isn't it? Don't worry, I get it. I've been there, done that, got the t-shirt (that now fits because I learned this very skill!).
The Predicament: Why Are We Even Doing This?
Let's face it: clothes are fickle creatures. Sometimes they shrink. Sometimes we shrink (or expand, depending on how many donuts we've strategically consumed that week). And sometimes, just sometimes, belts are manufactured with a bizarre hole-to-buckle ratio that seems designed to make you question your entire existence.
Must Read
Plus, who among us hasn’t fallen victim to the siren song of that "perfectly good" belt found lurking in the back of the closet? It's just...slightly...too small. It taunts you, whispering promises of sartorial elegance if only you could just add one more hole.
So, here we are. Ready to wage war on leather (in a responsible, crafting-focused kind of way).
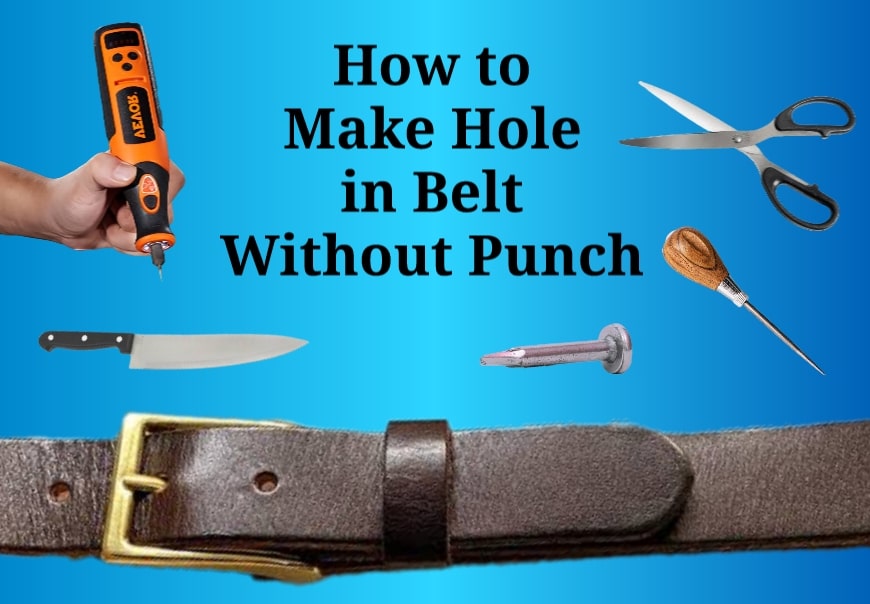
The Arsenal: Gathering Your Belt-Hole-Making Tools
Okay, before we dive headfirst into this operation, let's gather our tools. This isn’t brain surgery, but you want to be prepared. Think of it as a highly sophisticated button-pushing exercise that involves sharp objects.
- The Belt Itself: Obviously. And hopefully, one you actually like. There's no point meticulously crafting a hole in a belt that's already destined for the donation bin.
- A Leather Punch (or a Drill): The weapon of choice. A leather punch is ideal – it’s designed specifically for this task and makes clean, professional-looking holes. But a drill with a small drill bit will do in a pinch. Just be careful! We're aiming for “stylish,” not “medical emergency.”
- Something to Protect Your Surface: A cutting mat, a thick piece of cardboard, your grandma's prized mahogany table… okay, maybe not that last one. But seriously, protect your work surface. You'll thank me later.
- A Ruler or Measuring Tape: Unless you’re going for the “abstract expressionist” look with your belt holes, you’ll want to measure carefully.
- A Marker or Pen: To mark the precise location of your new hole. Precision is key, my friends!
- Optional but Recommended: A Hammer: If you're using a leather punch, a hammer can help get things moving, especially with thicker belts.
The Strategy: Making the Actual Hole (Without Losing a Finger)
Alright, let's get down to the nitty-gritty. Remember, slow and steady wins the race (and prevents accidental leather-related injuries).

- Measure Twice, Cut Once (or Punch Once): This is the golden rule of all DIY projects. Put on the belt and mark where you want the new hole to be. Then, take the belt off and use your ruler to measure the distance between the existing holes. Aim for that same spacing for your new hole. Consistency is key to a stylish, non-homemade look.
- Mark the Spot: Use your marker to clearly mark the center of where you want the new hole to be. This is your target. Don't let anything distract you. Focus. Breathe. Imagine the belt fitting perfectly.
- Prepare for the Plunge: Place the belt on your protective surface. Position the tip of your leather punch (or drill bit) directly on the marked spot.
- Make the Hole:
- Leather Punch: Firmly press down and twist the punch. If it's being stubborn, give it a gentle tap with a hammer. You should feel it pop through the leather. Rotate the punch to ensure a clean cut.
- Drill: Use a low speed and apply gentle pressure. Be careful not to drill too quickly or forcefully, as this can damage the leather.
- Inspect and Refine: Once you've made the hole, check for any rough edges. Use a sharp knife or sandpaper to smooth them out if necessary.
Important Safety Tip: Please, for the love of all that is holy, be careful with sharp objects. And if you're using a drill, wear eye protection. We want you looking good in your belt, not visiting the emergency room because of your belt.
The Victory Lap: Enjoying Your Perfectly Fitted Belt
Congratulations! You've successfully navigated the treacherous waters of belt-hole-making. Step back, admire your handiwork, and bask in the glow of DIY accomplishment.

Now, go forth and confidently rock that belt! You've earned it. And the next time someone compliments your stylishly cinched waist, you can casually drop the fact that you added that hole yourself. They’ll be impressed. Trust me.
Just promise me you won't start offering your belt-hole-making services to the entire neighborhood. Unless, of course, you're looking to start a lucrative side hustle. In that case, all power to you!
