How To Keep Tattoo Stencil From Wiping Off

So, you're about to become a walking, talking masterpiece? Awesome! But first, you gotta get that tattoo stencil to stick like glue. We're diving into the super-secret (not really) world of stencil staying power.
Think of it like this: your skin is the canvas, and the stencil is the blueprint. You wouldn't want the blueprint to vanish mid-painting, right? Let's keep that design crisp and clear!
Prepping for Perfection
First things first: cleanliness is key. You wouldn't bake a cake on a dirty counter, would you? Same goes for your skin!
Must Read
Give the area a good scrub with some antibacterial soap. Make sure it's squeaky clean and ready for its close-up. This part is super important, trust me.
Next, shaving time! You want a smooth surface, like a freshly Zambonied ice rink. No stubble allowed; it's stencil-slippage city otherwise.
Stencil Application 101
Now for the magical part: the stencil application. This is where things get real exciting! (Okay, maybe not exciting, but definitely important.)
Grab your stencil transfer gel. It’s like the glue that holds your dreams together. Don’t be shy; apply a thin, even layer.
Let it sit for a minute, just chilling. You want it to get a little tacky, not soaking wet.
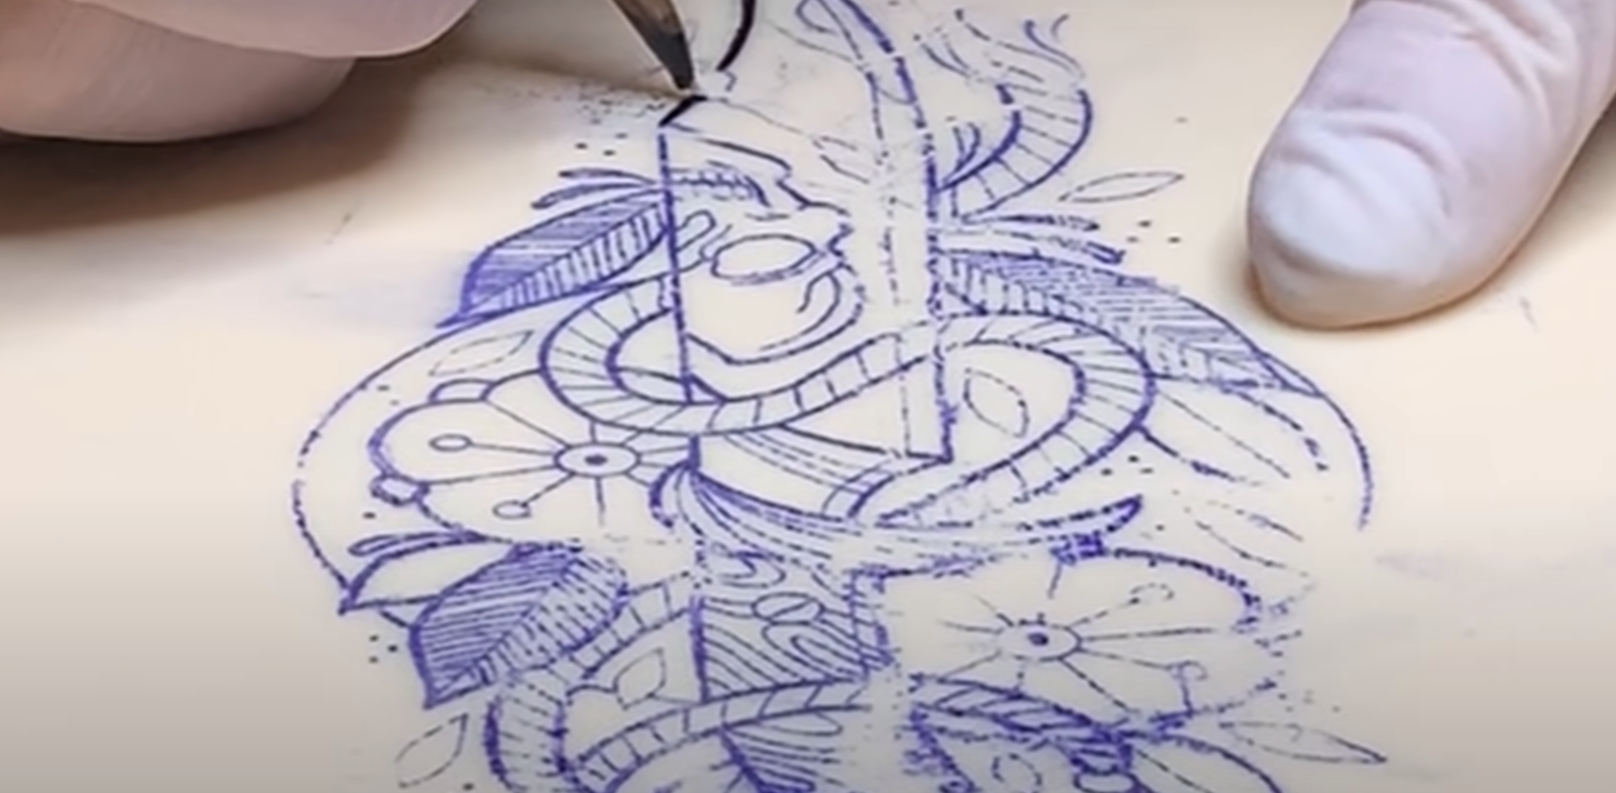
Carefully position your stencil, artwork facing down. Gently press it onto the skin, making sure every line makes contact.
Hold it there for a good 30-60 seconds. Imagine you're giving it a warm hug. Let the magic happen!
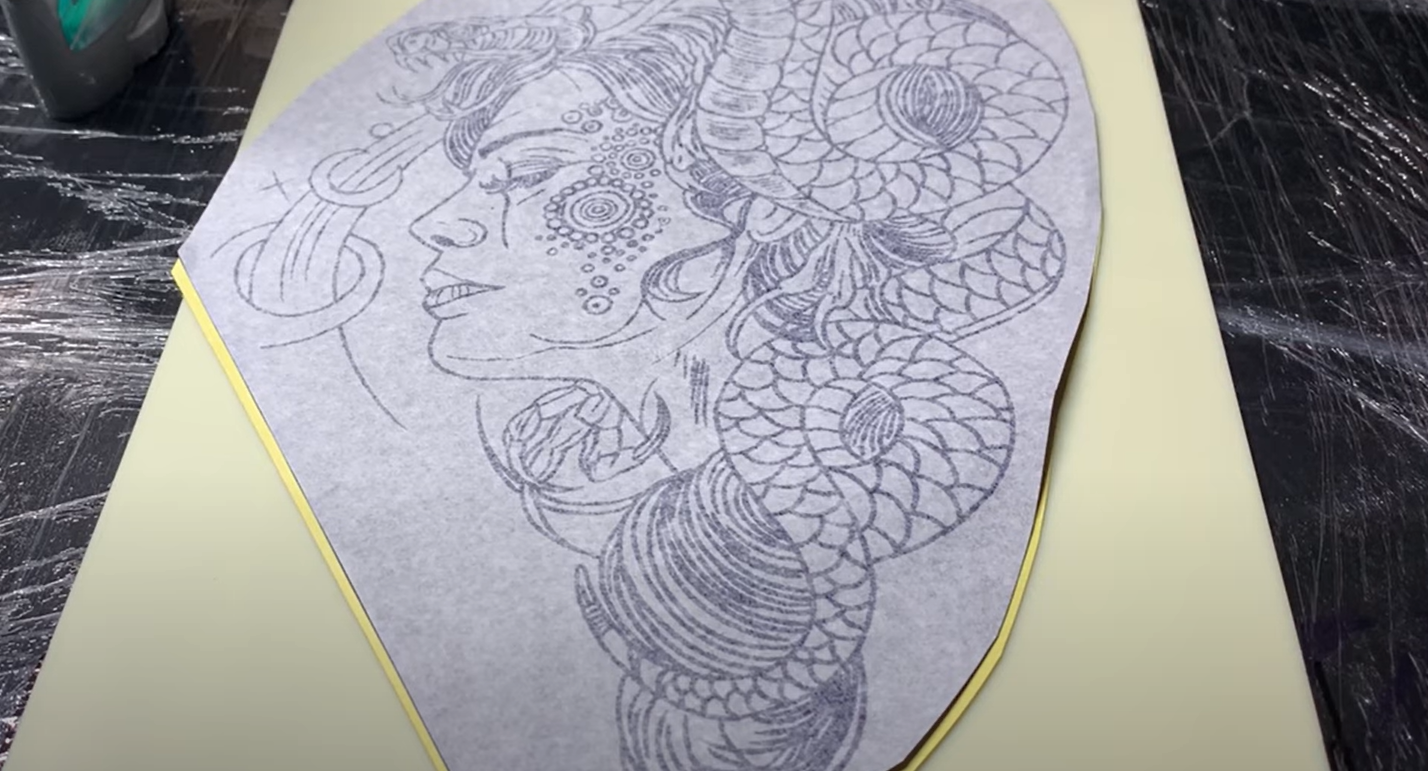
Peel it off slowly and deliberately, like you're unwrapping the world's tiniest, most important present. Ta-da! A beautiful stencil, ready to be inked.
Keeping it On Lock
Alright, the stencil is on, but the game's not over yet. Now we gotta protect that precious design from the evil forces of wiping and smudging!
First, give it some air. Let it dry completely before doing anything else. Patience, young grasshopper!
Once it's dry, consider a light dusting of setting powder. This helps absorb any excess moisture and keeps the stencil locked in place.
During the Tattoo Session
The tattoo artist is ready to work? Fantastic! But you still have a role to play in protecting your stencil. Be a stencil guardian!
Communicate with your artist. Let them know if you feel the stencil rubbing or if something seems off.
Minimize movement. The less you wiggle and fidget, the less likely the stencil is to budge. Think of yourself as a statue.
During the tattoo process, your artist will likely wipe the area frequently. Make sure they're using gentle, blotting motions, not aggressive scrubbing.
Ask your artist about using a product like Green Soap sparingly. Too much can loosen the stencil. It's a balancing act!
Troubleshooting Time!
Even with the best preparation, sometimes things go wrong. Stencils smudge, lines fade. Don't panic! It happens.
If a small area smudges, your artist can usually freehand it. They're artists, after all! They're good at drawing stuff!
For larger smudges, they might need to reapply the stencil. No biggie; it's just part of the process.
The key is communication and a good attitude. You're getting awesome art permanently etched on your body! Embrace the journey!

Beyond the Basics
Want to take your stencil game to the next level? There are a few extra tricks you can try.
Some artists swear by using a skin sealant spray. This creates a protective barrier over the stencil, helping it stay put.
Experiment with different stencil transfer papers and gels. Find what works best for your skin type and the type of design you're getting.
Remember, practice makes perfect! The more you learn about stencil application and protection, the better your tattoos will turn out.
So go forth and get inked! Keep those stencils sharp, those lines crisp, and those tattoos amazing! And remember, it's all about having fun and creating something beautiful on your skin.