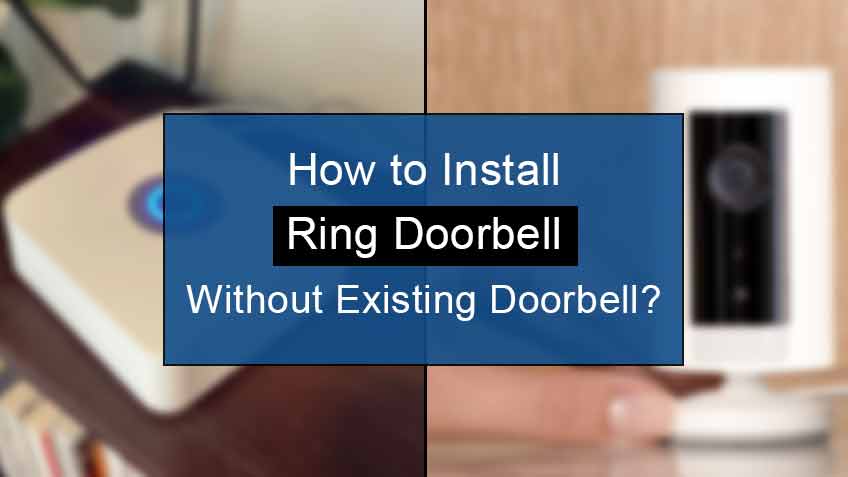
How To Install Ring Doorbell Wired Without Existing Doorbell

Ever eyed those fantastic video doorbells, wishing you could join the smart home club? Maybe you dream of seeing who's at the door, even when you're sipping a fancy drink on a beach somewhere. But then you look at your doorframe, and it’s… well, it’s just a doorframe.
No dusty old button, no mysterious wires peeking out. Just pure, unadulterated emptiness. Most folks throw up their hands, thinking, "Oh well, guess I'm out of luck!"
That's an unpopular opinion we're here to playfully dismantle!
Who said you need an ancient doorbell ghost to get a shiny new one? It’s like saying you need a dial-up modem to enjoy fiber optic internet. Nonsense!
Must Read
Your blank slate is actually a glorious canvas. It’s an invitation to a fresh start, a DIY adventure without the baggage of someone else’s old wiring decisions. Embrace the freedom!
The Quest for Power (Without the Drama)
Okay, so your Ring Doorbell Wired does need a little juice. It’s not going to run on good vibes alone, sadly. But finding this power source isn’t some epic mythological quest.
Think of it as uncovering a hidden treasure. You’re looking for a friendly little electrical spot, often near your furnace or electrical panel, that’s just waiting to be helpful. It’s like finding a secret candy stash.
This is where your new best friend, a small transformer, comes into play. It’s a humble hero, really, quietly stepping in to convert your house's power into just the right amount for your doorbell. No fuss, just pure dedication.
Installing one of these tiny marvels is usually simpler than assembling flat-pack furniture. It just needs a secure spot and a connection to your home’s existing low-voltage wiring system. It hums a soft tune of anticipation, waiting for its big moment.

The Wire Whisperer (Yes, You!)
Now, for the wire part. This is where many people envision tangled spaghetti and frayed nerves. Stop right there! We’re not building a rocket ship.
You’re simply guiding a couple of friendly wires from your new power spot to your front door. Think of it as creating a tiny, discreet pathway for electrons. It's a gentle art, not a wrestling match.
Sometimes this means a little creative routing. Maybe along a baseboard, tucked neatly behind trim, or even through a wall. Wire fishing is a fun term for it, suggesting a quiet, patient sport rather than a chore.
You're not a professional electrician; you're an explorer. You're mapping out the perfect, invisible road for your doorbell's energy. This journey can be surprisingly satisfying, a true testament to your personal ingenuity.
Imagine the quiet pride you'll feel, knowing you've orchestrated this delicate dance of copper. No existing doorbell? No problem! Just a chance to show off your cleverness.

Mounting Your Masterpiece
Okay, wires are routed, power is ready. Now for the star of the show: your actual Ring Doorbell Wired. This part is incredibly straightforward. It's almost anticlimactic how easy it is.
The kit comes with everything you need: a mounting plate, screws, and clear instructions. You just pick your perfect spot by the door, hold up the plate, and mark your holes. Easy peasy.
A quick drill, a couple of anchors if needed, and the plate is securely in place. It's less building furniture and more hanging a picture frame. A very important, smart picture frame, but a picture frame nonetheless.
This is the moment your blank slate truly begins its transformation. You're giving your door a voice, a watchful eye, and a whole lot of smart capabilities. You're a home improvement hero!
The Grand Connection (It's Not Scary, Promise!)
Now for the exciting part: connecting those two little wires you so expertly routed earlier. This is often the step that makes people nervously bite their nails. Don't!
The Ring Doorbell Wired has very clear terminals. They're usually labeled, and it's a simple matter of loosening a screw, slipping a wire underneath, and tightening it back down. Left or right, it doesn't usually matter for these low-voltage beauties.
It’s like connecting two pieces of a puzzle. A gentle push, a secure screw turn, and you're almost there. No sparks, no drama, just a satisfying connection.
Once those wires are snug, you simply click your doorbell device onto its mounting plate. You might hear a satisfying snap or click. It’s the sound of success, of defiance against the "you need an existing doorbell" naysayers.
The Digital Embrace
The physical part is done! Give yourself a high-five. Now comes the magical, high-tech bit: connecting it to your Wi-Fi and the Ring app. This is where your new device truly comes to life.
Open the Ring app on your smartphone, scan a QR code on your device or its packaging, and follow the simple prompts. It guides you step-by-step through connecting to your home network.
:max_bytes(150000):strip_icc()/IMG_0332-3cb2f383348849468df926ba9f0ab147.JPG)
You’ll name your doorbell, set up motion zones, and customize alerts. This is the fun part, personalizing your new digital doorman. It’s intuitive, user-friendly, and surprisingly quick.
Within minutes, you’ll be seeing a live view of your front porch, talking to visitors, and feeling utterly smug about your DIY prowess. All this, without a single pre-existing doorbell wire in sight!
Who needs an existing doorbell when you have ambition and a little patience?
So, next time someone says, "Oh, you can't install a wired video doorbell without an existing one," just flash them a knowing smile. You'll know the secret. You'll know that a blank canvas is simply an invitation for a truly custom, wire-it-yourself masterpiece.
Go forth and conquer that doorframe! Your smart home journey doesn't need to be dictated by the ghosts of doorbells past. It’s time for a fresh, powerful, and wonderfully wireless-feeling start.
Embrace your inner rebel, your latent electrician, your home tech hero. It's easier and more satisfying than you think, especially when you realize you've created something from scratch. Welcome to the club!