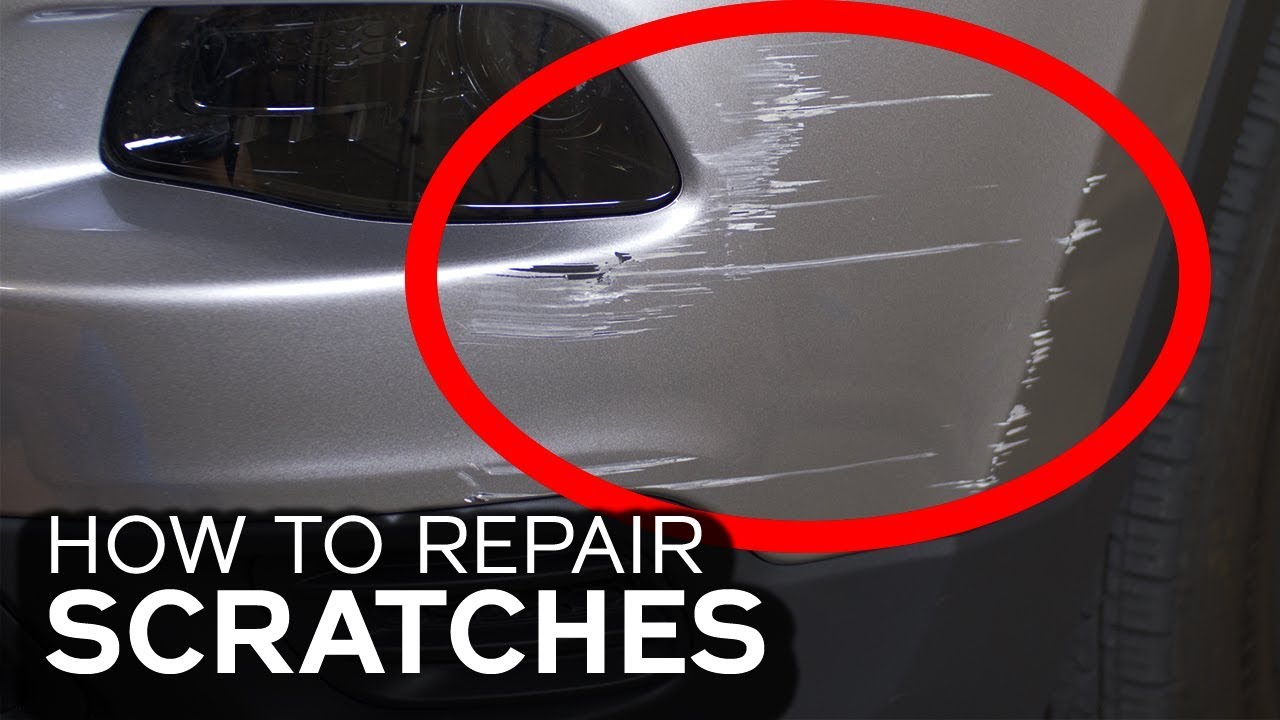
How To Fix The Scratches On My Car

Alright, so you've got a scratch on your car. Bummer, right? It's like finding a tiny wrinkle on your favorite leather jacket – annoying, but totally fixable. But where do you even begin? Don't worry, we're going to break it down, and you might even enjoy the process! Think of it as car-care therapy.
Why is fixing scratches so cool anyway? Well, besides making your ride look amazing again, you're actually protecting it. Scratches expose the metal underneath, and that's an open invitation for rust to set up shop. Nobody wants that, trust me. It's like leaving a window open during a rainstorm – eventually, things get soggy.
Understanding the Enemy: What Kind of Scratch Are We Dealing With?
Not all scratches are created equal, you see. It's like trying to treat a paper cut the same way you'd treat a broken arm – it just doesn't work. We need to diagnose the situation before we grab any tools.
Must Read
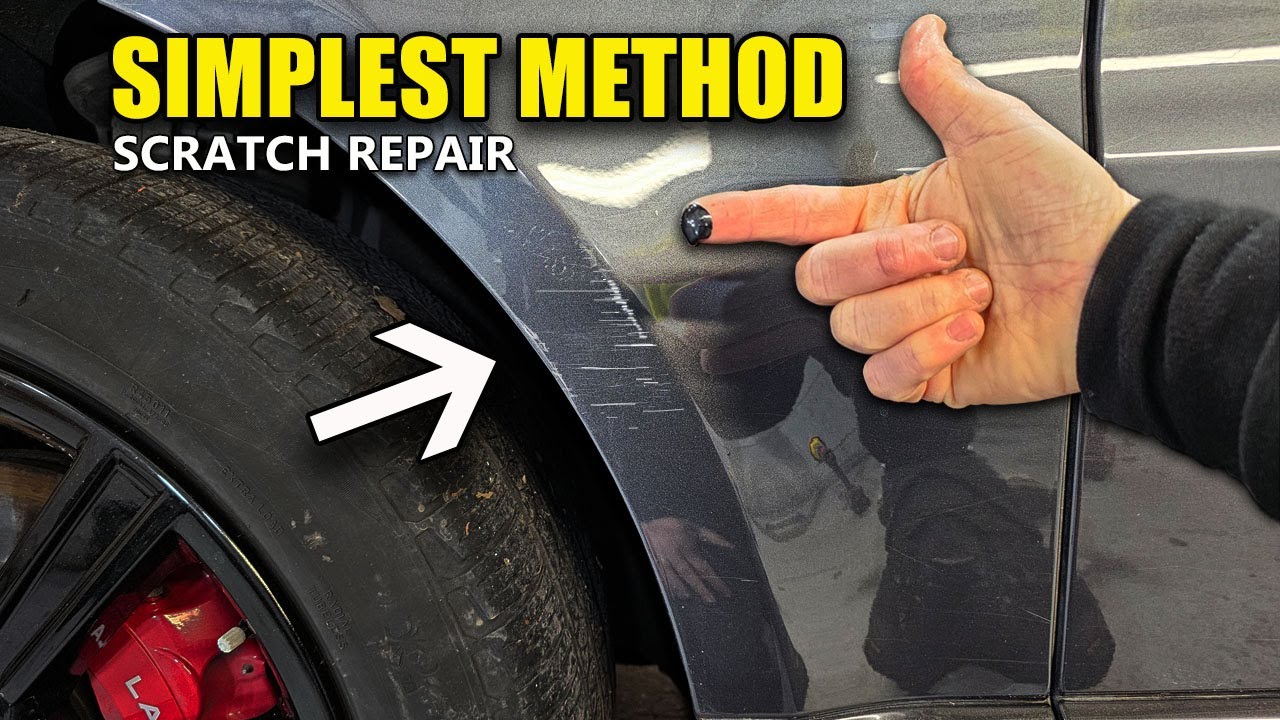
First, run your fingernail lightly across the scratch. Does your nail catch? If it does, it means the scratch is deeper and has likely gone through the clear coat and maybe even the paint layer. This is the equivalent of a scrape on your knee versus a minor rug burn – one requires more attention.
If your fingernail doesn't catch, you're probably dealing with a clear coat scratch. Think of it as a superficial wound. These are usually the easiest to fix, and we're talking about bringing out the big guns (polishing compound) rather than major surgery (professional body shop visit).
The DIY Arsenal: Gathering Your Supplies
Okay, now that we know what we're up against, let's arm ourselves! Here's a basic list of things you'll likely need:
- Clean Microfiber Cloths: These are your best friends. Treat them like gold! You don't want to use a rough rag and add more scratches.
- Car Wash Soap: Because, duh, you need to clean the area first! It’s like prepping a wound for a bandage.
- Rubbing Compound: This is for the deeper scratches. Think of it as a gentle abrasive that smooths out the edges.
- Polishing Compound: For those lighter scratches. It’s like the finishing touch, making everything shiny and smooth.
- Wax: To protect your newly scratch-free surface. This is the sealant, the bodyguard for your paint!
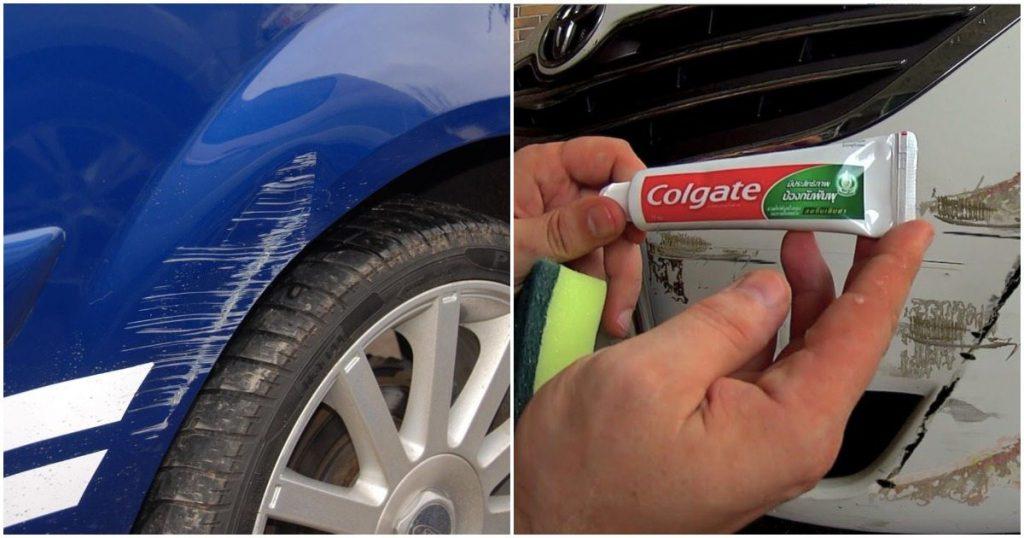
- Touch-Up Paint (Optional): If you have a really deep scratch that goes down to the metal, you might need this. It's like patching a hole in your favorite jeans. Get the paint that matches your car model and color.
The Battle Plan: Step-by-Step Scratch Removal
Alright, let's get to work! Remember, patience is key. Don't rush the process, or you might end up making things worse. Think of it as meditation… but for your car.
- Wash and Dry: Clean the area around the scratch thoroughly with car wash soap and water. Dry it completely with a microfiber cloth.
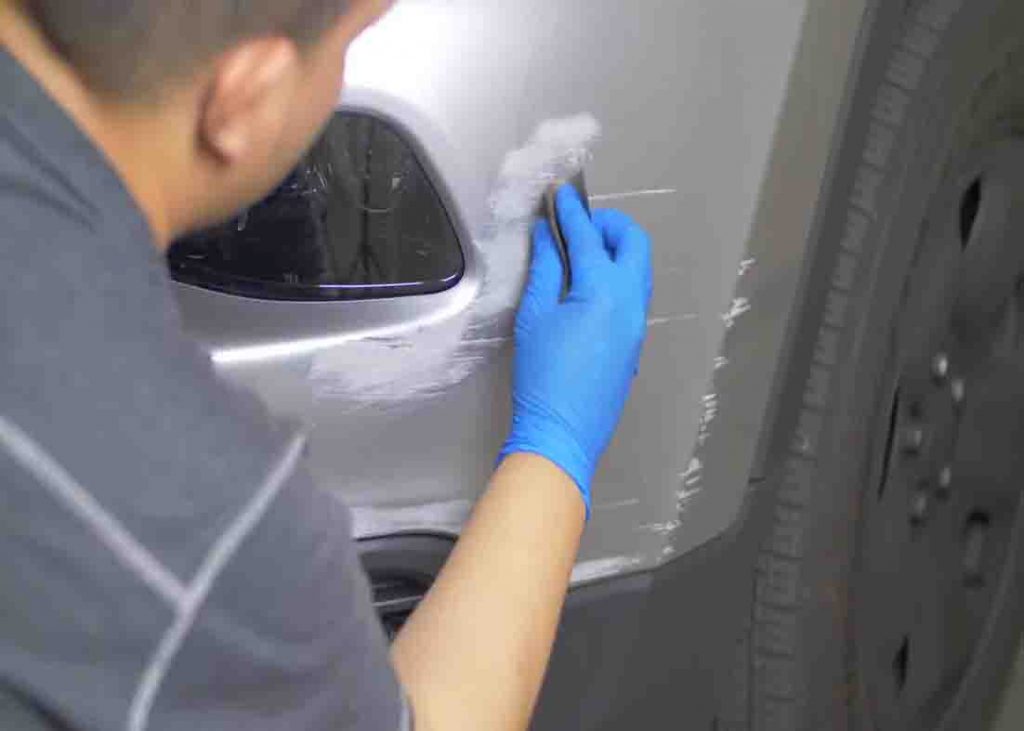
- Apply Rubbing Compound (If Needed): For deeper scratches, apply a small amount of rubbing compound to a clean microfiber cloth and gently rub it onto the scratch in a circular motion. Don't press too hard! Imagine you're gently massaging the paint.
- Wipe Away Residue: Use a clean microfiber cloth to wipe away any excess rubbing compound.
- Apply Polishing Compound: Now, apply a small amount of polishing compound to another clean microfiber cloth and rub it onto the scratched area, again in a circular motion. This will smooth out the surface and restore the shine.
- Wipe Away Residue: Wipe away any excess polishing compound with a clean microfiber cloth.
- Wax On, Wax Off: Apply a coat of wax to the area to protect the paint and give it a glossy finish. It's like applying sunscreen – you’re shielding the paint from the elements.
- Admire Your Work: Step back and admire your handiwork! See? You're a scratch-removal ninja!
Touch-Up Paint Time (If Necessary)
If you had to use touch-up paint, apply it carefully with a small brush (often comes with the paint). Apply thin layers, letting each layer dry completely before adding another. You want to build up the paint until it's level with the surrounding surface. It's like layering frosting on a cake – patience is key.
Pro Tips and Tricks
- Work in the Shade: Direct sunlight can make the compounds dry too quickly and make it harder to buff them out.
- Test in an Inconspicuous Area: Before you go crazy on the scratch, test your products on a hidden part of your car (like inside the doorjamb) to make sure they don't damage the paint.
- Don't Be Afraid to Ask for Help: If you're not comfortable tackling a deep scratch yourself, take it to a professional. It's better to be safe than sorry!
So, there you have it! Fixing car scratches isn't rocket science, but it does take a little time and effort. But hey, the satisfaction of seeing your car looking shiny and new again? Totally worth it! Plus, you saved some money and learned a new skill. Now go forth and conquer those scratches!