How To Add Old Film Effect In Premiere Pro
Okay, let's be real. We all secretly love a bit of vintage charm. I’m talking about that grainy, flickering, “did-grandma-record-this?” vibe. Don't lie, you do too. And you know what? It's easier to fake than a perfect relationship on Instagram. Let’s dive into making our pristine digital footage look delightfully ancient using Premiere Pro.
Step 1: The All-Important Film Grain (Because Dust is Dramatic)
First things first, grain. Forget your fancy high-definition clarity. We want imperfections! In the Effects panel, search for “Noise.” Drag that bad boy onto your clip. Boom! Instant old-timey vibes… almost. Crank up the noise level. Don't be shy. We’re going for "discovered in the attic" not "freshly filmed on a RED camera".
Now, here’s my unpopular opinion: default noise is boring. Click the “Use Color Noise” checkbox. It just adds a little something, doesn’t it? Like finding a rogue hair in your otherwise perfect vintage outfit. It’s the little things.
Must Read
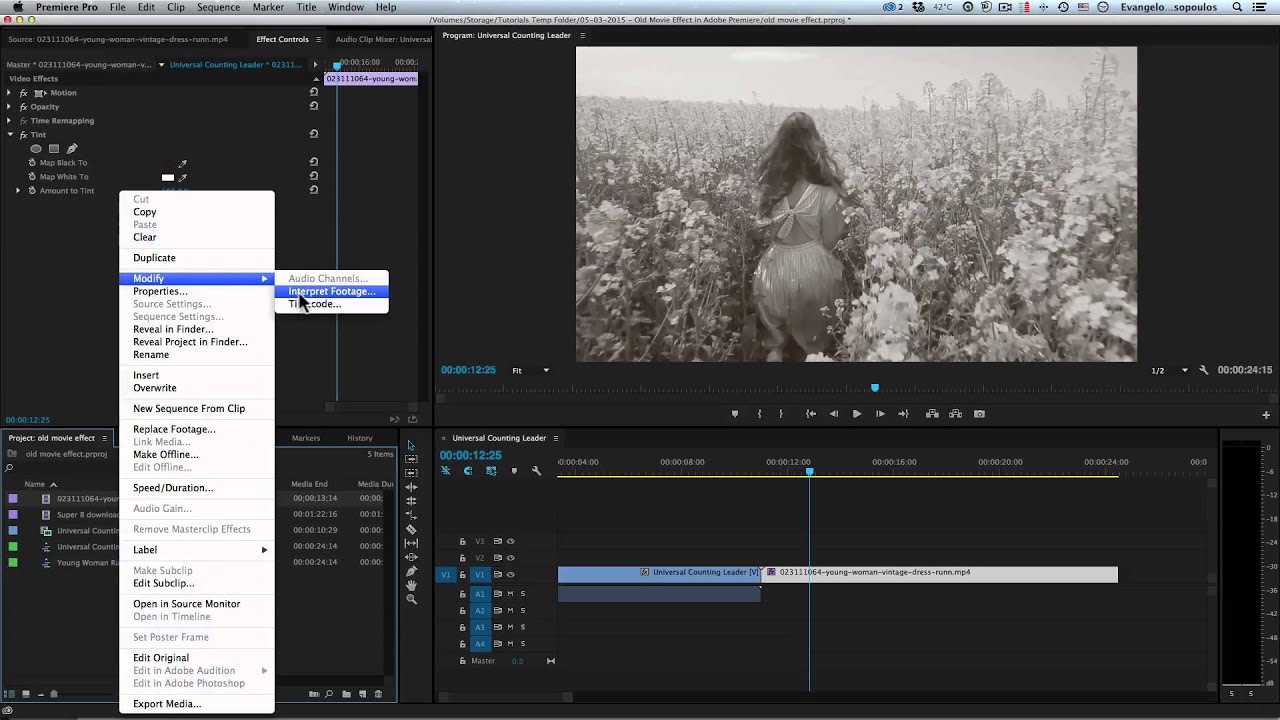
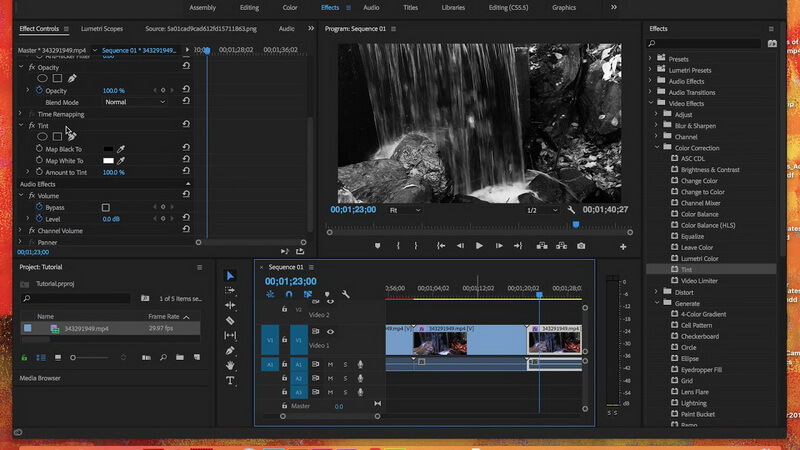
Step 2: Color Correction: Let's Mute Those Modern Colors!
Those vibrant, saturated colors? Gotta go. Time to desaturate! Head over to the Lumetri Color panel. Find the "Creative" tab. Under "Look," you might find something suitable. Or just play with the saturation slider. Turn it down! Think sepia tones. Think faded memories. Think "my eyes hurt looking at these bright colors".
And here's another nugget of wisdom: a touch of warmth is your friend. Slide that temperature slider slightly to the right. It's like adding a filter on your memories. Makes everything feel nostalgic.

Step 3: The Wiggle-Wobble Effect (Because Static is SO Last Century)
Nothing screams "old film" like a slight, almost imperceptible, wiggle. This is where things get a little more hands-on. We need to introduce some camera shake. Search for “Transform” in the Effects panel. Drag it onto your clip. Now, in the Effect Controls panel, find the "Position" property.
Here’s the fun part. Click the stopwatch icon next to “Position” to create a keyframe at the beginning of your clip. Move a few frames forward, and nudge the position slightly. Just a pixel or two. Rinse and repeat! It's tedious, I know. But think of it as digital archaeology. You're uncovering the past, one pixel shift at a time.
For a more refined look, add some motion blur to the Transform effect. It smooths out the wiggles and makes it look more natural. Because real cameras from yesteryear weren’t exactly known for their rock-steady filming.
Step 4: Scratches and Dust (Because Perfection is Overrated)
This is where we go full-on vintage villain. Think fake film burns. Think rogue dust particles. Search for "Dust & Scratches" in the Effects panel. Slap it on your clip. Play with the Radius and Threshold settings. Don’t overdo it, unless you’re going for "found in a dumpster" aesthetic. Which, you know, is a valid artistic choice.

You can also download film grain overlays. There are tons of free ones online. Place them on a track above your footage, and set the blending mode to "Screen" or "Add." This adds another layer of grime and authenticity. It's like seasoning your video with the essence of forgotten cinemas.
Step 5: Frame Rate Fun (Because Modern Smoothness is Suspect)
Modern frame rates are far too smooth. Time to make things choppy! Right-click on your sequence in the Project panel. Select “Sequence Settings.” Reduce the frame rate! Something like 24fps or even 18fps gives it that classic, slightly stuttering look. It's like watching a flipbook come to life.
Important! Messing with the frame rate can affect your audio. Make sure everything still syncs up correctly. We want charmingly old, not distractingly broken.
Bonus Tip: Audio Enhancement (Because Sound Matters, Duh!)
Don't forget the audio! Add a touch of reverb. Maybe a subtle hiss. It all adds to the atmosphere. Think of it as the auditory equivalent of sepia tones. If you are using Audition with Premiere Pro, it is even easier!
There you have it. A crash course in making your videos look gloriously, deliberately, hilariously old. Now go forth and create some vintage magic! Or, you know, just mess around and see what happens. That’s half the fun, right? You now have the ability to produce films that Steven Spielberg could've produced back in the day!