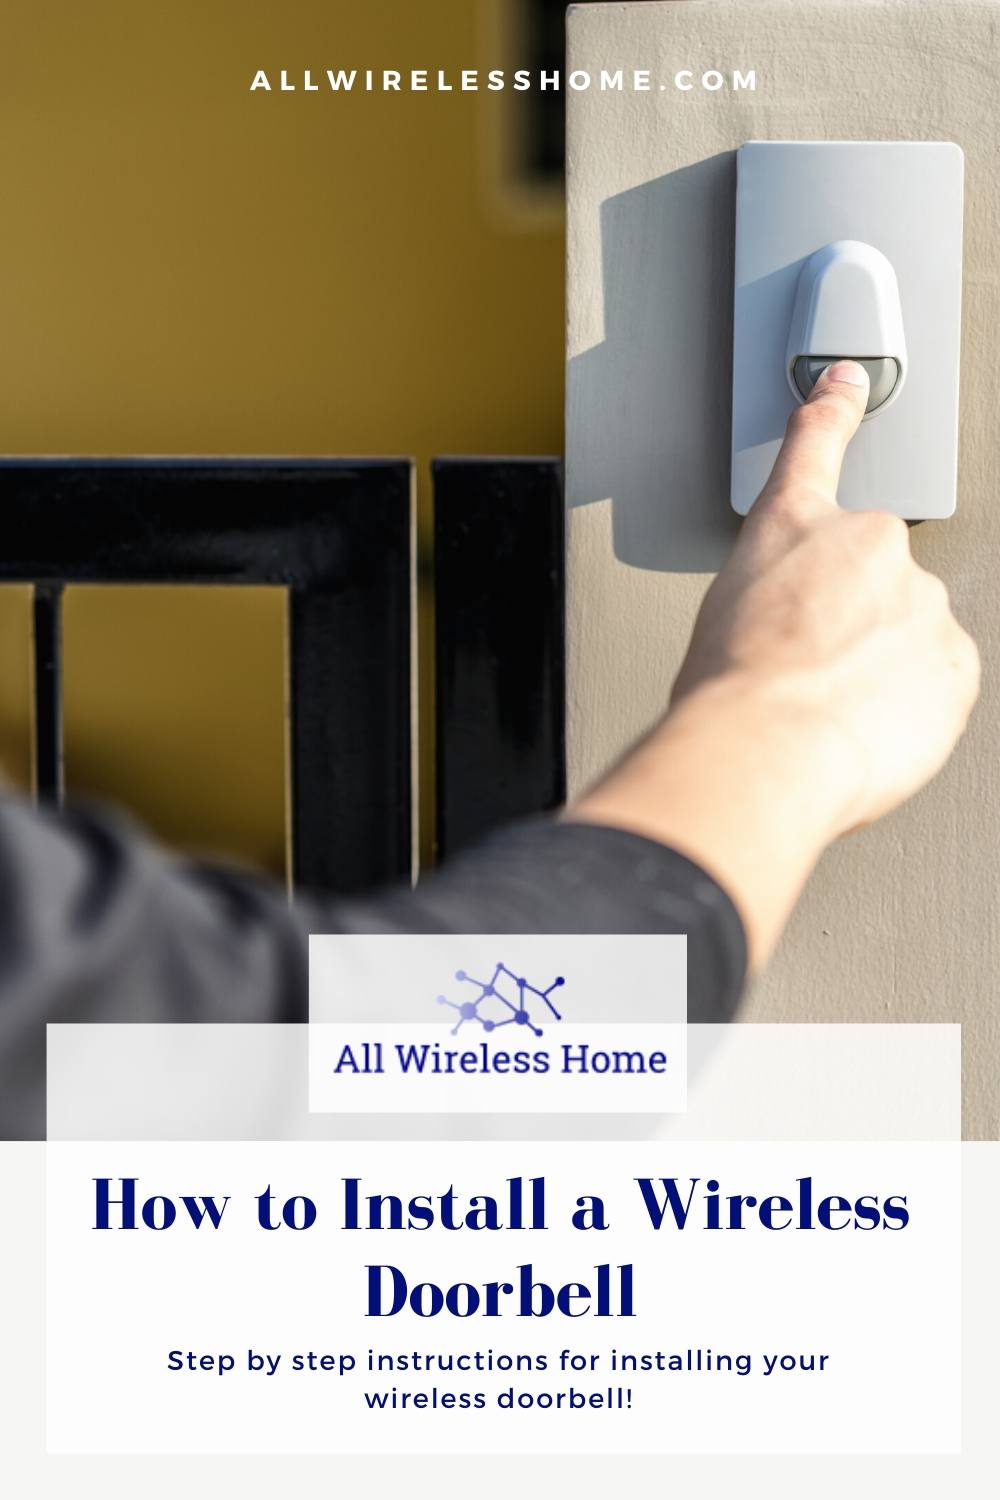
How Do You Install A Wireless Doorbell
Imagine this: You’re settling in for an epic movie night, popcorn is popping, the blanket fort is just right, and then – KNOCK KNOCK KNOCK! A visitor! But wait, they're using their knuckles like it's 1899. What if I told you there’s a magical little device that can save your knuckles, your eardrums, and your movie night? It’s called a wireless doorbell, and installing one is less like brain surgery and more like… well, like assembling a LEGO set, but way more satisfying because it makes noise!
Your Super-Secret Installation Mission!
Alright, secret agent of home improvement, let’s get you prepped for your mission. Your toolkit won't require a degree in engineering. Forget the heavy-duty power tools. For this adventure, you mostly just need… your awesome self, and a few tiny helpers.
Phase 1: Gather Your Mighty Arsenal (a.k.a. Simple Stuff)
You'll need:
- Your brand-spanking-new wireless doorbell kit (the star of our show!).
- A small screwdriver (usually Phillips, just in case).
- Maybe some AA or AAA batteries (check your kit!).
- A clean, dry cloth.
See? No heavy lifting, no arcane incantations. Just good old-fashioned common sense and a dash of excitement. You're already practically a professional!
Where Will Your Button Roam? (The Great Outdoors)
Now for the fun part: deciding where your doorbell button will live. Think of it like finding the perfect spot for a tiny, polite ambassador. It needs to be visible, accessible, and not so hidden that your delivery person thinks they're on a scavenger hunt. Usually, this means right next to your front door. But hey, it's wireless! If you want one on the back gate or even in your garage to ring you for snacks, go for it! The world is your wireless wonderland!
Pick a spot that's not directly exposed to the harshest elements – a little overhang or sheltered spot is like giving your button its own tiny, weatherproof umbrella. Once chosen, wipe down the area with your cloth for a nice, clean surface.

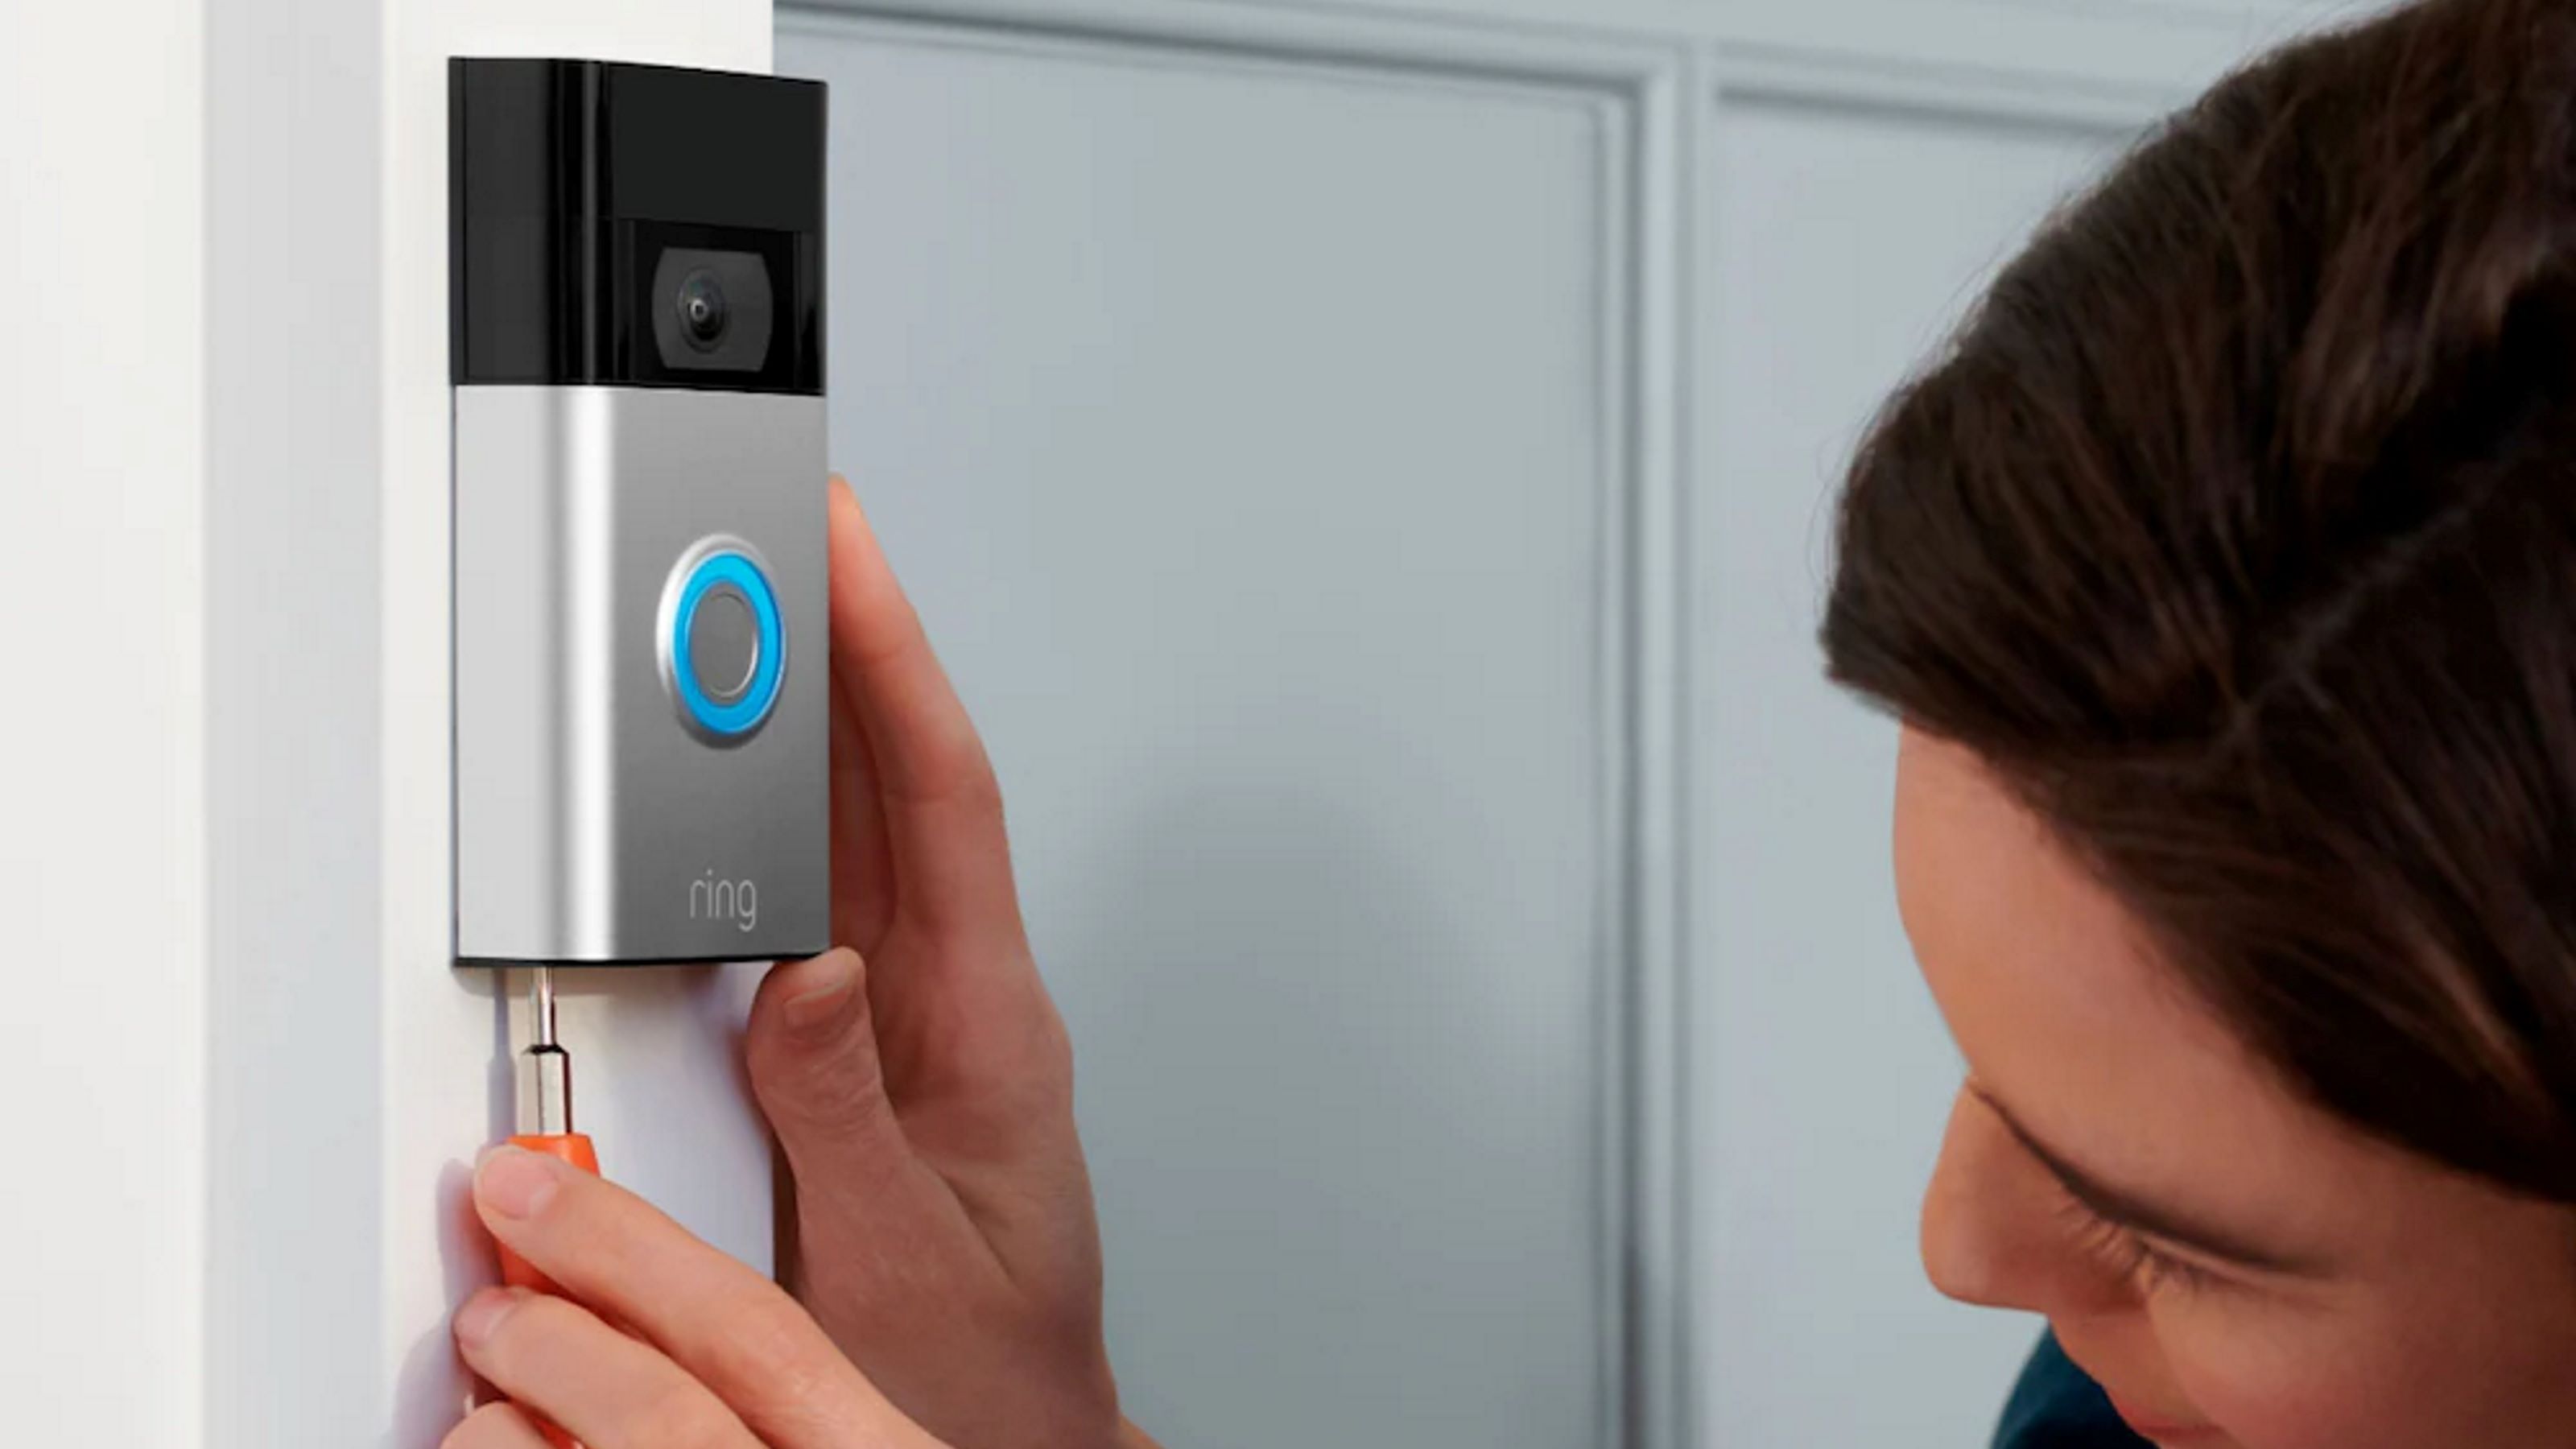
Your doorbell button will likely come with super-strong double-sided adhesive tape. Peel off the backing, press it firmly onto your chosen spot for about 30 seconds (imagine you're giving it a firm, encouraging handshake), and voilà! It's stuck! Some kits might offer tiny screws for extra security, but that tape is often strong enough to hold a very determined doorbell button.
Let There Be Chime! (The Great Indoors)
Okay, the outdoor warrior is in place. Now let's bring the party indoors! This is where your chime receiver comes into play. It's the part that actually makes the glorious "ding-dong" sound. And guess what? This is probably the easiest step. Most wireless doorbell chimes are designed to just plug directly into a standard wall outlet. No wires to strip, no complicated diagrams to decipher, no secret codes to break.
Find an outlet that’s centrally located in your home, or wherever you want to clearly hear the chime. Near the living room, kitchen, or hallway usually works best. Seriously, just pick an outlet, plug it in, and listen for that satisfying click. It’s so simple, you might feel like you've cheated the system, but nope, you're just winning at life!
Some fancy models might even let you choose from a gazillion different melodies, from classic "Westminster" to a jaunty little tune. If yours does, now's the time to play DJ and pick your signature doorbell jam. This isn't just a doorbell; it's a statement piece!
The Grand Unveiling: Let's Sync 'Em Up!
This is where the magic happens, folks! We're about to make your button and your chime talk to each other across vast expanses of your humble abode. It's like teaching two tiny robots to be best friends. Don’t worry, you don't need a wizard's spellbook. Most wireless doorbells have a super-intuitive pairing process.
On your indoor chime unit, look for a small button, often labeled "pair", "sync", or sometimes just a little wireless symbol. Press and hold this button for a few seconds. The chime might light up, or make a little "bloop" sound, signaling it's ready to listen. It's like it's saying, "Okay, I'm open for communication! Who wants to be my friend?"

While the chime is in "listening" mode, go outside (or wherever you put your button) and press the outdoor doorbell button. Give it a good, firm press. You should hear your indoor chime ding-dong almost instantly! If it does, you've successfully created a telepathic link. You, my friend, are a tech superhero!
If it doesn't work on the first try, don't fret! Just repeat the process: press and hold the chime's pairing button, then immediately press the outdoor button. You'll get it, champ!
The Moment of Truth: Ring-a-Ding-Ding!
You've done it! The button is mounted, the chime is plugged in, and they're talking to each other like old pals. Now for the ultimate test: the celebratory ring! Step back, admire your handiwork, and then – press that button! Revel in the delightful sound of your chosen melody echoing through your home. It’s not just a doorbell; it’s the sweet sound of victory, the triumphant fanfare of a DIY project conquered!

Go ahead, press it a few more times. Invite a family member or a friendly pet to give it a whirl. Make sure it's loud enough, clear enough, and just perfect. If you want to move the chime to a different outlet, the pairing should stick, giving you ultimate flexibility.
Congratulations, you’ve just leveled up your home. You've taken a small, simple task and turned it into an exciting personal achievement. Who knew installing a doorbell could feel so empowering? Now, whenever someone rings, you won't just hear a sound; you'll hear the silent applause for your awesome DIY skills!
So there you have it! From box to "BING-BONG!" in what feels like mere minutes. Installing a wireless doorbell isn't a chore; it's a delightful little adventure that leaves you with a functional, fantastic upgrade to your home. No more missed visitors, no more frantic knocking, just smooth, sweet melodies announcing arrivals. You're not just installing a doorbell; you're orchestrating a symphony of convenience! Go forth, proud DIYer, and may your home always be filled with the joyous sounds of well-announced visitors!