How Do You Change Batteries In Honeywell Thermostat
Picture this: It’s the dead of winter (or the blazing heat of summer, pick your poison), and you wake up to a house that feels suspiciously… unregulated. You stumble to the thermostat, bleary-eyed, hoping to adjust the climate to something vaguely human, only to be met with a blank, lifeless screen. Or worse, a blinking, accusing “LOW BATT” message that feels like a personal attack. Panic sets in. Is the furnace broken? Did the AC finally give up the ghost? Did you accidentally summon a tiny, invisible ice demon?
Fear not, intrepid home manager! More often than not, the culprit isn't a demon or a catastrophic system failure, but something far more mundane, yet equally frustrating: dead batteries. Yes, even the most sophisticated Honeywell thermostat, with its fancy digital displays and programmable schedules, often relies on a couple of humble AA or AAA batteries. It’s like discovering your superhero wears socks with sandals under their cape.
But how on earth do you change these elusive power packs? It's not always as straightforward as popping open the back of a TV remote. Some thermostats guard their battery secrets like ancient dragons hoarding gold. But with a little guidance, a dash of patience, and maybe a slightly theatrical sigh, you'll have your climate control back in no time. Think of it as a mini-quest, right in your living room!
Must Read
The Tools for Your Triumphant Battery Swap
Before we embark on our heroic journey, let’s gather our arsenal. You won’t need a knight’s sword or a wizard’s staff, thankfully. Just a few humble items:
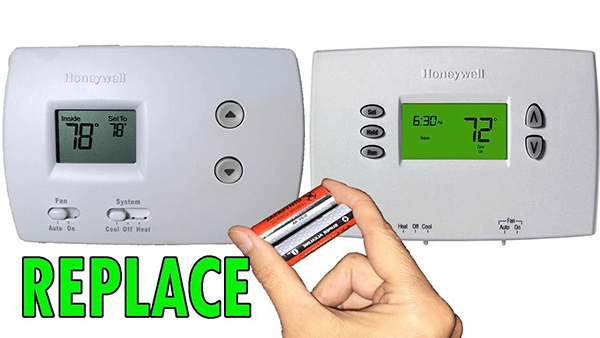
- New Batteries: This is crucial, obviously. Check your thermostat for the type – most commonly AA or AAA. Do not, I repeat, do not try to put old batteries back in. That's just asking for trouble and a rerun of the blank screen saga.
- A Small Flathead Screwdriver or Coin: Some models have a little slot that requires a gentle twist to open.
- Good Lighting: Because nobody wants to perform delicate surgery in the dark. A headlamp is optional but highly recommended for dramatic effect.
- A Healthy Dose of Patience: The thermostat might be playing hard to get. Don’t resort to brute force – it’s a sensitive piece of electronics, not a stubborn pickle jar.
The Great Battery Hunt: Where Are They Hiding?
This, my friends, is often the trickiest part. Honeywell, in its infinite wisdom, has designed a multitude of thermostat models, each with its own preferred hiding spot for those precious batteries. It's like a tiny, domestic scavenger hunt!

Your batteries could be in one of three main places:
1. Behind a Pull-Off Front Cover:
This is the most common and arguably the easiest. Gently but firmly grasp the thermostat from the sides and pull the front cover straight towards you. It should snap off, revealing the glorious internal workings, and often, the battery compartment staring right back at you. If it feels like it's glued to the wall, don't despair – just try a little more conviction, but still be gentle.
2. In a Side or Bottom Compartment:
Some models are a bit more discreet. Look for a small door or flap on the side or bottom edge of the thermostat. It might have a little latch or a tiny slot for your screwdriver or coin. Give it a gentle push or twist, and voilà, the battery tray should pop out or swing open.
3. Hidden Behind the Main Unit (Requiring Removal from Wall Plate):

This is the most involved, but still perfectly doable. In these cases, the batteries are actually located on the back of the thermostat unit itself, which attaches to a separate wall plate. To access them, you'll need to gently pull the entire thermostat unit off its wall plate. Look for tabs or clips on the top or bottom that you might need to press. Once the unit is off, the battery compartment will be visible on the back. Remember, the wires stay safely connected to the wall plate, so don't worry about disconnecting anything vital!
The Moment of Truth: The Swap!
Once you’ve successfully located and opened the battery compartment – congratulations, you’ve conquered half the battle! Now for the actual swap:
- Remove the Old Batteries: Pop them out. Observe the satisfying lack of power they now possess. Recycle them responsibly, if possible!
- Insert the New Batteries: This is where attention to detail pays off. Notice the + and - symbols inside the compartment and on the batteries themselves. Always match the polarity correctly! Inserting them backward is a classic rookie mistake and will result in nothing but continued silence.
- Close it Up: Snap the cover back on, or slide the tray back in until it clicks securely. If you removed the whole unit from the wall, carefully align it and push it back onto the wall plate until it clicks into place.
The Grand Reveal (and a Surprising Fact!)
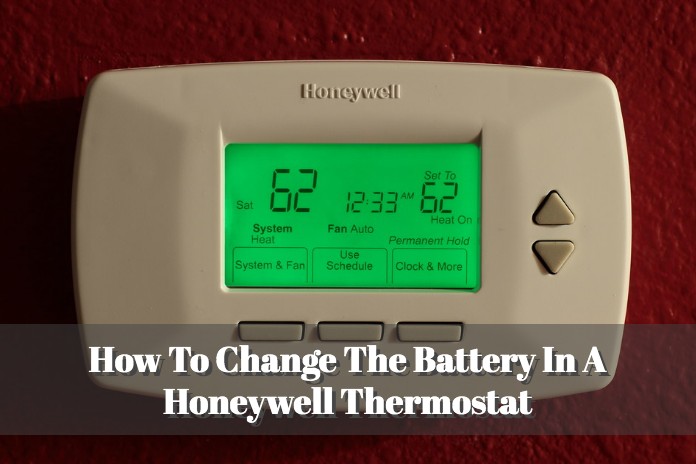
Now, stand back, take a deep breath, and watch. The screen should flicker to life! Your display, which moments ago resembled a blank canvas of despair, will now proudly show the time, temperature, and perhaps even a little happy icon. You are a hero! You have tamed the climate beast!

And here’s a little secret for you: Even some thermostats that are hardwired (meaning they get constant power from your home's electrical system) still have backup batteries! Why? Because these little power packs keep your settings and programming safe during a power outage. So, if your hardwired thermostat goes blank during a blackout, those backup batteries are likely the ones that need replacing. Mind. Blown.
Final Words of Wisdom (and a Chuckle)
Always keep a fresh pack of the appropriate batteries on hand. Your future self, shivering or sweating in an unregulated home, will thank you profusely. And remember, if you ever find yourself utterly stumped, muttering to your thermostat in a language only it understands, or if the screen remains stubbornly blank after a fresh battery swap, it might be time to call in a professional. But for 90% of those "My thermostat is dead!" moments, a quick battery change is all it takes to bring your home back to its perfect, climate-controlled equilibrium.
Now, go forth and enjoy your perfectly tempered living space. You’ve earned it, you magnificent battery-swapping guru!