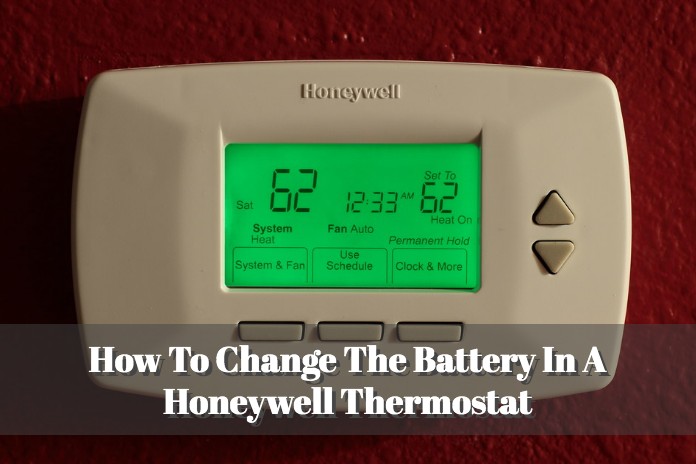
How Do I Change Battery In Honeywell Thermostat
Picture this: It's a chilly Tuesday evening. You've just snuggled onto the couch, remote in hand, ready to binge-watch that new show everyone's talking about. The house is a perfect 72 degrees, your favorite blanket is doing its job, and life is, for a moment, utterly perfect. Then, you notice it. A faint, almost imperceptible flicker on your trusty Honeywell thermostat. You squint. Is that... "Low Batt" staring back at you?
Suddenly, that cozy perfection gives way to a tiny ripple of panic. Will it die in the middle of the night? Will you wake up in an ice cube? Or, worse, will the AC kick out during a heatwave and turn your home into a sauna? We've all been there, haven't we? That little warning light is like a tiny, passive-aggressive note from your house, reminding you of its needs. But don't you worry, because changing the battery in a Honeywell thermostat is usually about as complicated as making toast. Seriously.
Why Bother with Your Thermostat Battery, Anyway?
Okay, "making toast" might be a slight exaggeration for some models, but really, it's not brain surgery. Your thermostat is the brain of your home's HVAC system. It tells your furnace when to fire up, your AC when to cool down. If its batteries die, it loses its memory, its programming, and sometimes, even its ability to communicate. That means your perfectly calibrated comfort settings disappear faster than a free sample at Costco. And nobody wants to reset their entire heating and cooling schedule after a long day, right?
Must Read
First Things First: A Quick ID Check
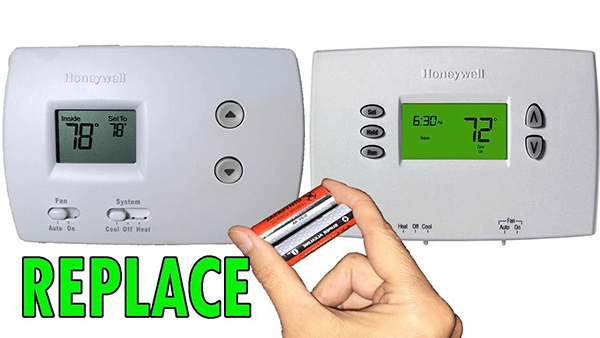
Before we dive in, let's just make one tiny clarification. Most modern Honeywell thermostats that use batteries are pretty obvious. They'll often have a digital screen that just goes blank when the batteries kick the bucket, or that "Low Batt" indicator. Some are even smart thermostats that pull power from your HVAC system (via a "C-wire") and only use batteries as a backup or not at all. So, if your thermostat never seems to have batteries, you might be one of the lucky ones with a C-wire setup! But for the rest of us, let's get ready for some battery swapping fun.
What You'll Need (The Toolkit of Champions)
Honestly, this list is probably shorter than your grocery list:
- New Batteries: Most Honeywell thermostats use AA or AAA batteries. Check your existing ones before you even start, so you're not caught mid-swap without the right juice.
- A small flathead screwdriver (optional): Sometimes the battery compartment needs a little gentle persuasion.
- A tiny bit of courage: Just kidding! You've got this.
The Grand Operation: Step-by-Step Battery Swap!
Alright, let's do this. Prepare for ultimate temperature control!
Step 1: Locate the Patient (Your Thermostat)
Okay, obvious, I know. But sometimes people have more than one! Just make sure you're at the one that's giving you grief.
Step 2: The Cover-Up (Or Rather, Cover-Off!)
This is where it can vary slightly. Most Honeywell thermostats will either:
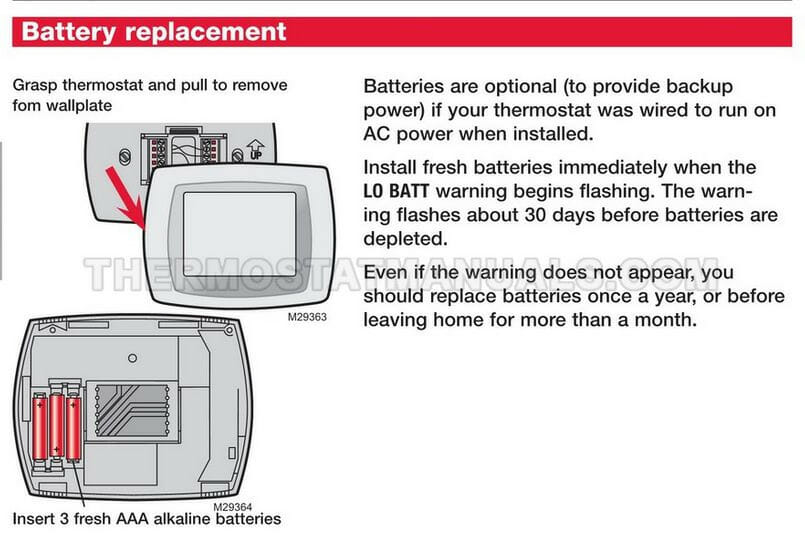
- Slide off: The entire front display unit might slide up and off the wall plate. Look for tabs on the sides or bottom.
- Have a specific battery compartment door: Often on the side or bottom of the main unit. This is usually a small, easily recognizable latch or cover. Sometimes, you'll need that small flathead screwdriver to gently pry it open. Don't force anything; if it feels stuck, look for a hidden button or tab.
Give it a gentle pull or slide. You'll hear a satisfying little click (or, in my case, a slightly unnerving creak). Boom! You're in.
Step 3: Evict the Old-Timers
You'll see the old batteries now. Usually, there are two of them. Simply pop them out. Make a mental note (or snap a quick pic) of their orientation (+ and - terminals) if you're feeling forgetful, but most battery compartments are pretty clearly marked anyway.

Pro-tip: Recycle your old batteries responsibly! Don't just toss them in the regular trash, okay? Mother Earth will thank you.
Step 4: Welcome the New Blood!
Grab your fresh AA or AAA batteries. Insert them carefully, making sure the positive (+) and negative (-) ends match the markings in the compartment. This is super important. If you put them in backward, nothing will happen, and you'll think your thermostat is broken (it's not, you just need to flip them).
Step 5: Snap It Back Shut
Once the new batteries are nestled snugly in their home, carefully reattach the battery compartment cover or slide the entire thermostat unit back onto its wall plate. You should hear another click, signifying it's securely in place.

Uh Oh, Still Nothing? A Mini Troubleshooting Guide
Don't panic if it doesn't immediately spring to life! Here are a few quick checks:
- Double-check battery orientation: Seriously, this is the number one culprit.
- Are they fresh batteries? Sometimes you grab an old pack from the back of the drawer.
- Give it a moment: Some thermostats take a second to power up and display.
- Look for a reset button: A tiny pinhole button (often labeled "Reset") might be lurking somewhere. A paperclip can be your friend here.
Pro-Tip Alert! Keep Your Home Cozy Year-Round
To avoid future "Low Batt" surprises, make it a habit to change your thermostat batteries once a year. A good time to do it is when you change your smoke detector batteries, or when you switch your clocks for daylight saving time. That way, it becomes part of your regular home maintenance routine, and you'll never be caught shivering or sweating unexpectedly.
See? I told you it wasn't rocket science! You've successfully performed a vital home maintenance task, kept your living space comfy, and probably saved yourself a chilly night or an overheated afternoon. Now go forth, enjoy your perfectly regulated temperature, and maybe even finish that binge-watch. You've earned it!