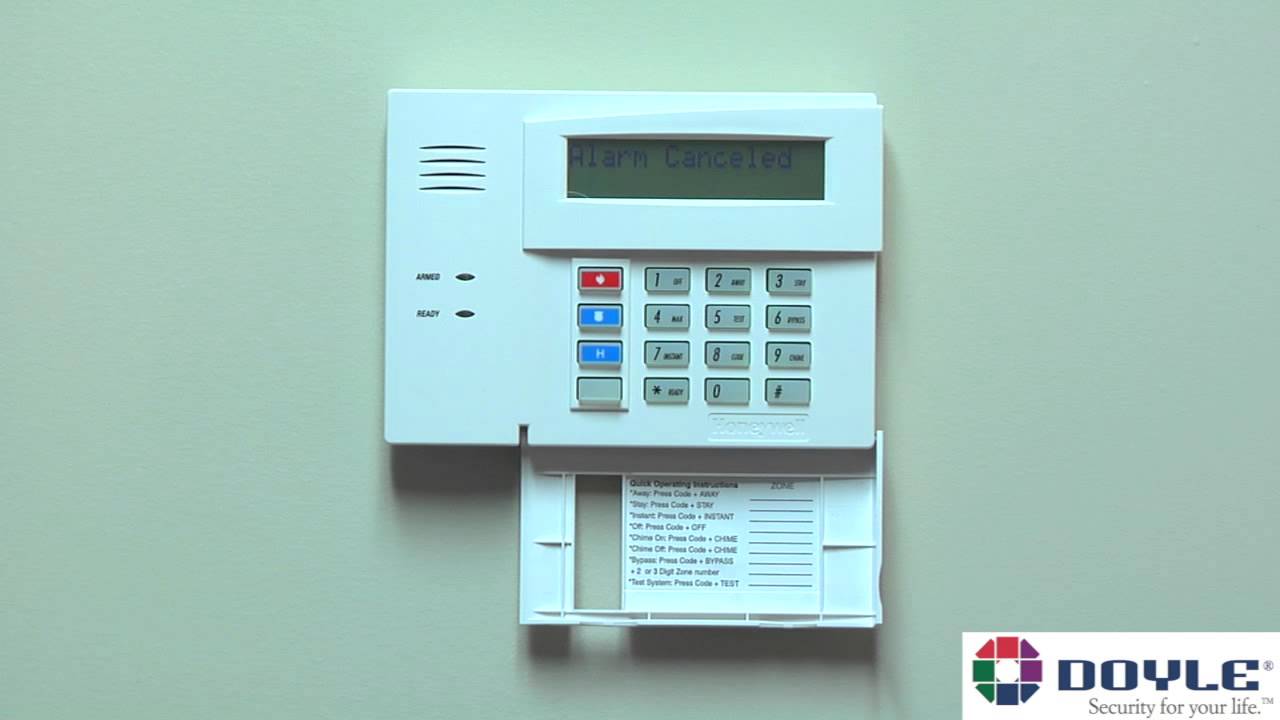
Honeywell Alarm Keypad Battery Replacement

Okay, so picture this: you're just chilling, maybe sipping your morning coffee, when suddenly... BEEP-BEEP-BEEP! Or maybe it's that incessant, low-grade CHIRP-CHIRP-CHIRP! from your Honeywell alarm keypad. Ugh. The absolute worst, right?
And then you glance at the screen, and there it is, bold as brass: "LOW BATTERY" or "FAULT 1" or some other cryptic message designed purely to annoy you into action. Sound familiar? We’ve all been there, my friend. It’s like your house is passive-aggressively telling you, "Hey, remember me? I need juice!"
But here’s the thing, before you call in the cavalry (or, let's be honest, just ignore it for another week, which we absolutely do not recommend!), take a deep breath. Replacing that Honeywell alarm keypad battery? It’s genuinely not the nightmare you think it is. Seriously, if I can do it, you can do it. It’s way easier than assembling IKEA furniture, I promise!
Must Read
Why Bother? The Silent Treatment is Golden!
First off, why even bother with this little chore? Well, besides silencing that infuriating chirp (which, let's face it, is motivation enough for most of us), a happy, juiced-up battery means your alarm system actually works when it needs to. Think about it: during a power outage, that battery is your system's only lifeline. So, it's not just about peace and quiet; it's about peace of mind. Plus, ignoring it eventually leads to bigger headaches, like your alarm going off randomly. Nobody wants that kind of attention, right?
What You'll Need: Your Superhero Kit
Alright, let's gather our supplies. Don't worry, it's not a lot. You probably have most of this stuff lurking in a drawer somewhere:
- A Phillips head screwdriver. Standard stuff.
- Most importantly: The right battery! This is crucial. For most Honeywell systems, you're looking for a 12-volt sealed lead-acid battery. It looks like a little rectangular brick. Often it's a 4Ah or 7Ah model. Check your existing battery for the exact specs, or consult your system's manual (if you can find it! No judgment here if you can't). You can usually find these online, at electronics stores, or even some local hardware shops.
- Maybe a flashlight, just in case your control panel is in a dark, mysterious corner of your basement.
- And perhaps a buddy to chat with, or a good podcast, because even easy tasks are better with company (or distractions!).
Pre-Game Warm-Up: Disarm and Locate!
Before you even think about touching anything, there are a couple of super important steps. Listen closely, this isn't a drill (pun intended!):
Step 1: Disarm Your System! Seriously, do this. The last thing you want is for your alarm to screech at you, or worse, call the authorities because you startled it. Just punch in your code and turn it off. Make sure the "READY" light is on and green, or whatever indicates it's totally disarmed.
Step 2: Find the Brains of the Operation. Your keypad is just the messenger. The actual control panel, where the battery lives, is usually a beige or white metal box, often found in a utility closet, the basement, a laundry room, or even the garage. It’s typically mounted on a wall. Found it? Good. That’s where the magic happens.
The Main Event: Battery Swap Time!
Okay, moment of truth! You've got your tools, your disarmed system, and your determined spirit. Let's do this:
1. Open the Control Panel Box. This usually involves unscrewing two small screws on the side of the box. Sometimes it's a couple of latches. Be gentle! The cover might swing open or come right off.
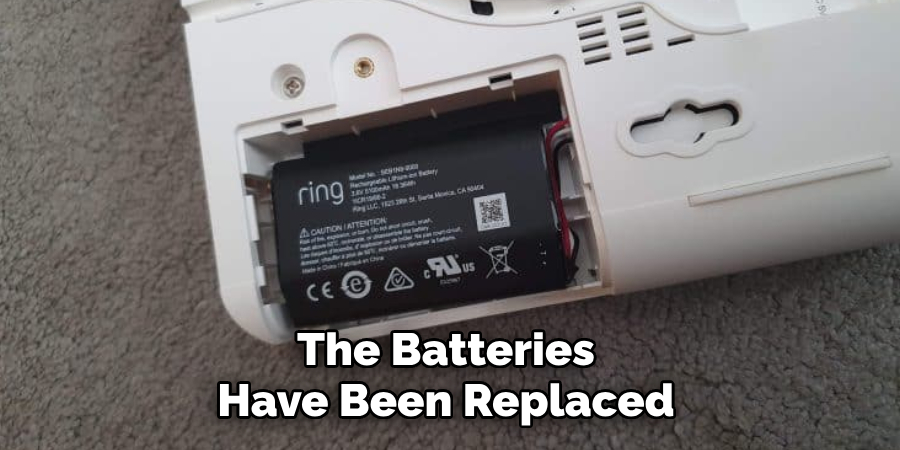
2. Locate the Old Battery. Inside, you’ll see wires, circuit boards, and... ta-da! Your old, tired alarm battery. It’s usually a black or grey rectangular block, nestled in there.
3. Disconnect the Old Battery. You'll see two terminals with wires attached – usually a red one and a black one. Now, listen up for a quick, safety-ish tip: when disconnecting, it's generally best practice to remove the black (negative) wire first, then the red (positive) wire. Just gently wiggle them off. Don't yank!

4. Remove the Old Battery. Lift it out. It might be surprisingly weighty for its size. Give it a silent farewell for its years of service.
5. Pop in the New Battery. Slide your shiny, new 12-volt brick into its cozy spot.
6. Connect the New Battery. This is where we reverse the order! Connect the red (positive) wire first to the red terminal on the battery, then connect the black (negative) wire to the black terminal. Make sure they're snug. You might hear a small spark or see a tiny flicker – totally normal, don't panic!

7. Close It Up. Carefully replace the cover on your control panel box and secure those screws or latches. Give yourself a little pat on the back.
Victory Lap: Silence and Celebration!
You did it! Now, head back to your keypad. It might still be showing that "LOW BATTERY" message or chirping for a little while. Don't fret! Your system needs a moment to realize it's been given new life. Give it a few minutes, maybe 15-20, to fully recognize the fresh power source.
Once it's settled, you'll probably need to clear the fault message. This usually involves entering your four-digit code, then pressing the "OFF" button twice. Boom! The message should disappear, and that glorious silence will return. If it persists, just try your code + OFF a couple more times. Sometimes these things need a gentle nudge.
And just like that, you've conquered the dreaded Honeywell alarm keypad battery replacement. You saved money, you learned something new, and most importantly, you restored peace and quiet to your domain. You’re basically a home security wizard now. Go on, brag a little. You've earned that extra cup of coffee!