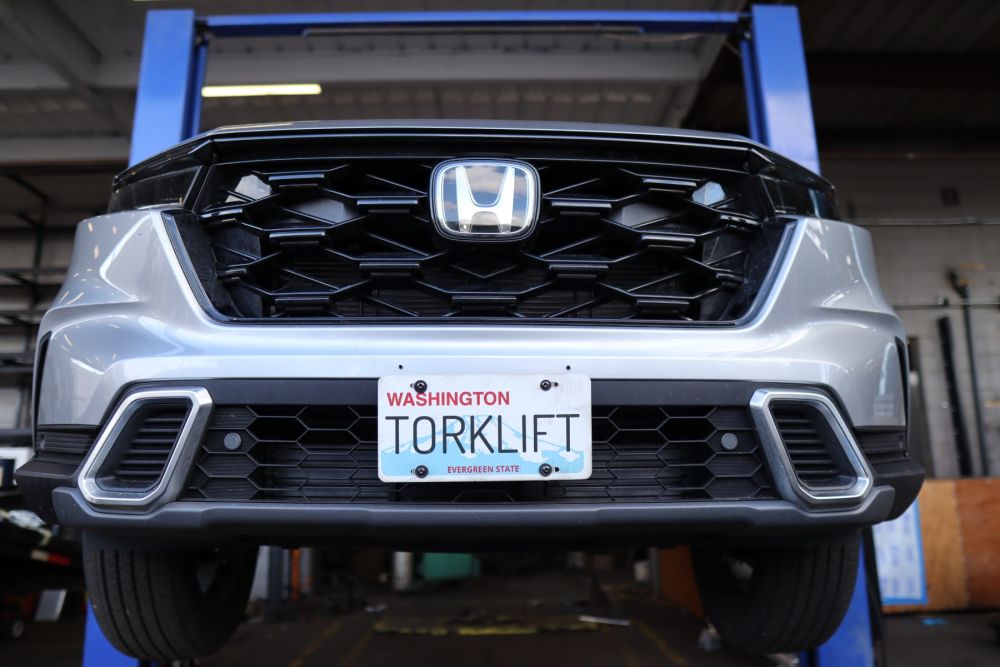
2013 Honda Cr V Front License Plate Installation
Let's face it, installing a front license plate isn't exactly on anyone's list of weekend fun. But hey, adulting is all about tackling those little (sometimes annoying) tasks, right? And when that task involves keeping you on the right side of the law and potentially avoiding a hefty fine, well, it suddenly becomes a little more…interesting. So, grab your screwdriver and maybe a cold beverage, because we're about to dive into the thrilling world of installing a front license plate on your 2013 Honda CR-V!
Why bother, you ask? It's simple: compliance and protection. Many states and provinces require a front license plate, and driving without one can result in a ticket. No one wants that! Plus, a securely mounted plate can offer a tiny bit of protection to the front of your vehicle in very minor bumps. Think of it as a chrome shield, however small! More importantly, it's about doing things right and keeping your car road-legal.
Okay, enough pep talk. Let's get practical. The 2013 Honda CR-V usually comes pre-drilled with dimples or marked locations on the front bumper for license plate installation. This makes the job much easier. However, not all models have these, or the previous owner might have removed the bracket. Don't panic! We'll cover both scenarios.
Must Read
Scenario 1: You Have the Dimples (Lucky You!)
This is the easy route. Here's what you'll generally need:
- Your 2013 Honda CR-V
- Your Front License Plate
- Screws (Usually self-tapping screws will do the trick. Check your local auto parts store for license plate screws that fit Hondas.)
- A Screwdriver (Phillips head is most likely)
Here's the process:
- Locate the Dimples: Look closely at the front bumper, usually in the center. You should see two slightly indented circles or markings.
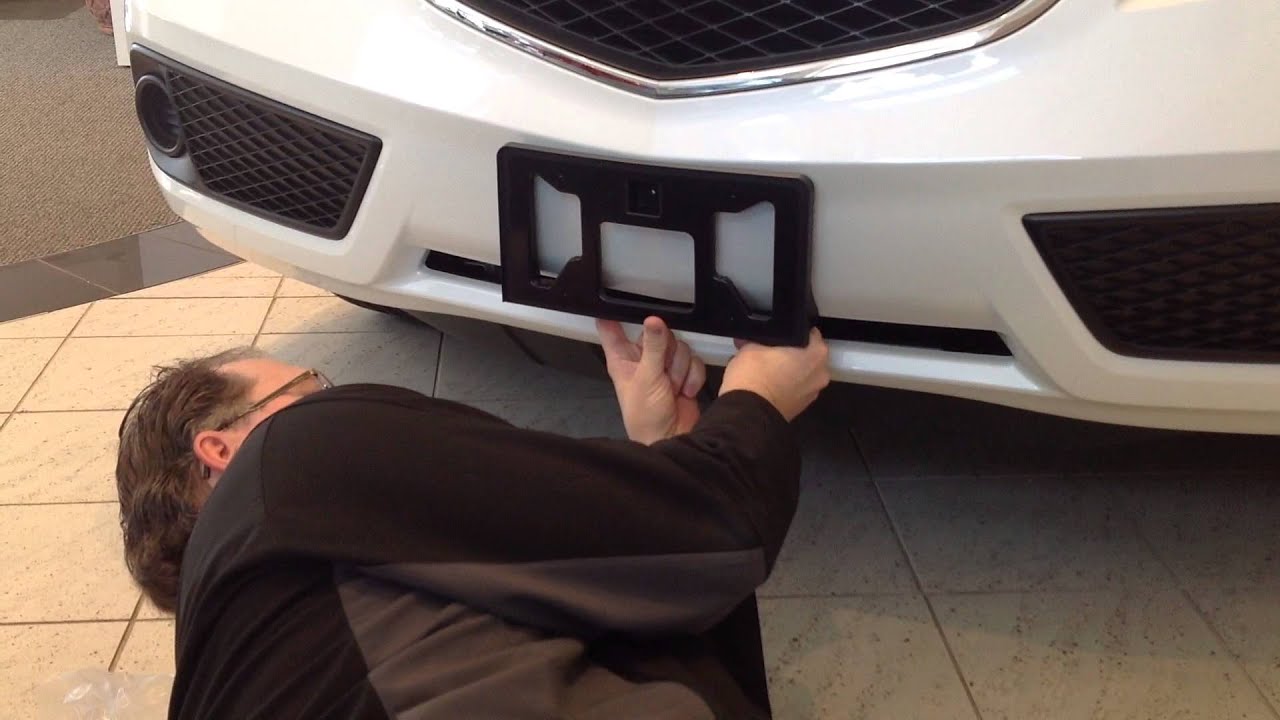
- Position the Plate: Hold the license plate against the bumper, aligning the holes in the plate with the dimples.
- Screw it in: Using your screwdriver, carefully screw the license plate into the dimples. Apply firm, even pressure to avoid stripping the screws. Don't overtighten! You just want it snug.
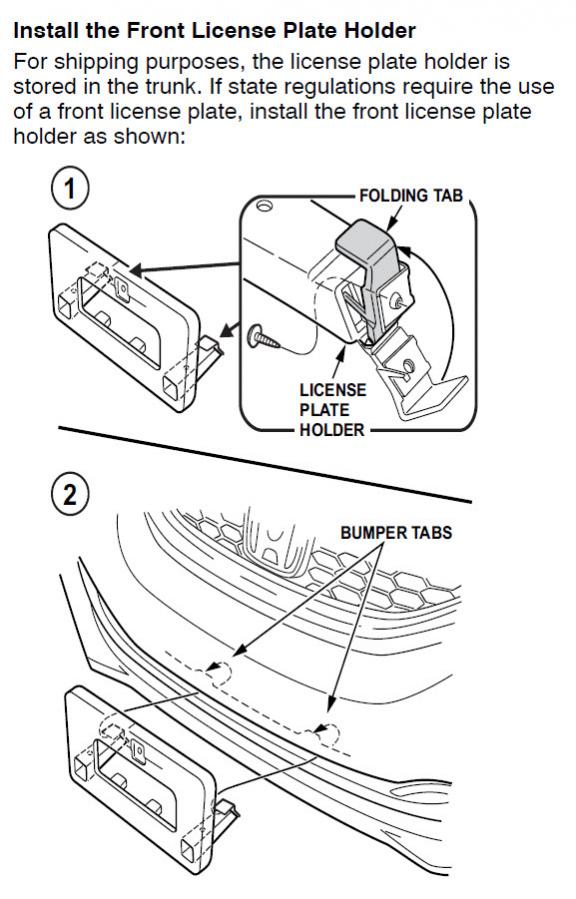
Scenario 2: No Dimples or Missing Bracket

This requires a bit more effort, but it's still manageable. You'll need:
- Your 2013 Honda CR-V
- Your Front License Plate
- A Front License Plate Bracket (Available at most auto parts stores or online. Make sure it's compatible with your CR-V!)
- Screws (Check what comes with the bracket. You might still need self-tapping screws.)
- A Screwdriver
- A Drill (Possibly, depending on the bracket)
- A Measuring Tape or Ruler
- A Marker or Pen
Here's the process:
- Position the Bracket: Decide where you want the license plate to sit on the front bumper. Use the measuring tape to ensure it's centered and level.
- Mark the Holes: Place the bracket against the bumper and use a marker to indicate where the screw holes will go.
- Drill (If Necessary): If the bracket requires you to drill pilot holes, carefully drill into the bumper at the marked locations. Go slowly and use the correct drill bit size!
- Attach the Bracket: Screw the bracket into the bumper using the provided screws.
- Attach the Plate: Now, attach the license plate to the bracket using screws. Again, don't overtighten.
Important Notes:
- Be Careful: Always be cautious when drilling into your car's bumper. Double-check your measurements and use the right tools.
- Check Your Local Laws: Some areas have specific requirements for license plate placement. Make sure you comply with local regulations.
And there you have it! You've successfully installed a front license plate on your 2013 Honda CR-V. Now you can drive with peace of mind, knowing you're legal and avoiding those pesky fines. Time to celebrate with that cold beverage!
