What Size Finishing Nails For Trim

So, you're putting up trim, huh? That's like adding the jewelry to a room – the sparkly, finishing touch. But before you grab just any old nail and start hammering away, let’s talk about nail size. It's not as boring as it sounds, I promise.
The Great Nail Debate: Size Matters (and It’s Kinda Funny)
Choosing the right size nail for your trim is kind of like Goldilocks and the Three Bears. Too big, and you'll split the wood. Too small, and your trim will sag like a grumpy old man's shoulders. Just right? Ah, perfection!
Now, I know what you're thinking: "Nails? Really? This is riveting!" But trust me, a little knowledge here can save you a whole lot of frustration (and possibly some choice words directed at your wall).
Must Read
Understanding the Players: Trim Thickness and Nail Length
The golden rule here is simple: your nail should be long enough to go through the trim and penetrate the wall stud behind it by at least an inch. That's the sweet spot for a good, solid hold.
Grab your measuring tape and check the thickness of your trim. Add an inch to that measurement, and bam! You've got your minimum nail length. You’re basically a trim nail wizard now.
For example, if your trim is ½ inch thick, you’ll want a nail that's at least 1 ½ inches long. Simple math, I swear! Even I can do it (most of the time).
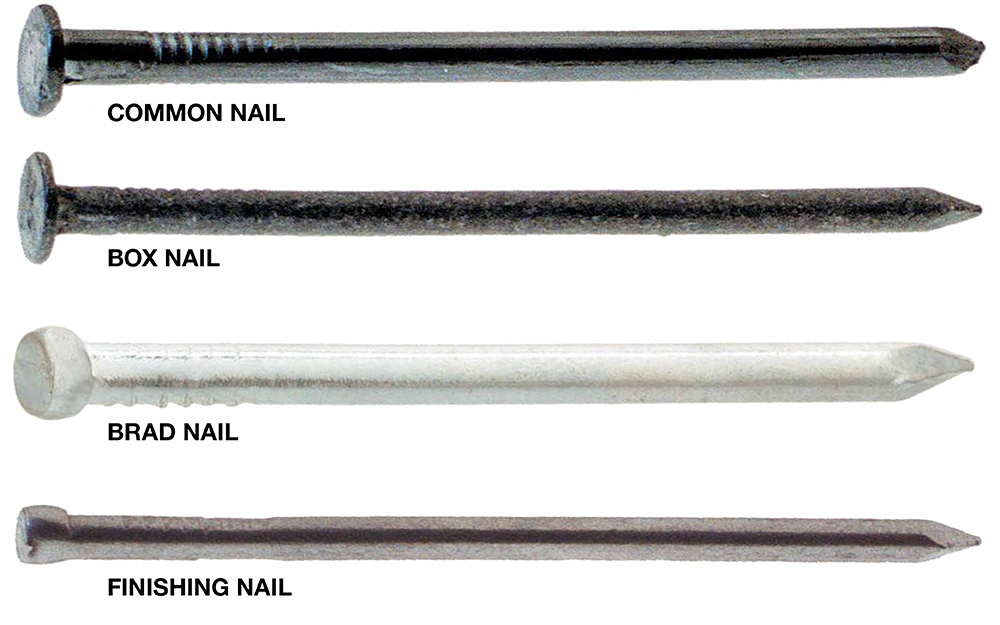
The Usual Suspects: Nail Sizes for Common Trim Projects
Let's talk specifics. For thin trim, like quarter-round or shoe molding, a 1-inch or 1 ¼-inch finish nail is often your best bet. Think of it as a delicate operation for delicate trim.
For slightly thicker trim, such as baseboards or door casings, you’ll probably want to bump up to a 1 ½-inch or 2-inch nail. These nails are the workhorses of the trim world.
And if you’re dealing with beefy crown molding or substantial window trim, don't be afraid to go even longer, maybe 2 ½ inches or even 3 inches. You need the big guns for the big jobs.
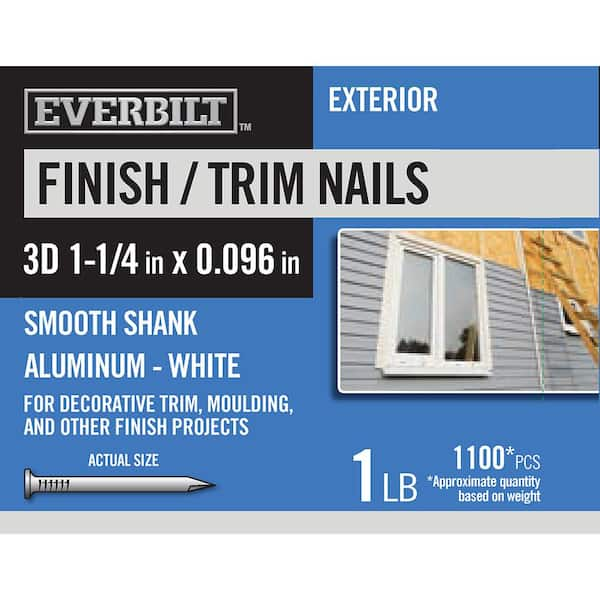
The "Penny" System: A Slightly Confusing But Historical Thing
Okay, here's where things get a little weird. Nails are often sized using the "penny" system, denoted by the letter "d". I have no idea why, and frankly, I don't think anyone truly does anymore. It's just one of those quirky historical things.
A 2d nail is about an inch long, a 4d nail is about 1 ½ inches, a 6d nail is about 2 inches, and so on. It’s like a secret code only old-time carpenters understand (or pretend to).
Honestly, unless you're a history buff or a stickler for tradition, just ignore the "penny" system and focus on the actual length of the nail in inches. Your sanity will thank you.
The Finish Nailer: Your New Best Friend (Probably)
While you can hammer in finish nails by hand (and develop some impressive biceps in the process), a finish nailer is a total game-changer. It's like the power drill of the trim world – fast, efficient, and makes you feel like a pro.
A finish nailer uses compressed air to drive the nails in, so you don't have to worry about bending them over or accidentally whacking your thumb. Trust me, your thumb will thank you.
Just remember to wear safety glasses! Nobody wants a nail ricocheting into their eye. Safety first, always!
Pre-Drilling: A Little Extra Effort for a Perfect Finish
For hardwoods or delicate trim, pre-drilling pilot holes is a smart move. It prevents the wood from splitting and ensures a clean, professional look. It's like giving your trim a little spa treatment before the big show.
Use a drill bit that's slightly smaller than the diameter of your nail. Then, gently tap the nail into the pre-drilled hole. No splitting, no drama, just smooth, beautiful trim.
Think of pre-drilling as the secret ingredient that separates the amateur trim installer from the seasoned pro. It’s worth the extra few minutes, promise.
Filling Nail Holes: The Art of Disappearing Act
Even with the best technique, you'll probably end up with a few visible nail holes. Don't worry, it's perfectly normal. That's where wood filler comes in to save the day.
Choose a wood filler that matches the color of your trim. Apply a small amount to each nail hole, let it dry, and then sand it smooth. It's like a little bit of magic, turning those unsightly holes into invisible imperfections.
And if you're painting your trim, you can use paintable caulk to fill the nail holes. It's flexible and provides a seamless finish. Your guests will be none the wiser!
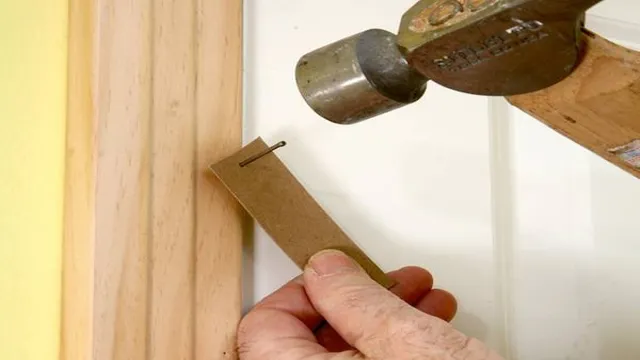
The Importance of a Good Hammer (Yes, Really)
If you do decide to go the traditional route and hammer in your finish nails by hand, make sure you have a good hammer. A lightweight hammer with a smooth face is ideal.
A heavy hammer will just cause you to overshoot and dent the trim. And a hammer with a rough face will leave unsightly marks. So, choose wisely!
Think of your hammer as an extension of your hand. The better the hammer, the better the results. It’s like having a trusted partner in your trim installation journey.
Nail Placement: A Few Tips for a Flawless Finish
When hammering or nailing your trim, pay attention to nail placement. Space the nails evenly, about 6 to 12 inches apart. It’s all about balance and visual appeal.
Avoid nailing too close to the edge of the trim, as this can cause it to split. And try to angle the nails slightly, so they "grab" better in the wall stud.
Consistent nail placement is the mark of a true craftsman (or craftswoman!). It shows attention to detail and a commitment to quality.

When in Doubt, Ask!
If you're still unsure about what size finish nails to use for your trim project, don't hesitate to ask for help. Head to your local hardware store and talk to the experts. That's what they're there for!
Bring a piece of your trim with you, so they can see it and give you the best recommendation. They might even have some helpful tips and tricks you haven't thought of.
Remember, there's no shame in asking for help. We've all been there. And it's better to be safe than sorry (and end up with a bunch of split trim!).
The Satisfaction of a Job Well Done
Putting up trim can be a bit of a challenge, but it's also incredibly rewarding. There's nothing quite like the satisfaction of standing back and admiring your handiwork.
And now you know the secret weapon to success: the right size finish nail. Go forth and trim like a pro! You've got this!
So, embrace the challenge, learn from your mistakes, and have fun along the way. And remember, even if your trim isn't perfect, it's still yours. And that's something to be proud of.