Overhead Door Remote Battery Replacement

Ever had that moment? You pull up to your driveway, it's pouring rain, you hit the garage door button, and... nothing. Absolute, infuriating silence. Your heart sinks faster than a leaky boat, and you just know you're about to make a dash through the downpour, fumbling with that manual release. Sound familiar? We've all been there, and let me tell you, it's usually not the garage door itself throwing a tantrum. More often than not, it's something way simpler: a dead remote battery.
Think about it. We rely on these little gadgets every single day. They're like the unsung heroes of our daily commute, quietly making our lives easier. Until, of course, they decide to clock out without notice. It's not quite as dramatic as your car battery dying, stranding you in the middle of nowhere, but it can certainly feel like a minor catastrophe when you're just trying to get into your warm, dry home.
Why Should You Even Care About a Tiny Battery?
You might be thinking, "It's just a battery, I'll get to it eventually." But trust me, giving a little love to your garage door remote now can save you a whole lot of hassle later. Imagine this:
Must Read
It's late, you've just finished a long day, maybe picked up takeout, and you're tired. Pulling into the driveway, you press the button, and the garage door glides open like magic. You drive straight in, safe and sound. Now, imagine the alternative: the silent treatment from your remote, forcing you to get out of the car, unlock the house door, go through the house to the garage, and manually lift that heavy door. Not exactly the grand entrance you were hoping for, right?
Or how about this scenario: You're running five minutes late for work. The kids are finally in the car, seatbelts buckled (a minor miracle in itself!), and you press the button. And... zip. Nada. Now you're not just five minutes late, you're ten minutes late, because you're wrestling with the garage door opener while trying to keep an eye on a dog that really wants to explore the neighborhood.
These aren't just minor inconveniences; they're moments of unnecessary stress that are totally avoidable. Your garage door remote isn't just a convenience; it's a little bit of everyday luxury that makes your life smoother, safer, and less prone to impromptu rain dances.
It's Easier Than You Think (No Tech Degree Required!)
Now, for the good news! Replacing the battery in your garage door remote is often one of the easiest DIY tasks you'll ever tackle. Seriously. It's usually less complicated than changing the batteries in a kid's noisy toy. You don't need a toolbox full of specialized equipment or a degree in electrical engineering. Most times, all you'll need is:
- A small screwdriver (often a Phillips head or a tiny flathead, like the ones you use for glasses).
- The new battery (we'll get to how to figure out which one!).
- About five minutes of your time.
The "How-To" That Won't Make Your Head Spin
Okay, ready to give your trusty remote a new lease on life? Here’s the super-simple rundown:

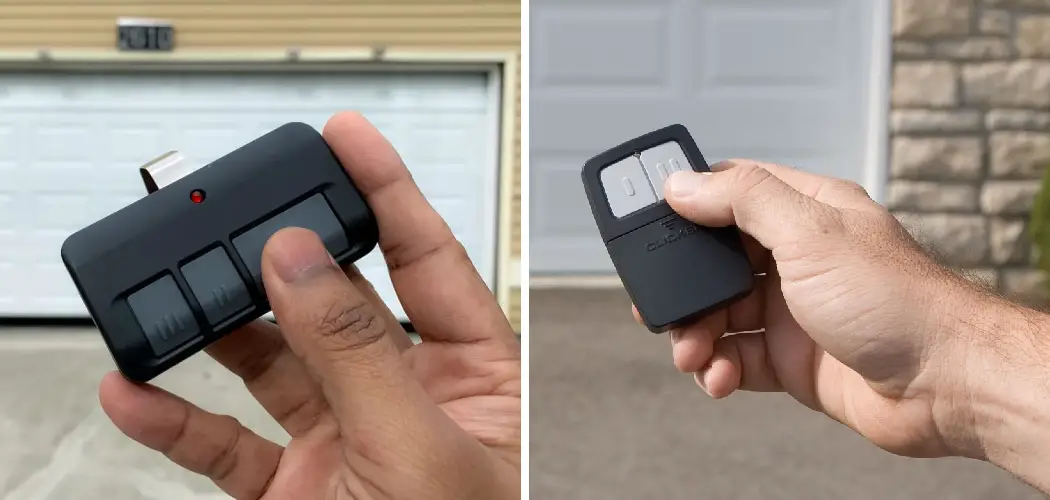
First, grab your remote. Take a good look at it. On the back, you’ll usually find a small screw or a little clip that holds the battery compartment cover in place. It's often marked with a tiny arrow or a diagram. This isn't Fort Knox; it's designed to be opened.
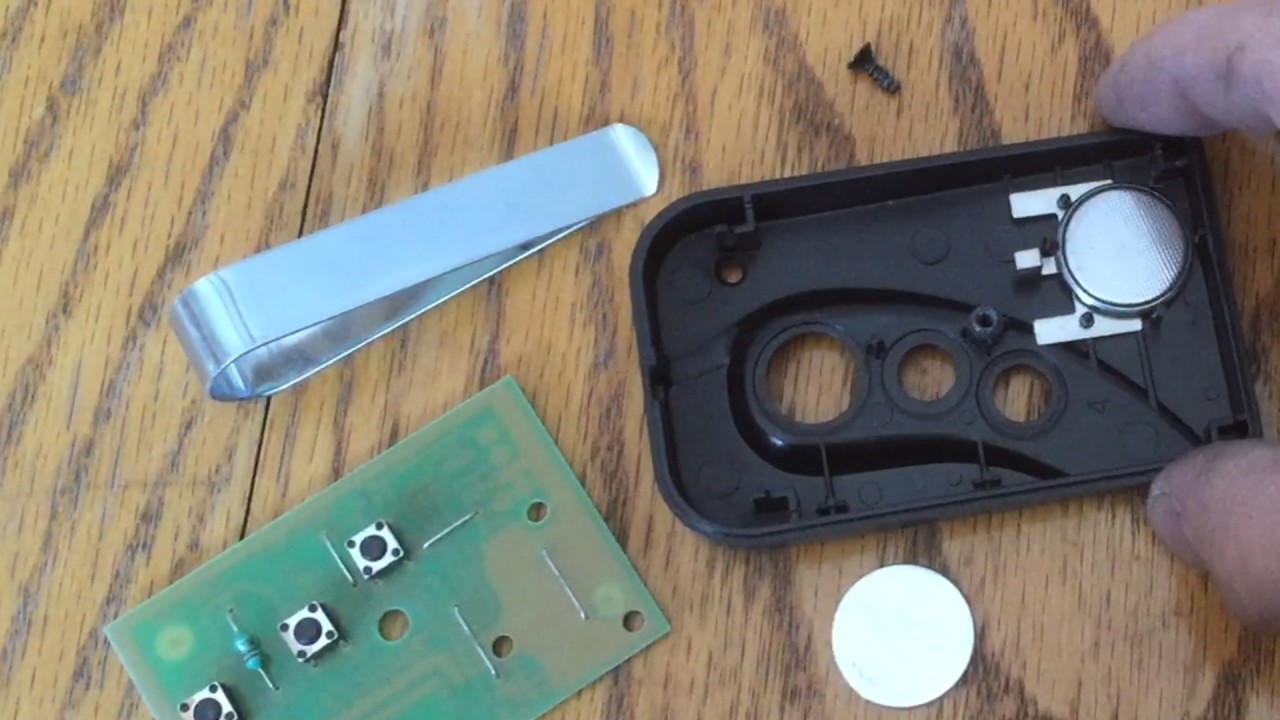
Gently pry or unscrew that cover. Once it’s off, you'll see the battery. Don't worry, it won't bite. It'll probably be a small, round "coin cell" battery (like a CR2032 or CR2016) or sometimes a couple of AAA or AA batteries, just like in your TV remote.

Pay attention to how the old battery is sitting in there. Note which side is up (usually the positive side, marked with a "+" or the brand name, faces you). This is important for when you put the new one in.
Pop out the old, tired battery. It might be snug, but a gentle nudge with your fingertip or the tip of your screwdriver should do the trick.
Now, grab your new, shiny battery. Make sure it's the exact same type and size as the one you just removed. You can usually find the battery type printed right on the battery itself. A quick trip to the local grocery store or hardware shop, or even your junk drawer, will often yield the right one.
Insert the new battery, making sure it’s oriented correctly – just like the old one was. It should fit snugly. Replace the cover, tighten the screw (if there was one), and give it a little wiggle to make sure it's secure.
The Moment of Truth!
Now for the satisfying part: Stand a reasonable distance from your garage door (not too close, not too far!) and press that button. Hear that glorious whirring sound? Watch that door glide open? Success! You’ve just extended the life of your remote and saved yourself from future frustration. Give yourself a pat on the back; you’re a garage door remote battery replacement expert!
So, next time your remote starts acting flaky, or better yet, before it starts acting flaky, remember this little chat. A few minutes now can save you a world of inconvenience, a soggy head, or a delayed start to your day. Your future self will absolutely thank you.