Magic Mesh How To Install

Alright, let's talk about the unsung hero of summer, the silent guardian of your domestic bliss: the Magic Mesh. You know the drill. The weather's finally glorious, you throw open the back door, ready to let in that sweet breeze, and what happens? Like a scene from a low-budget horror flick, the flies start their aerial assault, joined by the sneaky mosquito brigade, buzzing around your ears like tiny, evil paparazzi. You find yourself doing that awkward one-handed swat dance while trying to hold a conversation. We've all been there.
Enter the Magic Mesh. It promises salvation, a bug-free oasis, all without the hassle of a permanent screen door that slams shut on your fingers every third time. But how do you actually get this mystical barrier up and running? Fear not, fellow sufferers of the insect invasion, because installing Magic Mesh is less like rocket science and more like a surprisingly satisfying DIY project that makes you feel like a minor deity of home improvement.
The Great Unboxing & Pre-Game Pep Talk
First things first, rip open that package! No gentle caressing here. You've been waiting for this. Inside, you'll likely find two panels of mesh, a roll of sticky-back Velcro (or similar adhesive strips), and maybe a pack of tacks for extra reinforcement. It’s not exactly a treasure chest, but it holds the promise of peace. Take a moment. Gaze upon your bounty. This is the calm before the bug-free storm.
Must Read
Now, let's locate your battlefield – the doorframe. This is important. Make sure it's clean. And I mean really clean. Imagine you're preparing for surgery, but for your door. Grab a damp cloth, maybe some all-purpose cleaner, and wipe down the top and sides of your doorframe where the mesh will attach. Dust, grime, last year's cobwebs – they're all enemies of adhesive. If you skip this step, your mesh might just decide to stage a dramatic falling act mid-week, leaving you vulnerable to winged invaders once more. Don't be that person. Clean it like your bug-free sanity depends on it!
The Sticky Situation: Applying the Adhesive
Here's where the magic truly begins to take shape. You've got your roll of adhesive strips. Think of this as the glue that binds your new life together. Start at the very top of your doorframe. Peel off the backing of the adhesive strip a little at a time, pressing it firmly along the top of the frame. You want this as straight as an arrow, folks. Take your time. This isn't a race. A wonky top strip means a wonky mesh, and nobody wants that. It's like hanging a picture frame crooked – it just gnaws at you every time you see it.

Once the top strip is down, work your way down the sides. Again, peel and stick, peel and stick. Make sure the adhesive is on the outside edge of your doorframe, facing into the room, where the mesh will hang. You're creating a perfect perimeter. It might feel like you're playing a giant game of "Connect the Dots" with sticky tape, but trust the process. You're building a fortress against tiny airborne nuisances.
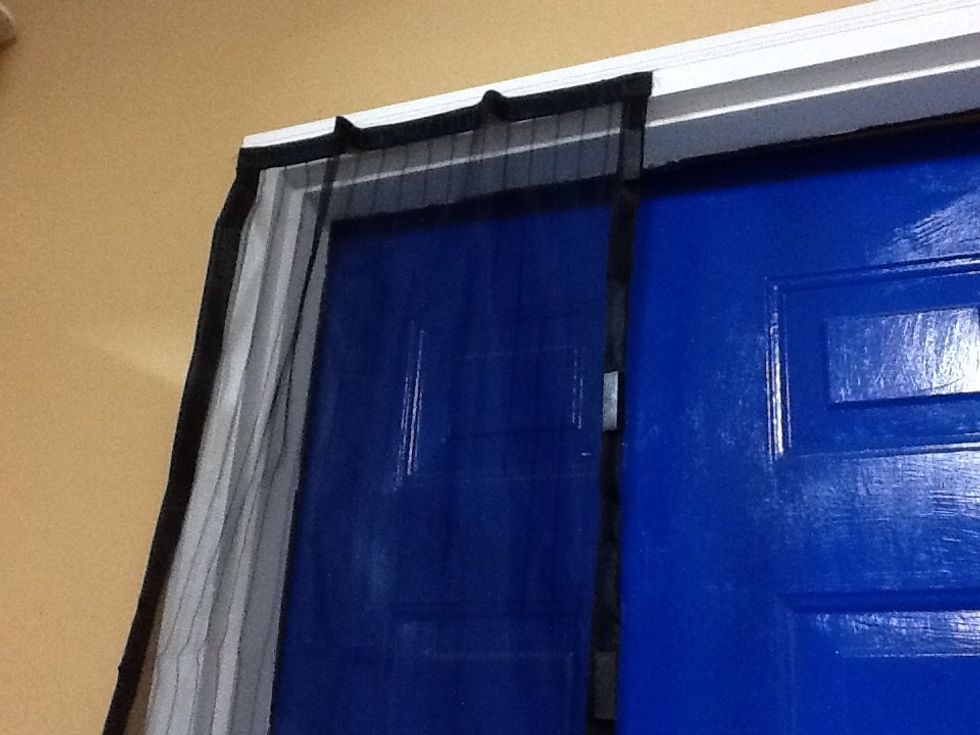
The Grand Drape: Hanging the Mesh
Now for the main event! Pick up your two mesh panels. You'll notice they have magnets or weighted strips down the middle seam. This is the genius part – the self-closing wizardry. Match the top of one mesh panel to the adhesive strip you just put on the top of your doorframe. Press it firmly onto the Velcro. Do the same with the second panel, making sure the middle seams (with the magnets) meet perfectly in the center of your doorway.

Here's the trick: you want a slight sag in the middle of the mesh. Not so much that it's pooling on the floor, but enough that the magnets can easily find each other and snap shut. If it's pulled too taut, the magnets will be in a perpetual struggle, like two stubborn toddlers refusing to hold hands. Adjust the mesh on the Velcro strips until those magnets click together with a satisfying "thwack" every time you push through it.
Most kits also include small tacks. These are your backup dancers. Once you're happy with the placement and how it closes, you can push a few tacks through the mesh and into the doorframe, especially at the top and corners, for extra security. Think of it as insurance against rambunctious pets or overly enthusiastic kids who treat the mesh like a personal obstacle course. Reinforce it like a pro!

The Ultimate Test & Enjoying Your Victory
The moment of truth! Step back and admire your handiwork. Now, for the real test: walk through it. Push it open like you're making a dramatic entrance. Does it swing open easily? Does it snap shut behind you like a well-trained butler? If so, congratulations! You've successfully installed Magic Mesh.
Send in the kids! Let the dog burst through! Watch with a smug smile as the mesh parts and then effortlessly re-seals itself, leaving the outside world (and its creepy crawlies) exactly where it belongs. You've created a gateway to breezy comfort without inviting a single unwelcome six-legged guest. So, go ahead, open that door, breathe in the fresh air, and wave goodbye to those pesky intruders. You, my friend, are now the undisputed champion of your bug-free domain. And you did it all with just a little sticky tape and a dash of DIY magic.