How To Update Billing Information Iphone
Ever been there? You’re scrolling through the App Store, eyes gleaming at that new, must-have game that promises to revolutionize your commute from "mildly annoying" to "mildly annoying but with dragons!" Or maybe you’re just trying to renew your favorite ad-free podcast subscription because, honestly, who has time for interruptions in their true crime deep dives?
You tap, you confirm, you anticipate… Then, like a villain in a low-budget horror flick, the dreaded "Verification Required" message pops up. Your heart sinks faster than a lead balloon in a lava lamp. Your payment method? Declined. The digital world suddenly feels as welcoming as a spam folder full of overdue bills.
Fear not, intrepid digital adventurer! Today, we're embarking on a noble quest: How to Update Billing Information on Your iPhone. And we'll do it with less stress than trying to explain cryptocurrency to your grandmother, and more laughs than watching a cat try to get into a paper bag.
Must Read
The Mysterious Case of the Expired Plastic
Why does this happen, you ask? Is it Apple's way of testing your patience? Perhaps! More likely, it’s just the march of time. Credit cards, like fine wines and your last shred of youthful innocence, eventually expire. Or maybe you got a shiny new card with a fancy chip that promises to ward off digital evil, but first, it needs to be introduced to your iPhone.
Sometimes, it’s even simpler: you switched banks, you decided to ditch that problematic card, or perhaps your billing address changed and the digital overlords are demanding perfect alignment. Whatever the reason, the consequences of outdated billing information can be dire. I'm talking existential crisis levels of dire for your digital life.

Suddenly, your subscriptions vanish like a magician's rabbit – poof! No more ad-free podcasts. Your iCloud storage shrinks, threatening to jettison your precious cat photos into the digital abyss. That shiny new app? Stuck in limbo, a ghost in the machine, never to grace your home screen. But worry not, rescue is at hand!
Your Hero's Journey: Updating Your Billing Info
Okay, deep breaths. This isn't rocket science, though sometimes it feels like it requires a secret handshake and a decoder ring. Grab your iPhone, find a comfy spot (preferably with good Wi-Fi, just in case the digital gods are watching), and let's get cracking.
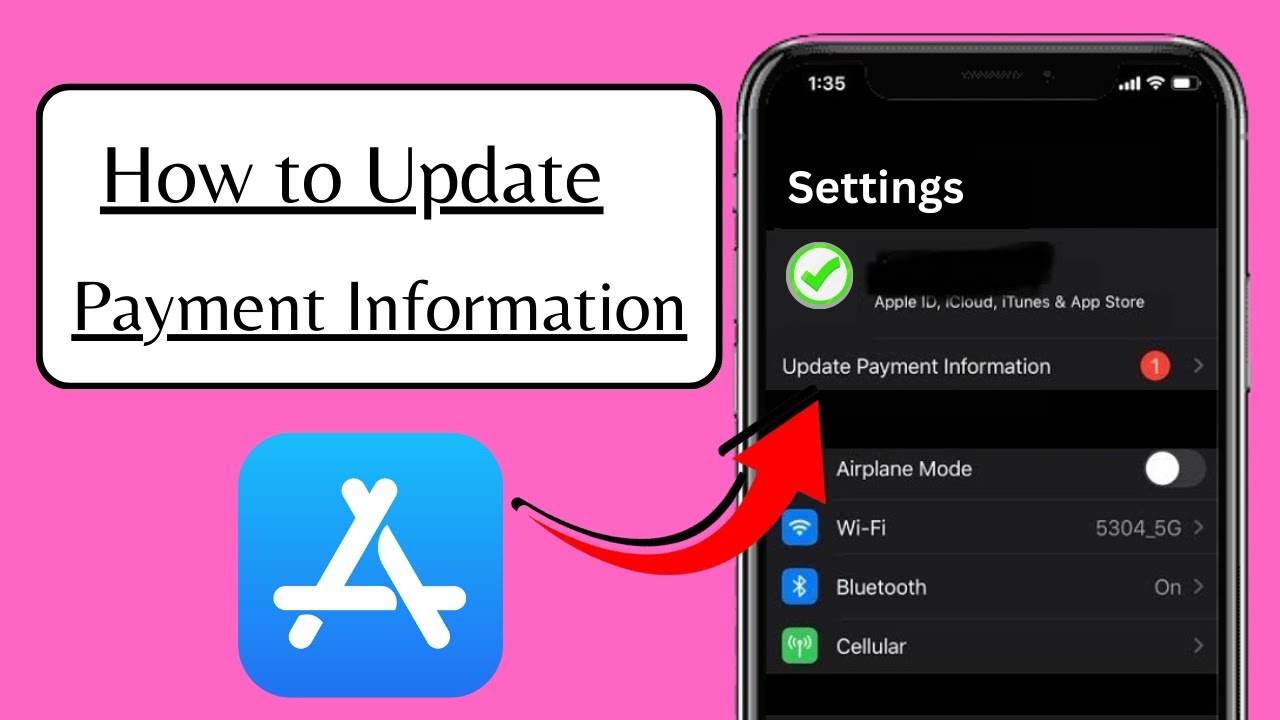
Step 1: Unearth the Settings App
Find that little gear icon on your home screen – the one that looks like it belongs on a tiny, incredibly efficient Swiss clock. Tap it. Welcome to the nerve center of your digital life. This is where all the magic (and sometimes the mundane) happens.

Step 2: Tap Your Digital Identity
At the very top of the Settings menu, you'll see your name, probably next to your glorious (or slightly pixelated) profile picture. Tap your name. This isn't vanity; this is access! You're basically telling your iPhone, "Hey, it's me, the boss!"
Step 3: Seek Out "Payment & Shipping"
Now, scroll down a bit. You'll see several options, but the one we're interested in is "Payment & Shipping." It might sound like you're about to order a bespoke suit for a tiny delivery person, but trust me, we're just updating card details here. Tap it like it owes you money (which, technically, it kind of does if it’s blocking your purchases).
Step 4: The Moment of Truth – Edit or Add!
Here's the magic moment. You'll see your current payment methods listed, probably with the offending expired card looking all sad and red.
- If your old card is there looking like a digital relic, tap "Edit" in the top right corner, and then tap the red minus sign next to the expired card to remove it from your life. Good riddance!
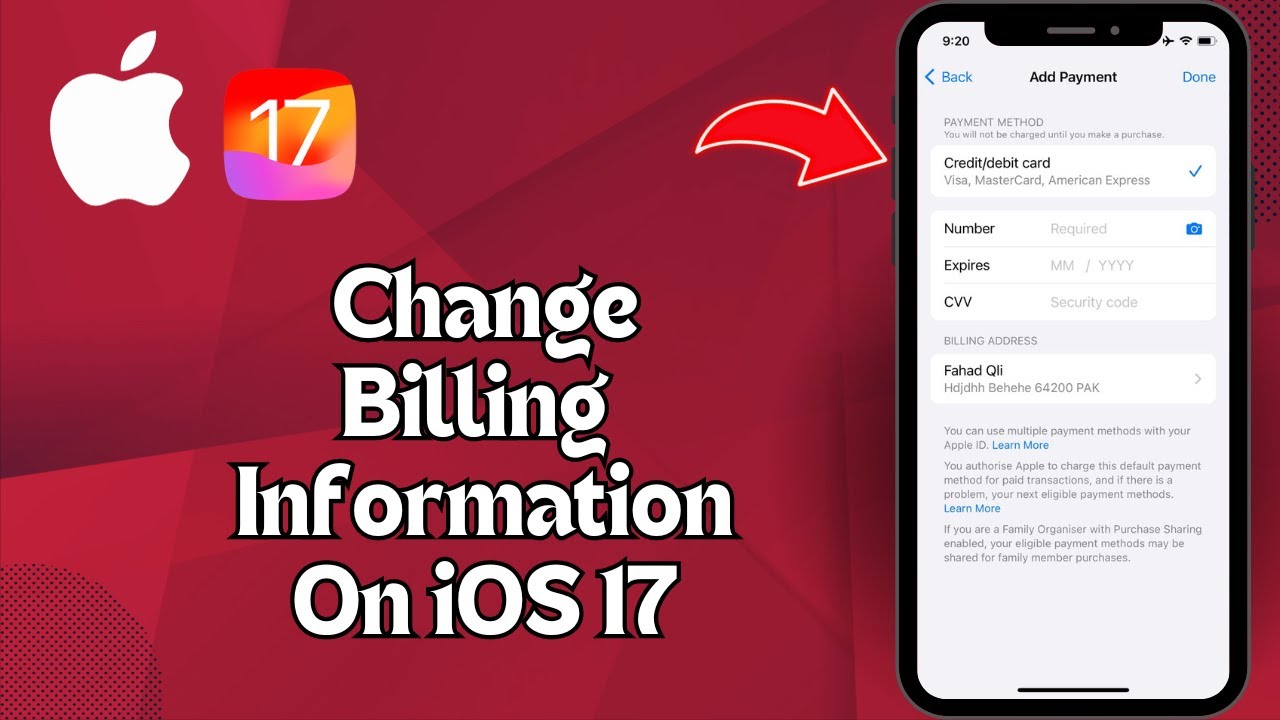
- If you're adding a shiny new one, or if there's no payment method at all (living dangerously, I see!), tap "Add Payment Method."
Step 5: Input the Sacred Numbers
This is where you type in the sacred numbers: your new card number, the expiry date (double-check this one – it's a notorious trickster!), and that mysterious CVV/security code on the back. This three or four-digit enigma is like the secret password to your bank account's inner sanctum. Make sure everything is precisely as it appears on your physical card. Apple isn't a fan of typos, especially when money is involved.
Step 6: Confirm and Celebrate!
Once you've filled in all the blanks like a diligent student, tap "Done" or "Verify" in the top right corner. Your iPhone might do a little digital wiggle, confirming it's happy. You might even feel a tiny surge of power. That, my friends, is the feeling of successfully navigating Apple's billing labyrinth!

What If the Digital Gods Are Still Frowning? (Troubleshooting 101)
Sometimes, even after all that, things don't go according to plan. Don't throw your iPhone across the room just yet!
- Is it really the correct card number? Not your library card, not that old Blockbuster membership card (RIP). Double-check every single digit.
- Expiry Date Shenanigans: This is the number one culprit. It’s like forgetting your anniversary – small detail, huge consequences. Make absolutely sure it's correct.
- The Address Mismatch: Your billing address entered on your iPhone must match the one on file with your bank or credit card company. Apple isn't being nosy; they're just trying to prevent digital larceny.
- The Mythical Restart: When all else fails, turn it off and on again. It's the digital equivalent of a sage nodding wisely and telling you to "just breathe." Seriously, it works more often than you'd think.
A Fun Fact to Ponder While You Shop!
Did you know that Apple’s services revenue (which includes the App Store, Apple Music, iCloud, etc.) is absolutely massive? We're talking billions upon billions of dollars annually. Every time you update your billing and make a purchase, you're a tiny, crucial cog in a gigantic, well-oiled machine that probably makes Tim Cook smile. In fact, Apple Pay alone processes billions of transactions annually – that's a lot of taps!
Victory Is Yours!
And there you have it! You've tamed the billing beast. Go forth and download that app, renew that subscription, and enjoy your digital life without interruption. The App Store awaits, your favorite streaming service is ready to binge, and your digital wallet is feeling plump and happy. Now, if you'll excuse me, I think I hear my own iPhone silently judging my lack of a premium coffee subscription...