How To Take Out The Ink Cartridge Of Hp Printer
Okay, so you need to wrestle with your HP printer again, huh? Don't worry, we've all been there. Maybe you're facing the dreaded "low ink" warning, or perhaps your prints are looking a little… faded. Whatever the reason, knowing how to swap out those ink cartridges is a vital skill in this modern age. It's like knowing how to change a tire on your car – a little daunting at first, but incredibly empowering once you get the hang of it.
But why should you care? I mean, isn’t printing just… printing? Well, think of your printer as a sophisticated artist, and the ink cartridges as its palette. Dull, empty cartridges? That's like giving Van Gogh a dried-up tube of yellow ochre. No artistic magic can happen without the right tools. So, let's dive into the fun (yes, I said fun!) world of ink cartridge removal.
Finding the Cartridge Cave
First things first: you need to locate where your printer is hiding those precious ink reservoirs. Now, HP printers come in all shapes and sizes, from sleek and modern to… well, let's just say "functional." But fear not! The core principles remain the same. Think of it like finding the battery compartment in a toy. It might be hidden, but it's always there somewhere.
Must Read
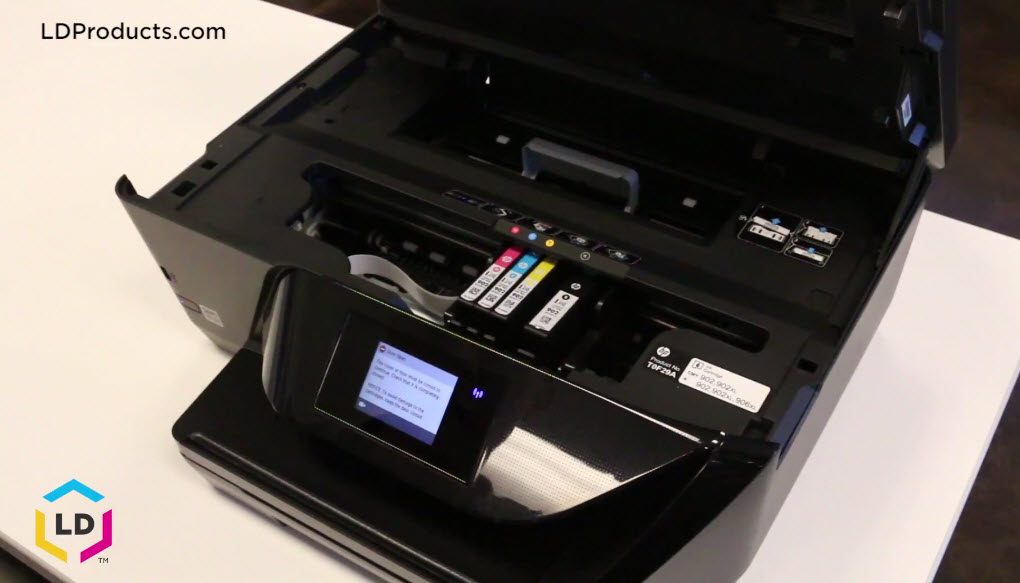
Most HP printers have a designated access door or panel specifically for ink cartridge replacement. Look for something labeled "Cartridge Access," "Ink," or a similar indication. It’s usually on the front or top of the printer. Is it easy to find? Sometimes. But don't be afraid to give it a gentle nudge or peek around the edges.
Once you've located the door, you'll likely need to open it. This might involve pressing a button, sliding a latch, or just giving it a gentle pull. Refer to your printer's manual if you're unsure. (I know, manuals are boring, but they can be your best friend in these situations!). Opening the door is like Indiana Jones discovering a hidden temple – full of potential and slightly dusty.
Waiting for the Ink Carriage to Park
Okay, this is where it gets a little technical, but I promise it's still pretty simple. Once you've opened the access door, the ink cartridge carriage (that's the fancy term for the thing that holds the cartridges) should automatically move to a central position. This "parking" position is crucial because it allows you to access the cartridges without forcing anything or causing damage.
Why does it do this? Well, imagine trying to change the oil in your car while the engine's running. Not a good idea, right? The same principle applies here. You need the ink carriage to be stationary before you start poking around. Be patient! It might take a few seconds for the carriage to move into place. If it doesn't move automatically, check your printer's display screen or manual for instructions on how to initiate the movement.
Never, ever try to force the carriage to move. This is a recipe for disaster and could potentially damage your printer. Think of it like trying to convince a stubborn cat to take a bath. Gentle encouragement is key; forceful action is likely to result in scratches and unhappiness.
The Cartridge Extraction Process
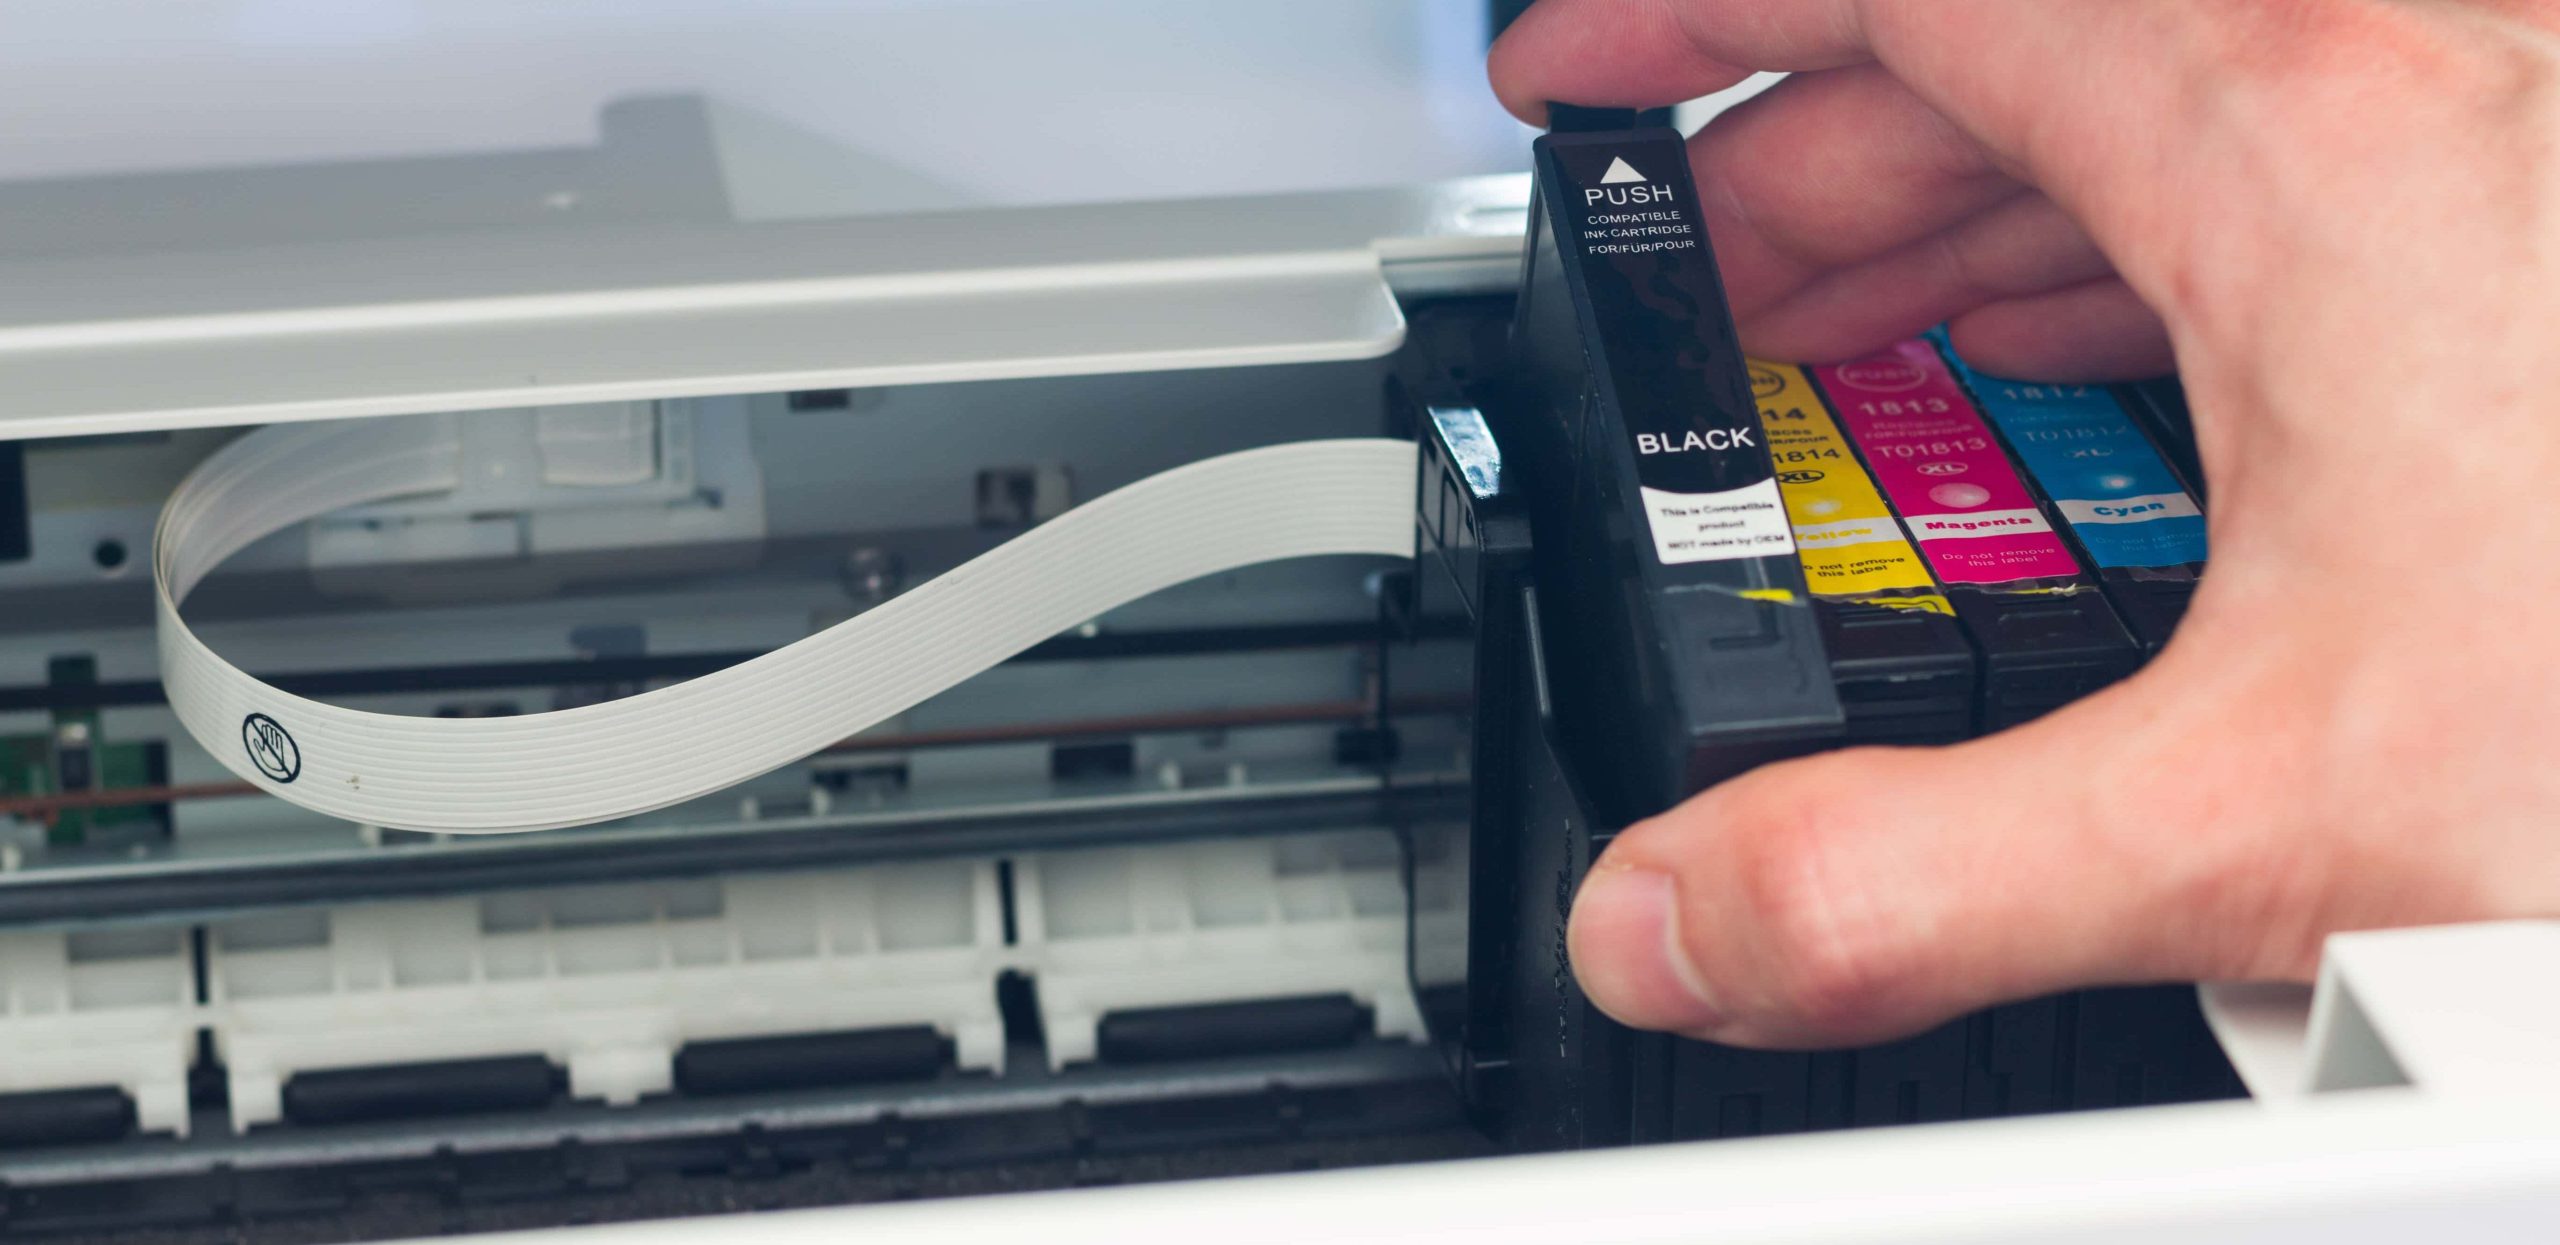
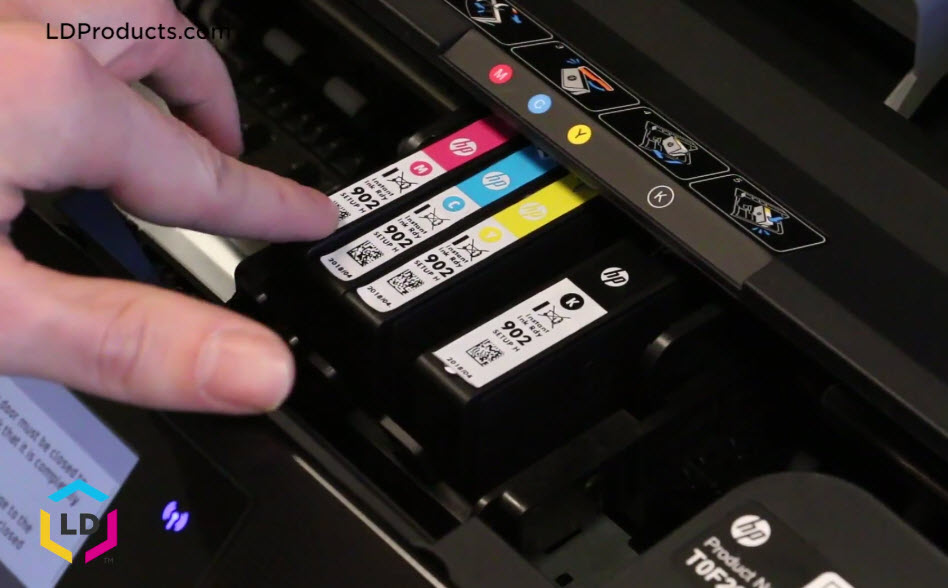
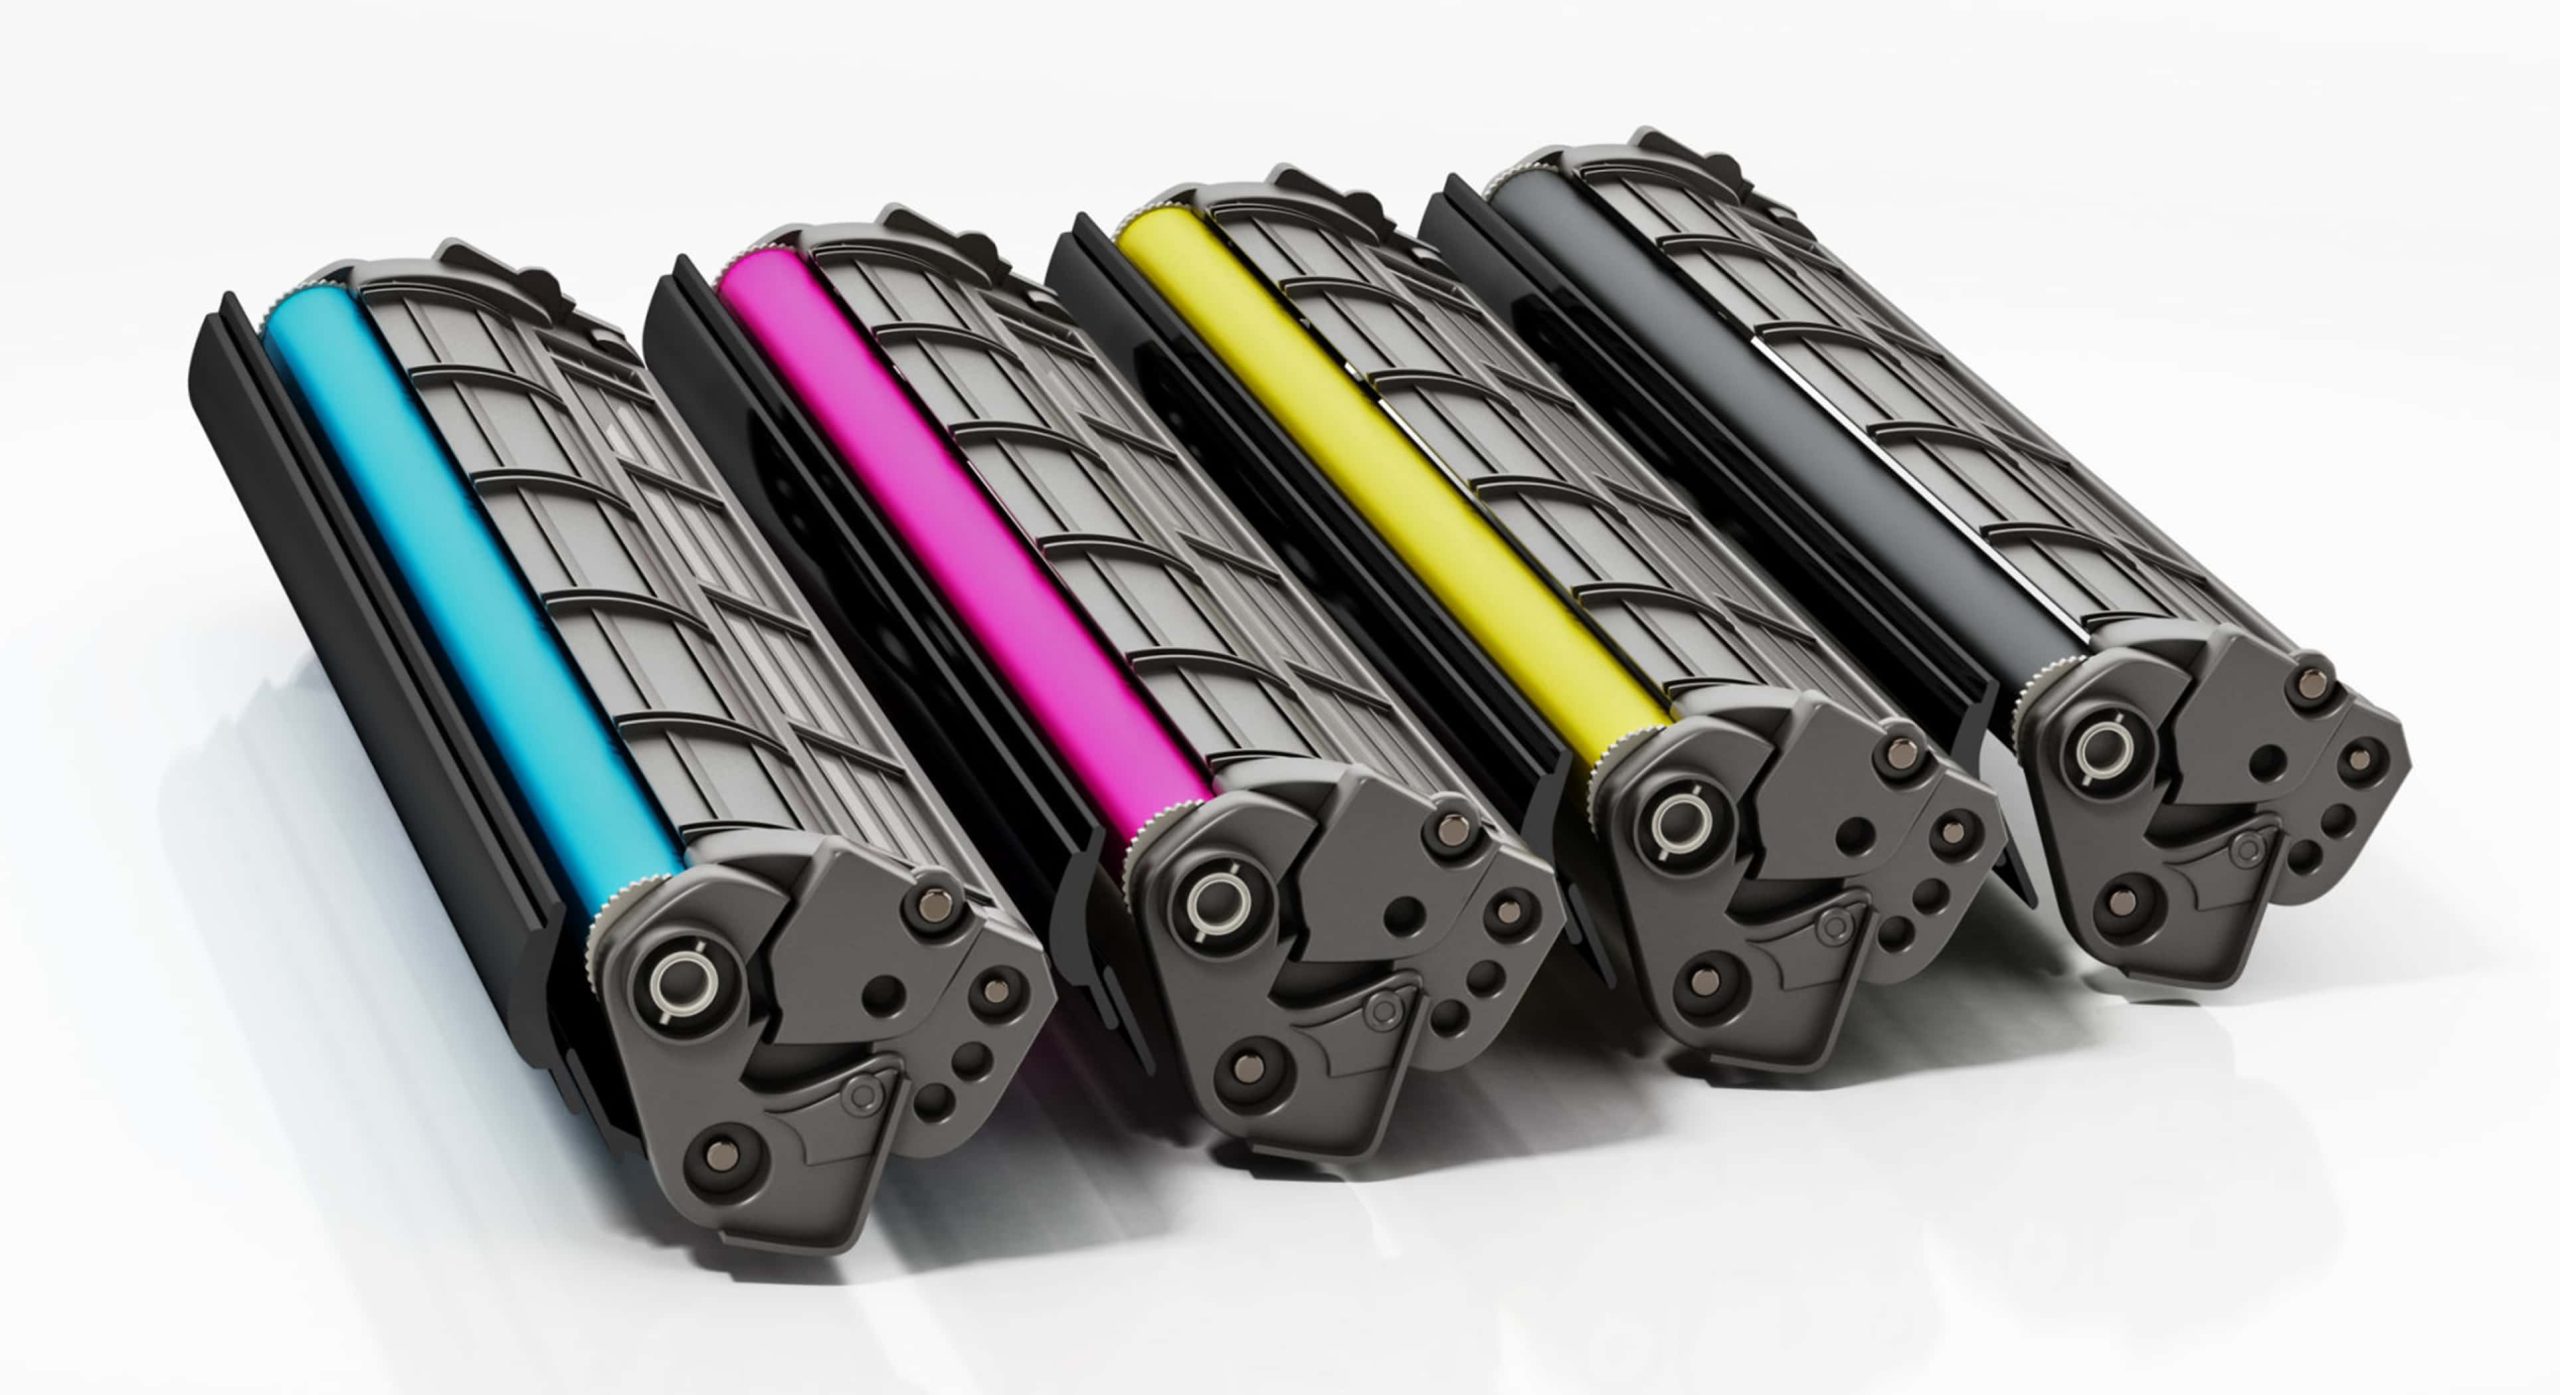
Now for the fun part: actually removing the ink cartridges! This is usually a straightforward process, but it's important to be gentle. Each cartridge is typically held in place by a small clip or latch. Look closely at each cartridge to identify how it's secured.
Often, you'll need to press down lightly on the cartridge to release the clip. Sometimes there is a latch that you need to lift or slide. Once the clip or latch is released, you should be able to gently pull the cartridge out of its slot. Is it clicking into place? Does it feel loose? Be sure to not use too much force.
Important: Be careful not to touch the gold-colored contacts on the cartridge or inside the printer. These contacts are essential for communication between the cartridge and the printer, and touching them can compromise their functionality. Think of them like the keys on a piano. A single scratch, and things don't sound quite as good as they should.
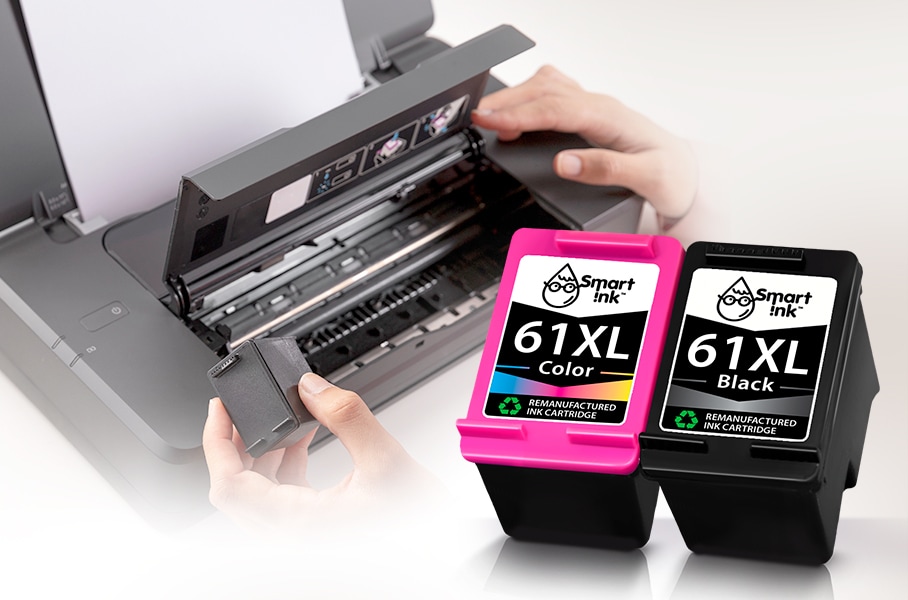
Repeat this process for each cartridge you need to remove. Once you've extracted all the cartridges, you're ready to install the new ones. Which, by the way, is essentially the reverse of this process. But that's a story for another day!
See? That wasn't so bad, was it? You've now successfully navigated the somewhat-mysterious world of HP ink cartridge removal. Go forth and print with renewed confidence!