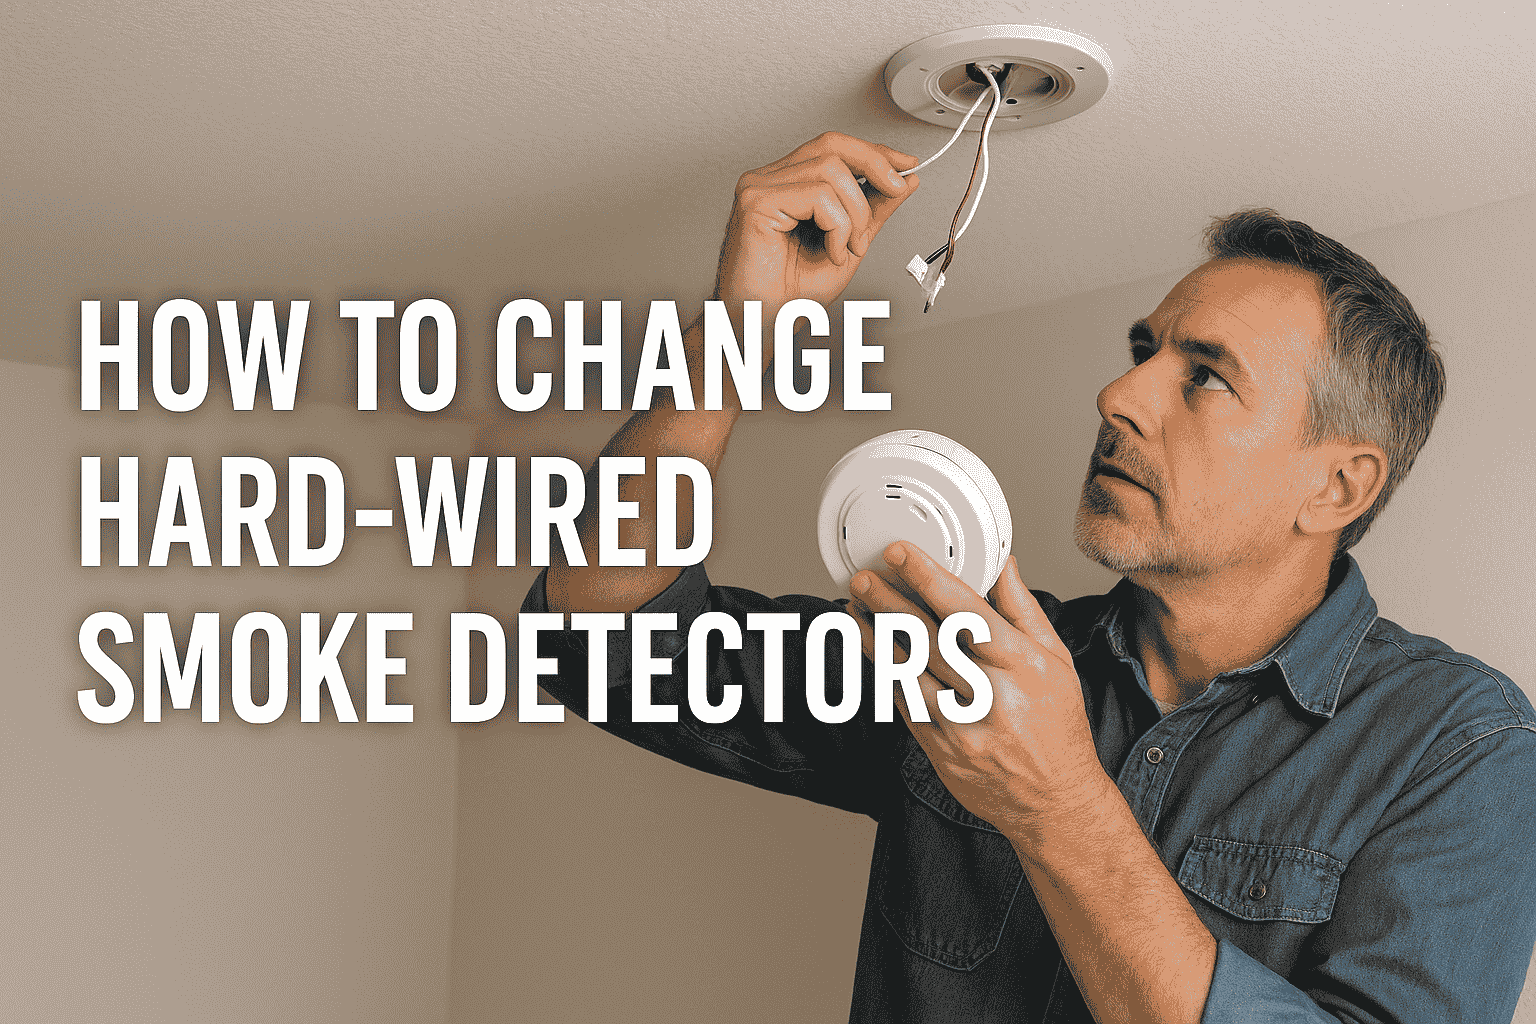
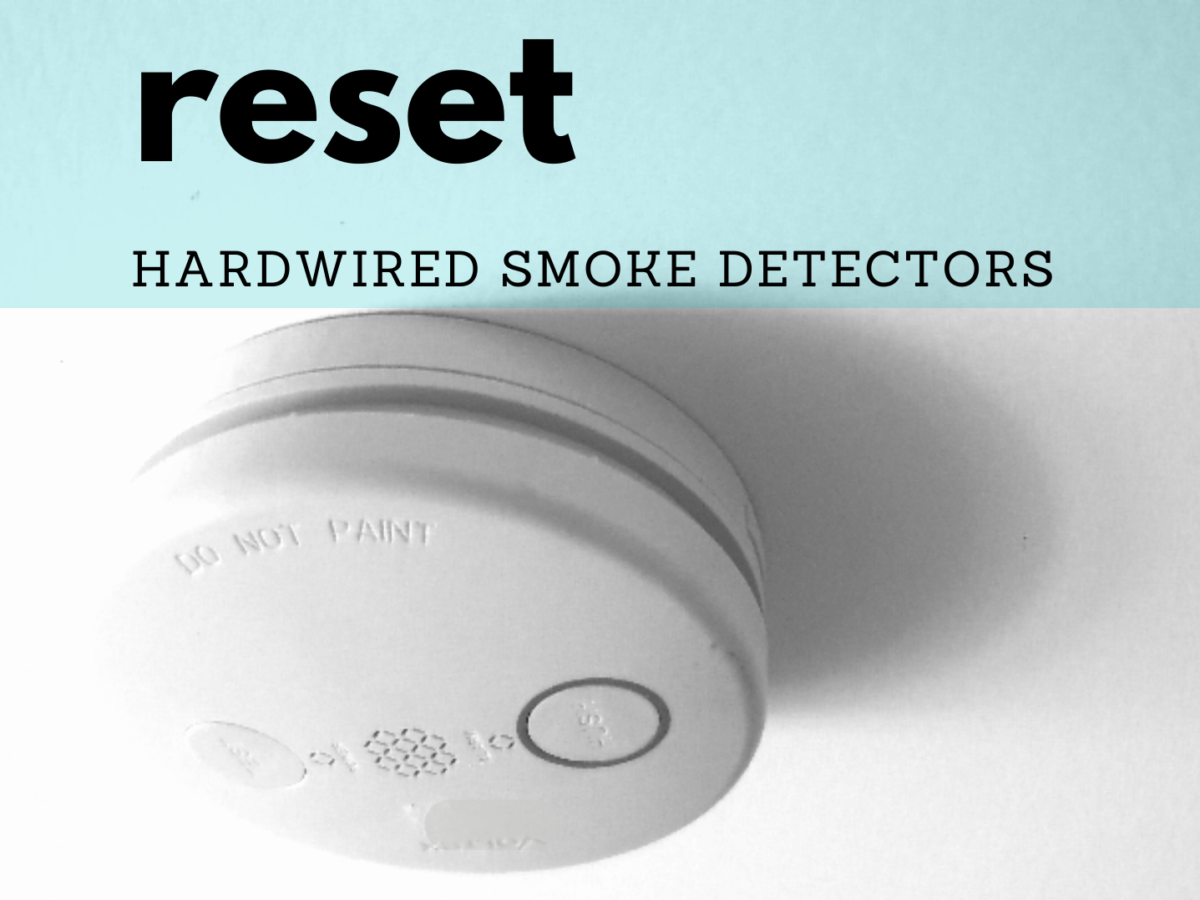
How To Reset Hardwired Smoke Detector
Ever had that moment? You’re cozied up, maybe watching a movie, or trying to catch some Zs, and suddenly... BEEP! ... BEEP! ... BEEP! It’s that phantom smoke detector alarm, or worse, the incessant chirping that seems to come from nowhere and everywhere all at once. It’s annoying, it’s disruptive, and frankly, it can be a little unnerving when you know there’s no actual smoke. That’s why learning how to reset your hardwired smoke detector is such a game-changer. It’s not just a chore; it’s about reclaiming your peace and quiet, and feeling like a home maintenance hero!
So, why bother? Well, for beginners in the world of home DIY, this is a fantastic entry point. It’s a simple task that gives you a huge sense of accomplishment and can save you a pretty penny by avoiding an electrician call-out for something you can totally handle yourself. For busy families, it means no more sleepless nights from a rogue beep, ensuring that when the alarm does go off, it’s for a genuine emergency, not a malfunction. And for those who enjoy being generally handy, understanding your home's interconnected safety systems is just plain useful. It's about knowing your home, inside and out, one quieted alarm at a time.
There are a few reasons your detector might be acting up. Sometimes, it’s simply a "ghost alarm" triggered by cooking fumes that have long since dissipated, or even dust. If your detectors are interconnected, one misbehaving unit can cause all of them to chime in, making the problem feel even bigger! The good news is, a proper reset often clears these issues. While a persistent low chirp usually means a dying backup battery (and you should always change that first!), a full-on false alarm or continuous beeping after a minor incident often needs a full reset to quiet down.
Must Read
Ready to tackle it? Here are some simple, practical steps to get started:
- Identify the Culprit: If only one detector is beeping, you've found your target. If multiple are sounding, try to figure out which one started it or is beeping loudest.
- Safety First – Power Down: This is the crucial step for hardwired detectors. Head to your electrical panel (breaker box) and turn off the breaker that powers your smoke detectors. It might be labeled "Smoke Detectors," "Lighting," or "General." When in doubt, you can turn off the main power, but isolating the circuit is better. Make sure the detector goes quiet after the breaker is off.
- Remove Backup Battery: While the power is off at the breaker, gently twist the detector counter-clockwise from its mounting base and remove the backup battery (usually a 9V or AA batteries).
- The "Hold" Trick: With both the main power and backup battery disconnected, press and hold the test button on the detector for about 15-20 seconds. This drains any residual power and fully clears its memory.
- Reassemble and Power Up: Replace the backup battery, then twist the detector back onto its base. Head back to your breaker box and restore power to the circuit.
- Test It Out: Once power is restored, give the detector a minute to power up, then press the test button briefly. It should beep loudly, then go silent. If it acts up again, you might need to repeat the process or consider replacement.
There you have it! The satisfaction of a quiet home, knowing you've handled a common household nuisance with confidence. It's amazing how much value a few simple steps can add to your daily peace of mind. Enjoy the silence!