How To Replace The Batteries In A Smoke Detector
Ever caught yourself wondering about the little things around the house? You know, those unsung heroes that just do their job without much fanfare, until suddenly... they make themselves known. We’re talking about your smoke detector.
For most of its life, it’s just chilling on the ceiling, a silent guardian. But then, the dreaded moment arrives. That persistent, high-pitched, incredibly annoying chirp. It’s a sound that can start subtly in the middle of the night, echo through your quiet home, and make you feel like you’re starring in a minimalist horror movie where the monster is a tiny, dying battery.
That Little Chirp: A Universal Signal
Isn't it wild how such a tiny sound can command so much attention? That intermittent beep isn't just trying to drive you slowly insane; it's a vital little cry for help! It’s telling you, loud and clear (but also in the most irritating way possible), "Hey! My power supply is fading, and I need a refresh to keep doing my very important job of protecting you!"
Must Read
And here’s where the curiosity kicks in. What’s inside that little plastic disk anyway? And more importantly, how do you make that insistent chirping stop without resorting to extreme measures like throwing a shoe at it (which, let’s be honest, we’ve all thought about)? The answer is surprisingly simple, deeply satisfying, and actually pretty cool. It’s about replacing a battery!
Why This Is Actually Kinda Cool
Think about it: in a world of complex gadgets and digital wizardry, some of the most crucial safety devices are incredibly straightforward. And taking charge of their maintenance? That's a small but mighty act of home empowerment. You don't need a degree in electrical engineering or a toolbox worthy of a master builder. Just a little know-how and maybe a

It’s like being a secret agent for your own home, performing a quick, essential operation that brings peace and safety back to your domain. No more tiptoeing around, wondering where that phantom noise is coming from. No more feeling helpless against a tiny piece of plastic. You become the hero of your own living room!
The "Mission Briefing" (aka What You'll Need)
Ready for the shocking list of high-tech equipment required? Drumroll, please...
- A
new battery (usually a 9-volt, but sometimes AAs or AAAs – a quick peek at the old one will tell you). - Maybe a
step stool or small ladder (for those hard-to-reach ceiling dwellers). - And your most important tool:
your hands and a dash ofcuriosity .
That’s it! Told you it was simple. No complicated manuals, no obscure widgets. Just pure, unadulterated common sense.

The Grand Operation: Step-by-Step, The Chill Way
Step 1: The Retrieval
First things first, you need to get your smoke detector down. Many of them simply twist off a mounting bracket. Imagine you're unscrewing a jar lid, but upwards! Give it a
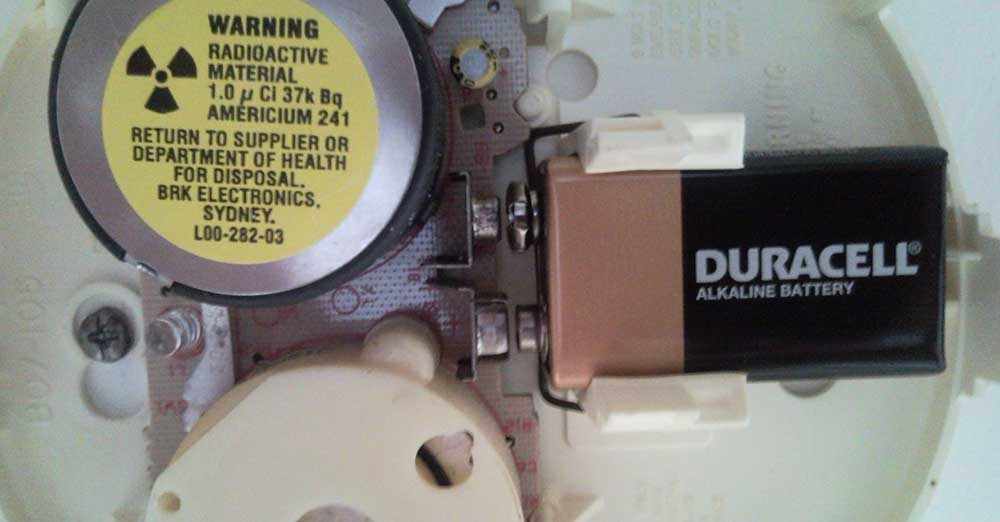
Step 2: The Secret Compartment
Once it’s in your hands, look for a

Step 3: The Old Guard Steps Aside
You’ll see the old battery nestled inside. Take a moment to appreciate its long service, even if its farewell performance was a bit grating.
Step 4: Power Up!
Now for the exciting part: introducing the
Step 5: The Mini Concert (Test Time!)
Before you mount it back, most smoke detectors have a

Step 6: Back to Its Post
Finally, reattach your newly powered-up smoke detector to its ceiling mount. Twist it clockwise until it feels secure, or snap it back into its clips. Give it a gentle tug to make sure it’s firmly in place. Mission accomplished!
Isn't That Just Wildly Satisfying?
Think about it: a few minutes of your time, minimal effort, and you've not only silenced that annoying chirp but also ensured a crucial piece of safety equipment is fully operational. It’s a tiny act of maintenance that yields huge peace of mind.
It teaches us that sometimes, the most impactful tasks are the simplest ones. It demystifies a common household irritation and empowers you to be more self-reliant around your home. So, next time that little chirp starts, instead of groaning, embrace it! See it as an invitation to a quick, satisfying DIY adventure. You've got this, home hero!