How To Replace Battery In Garage Door Opener
Ah, the humble garage door opener remote. It’s a tiny piece of plastic that holds immense power… until it doesn’t. You know the drill: you pull up after a long day, hit the button, and… nothing. That moment of mild panic, the sigh, the scramble for the keypad, or worse, manually lifting the door in the rain. But what if I told you that this common frustration can be easily banished with a simple, empowering DIY fix? Yes, we’re talking about giving your trusty garage door opener remote a new lease on life by replacing its battery!
This isn't just about saving yourself a trip out of the car; it’s about regaining a small but significant piece of daily convenience and feeling like a master of your domain. The purpose of this quick fix is pure, unadulterated ease. A fresh battery ensures your daily routine stays smooth and hassle-free. Imagine a power outage – if your main opener unit has a battery backup (some do!), a dead remote might still leave you stranded. Plus, it saves you the potential cost of a service call for something as trivial as a flat battery. This isn't brain surgery; it's a quick, satisfying win that puts you back in control.
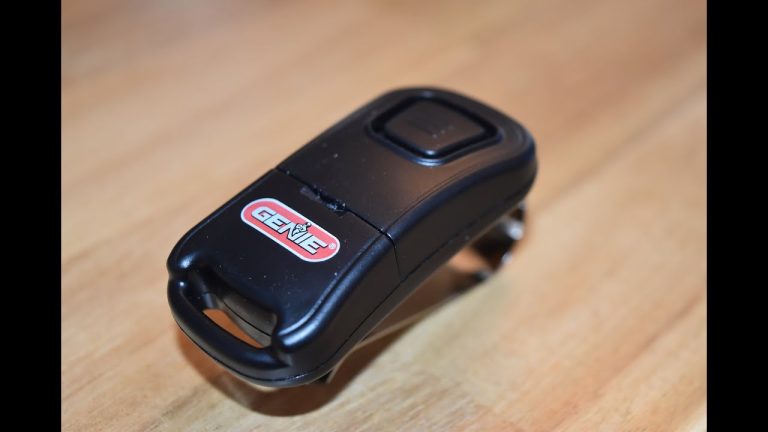
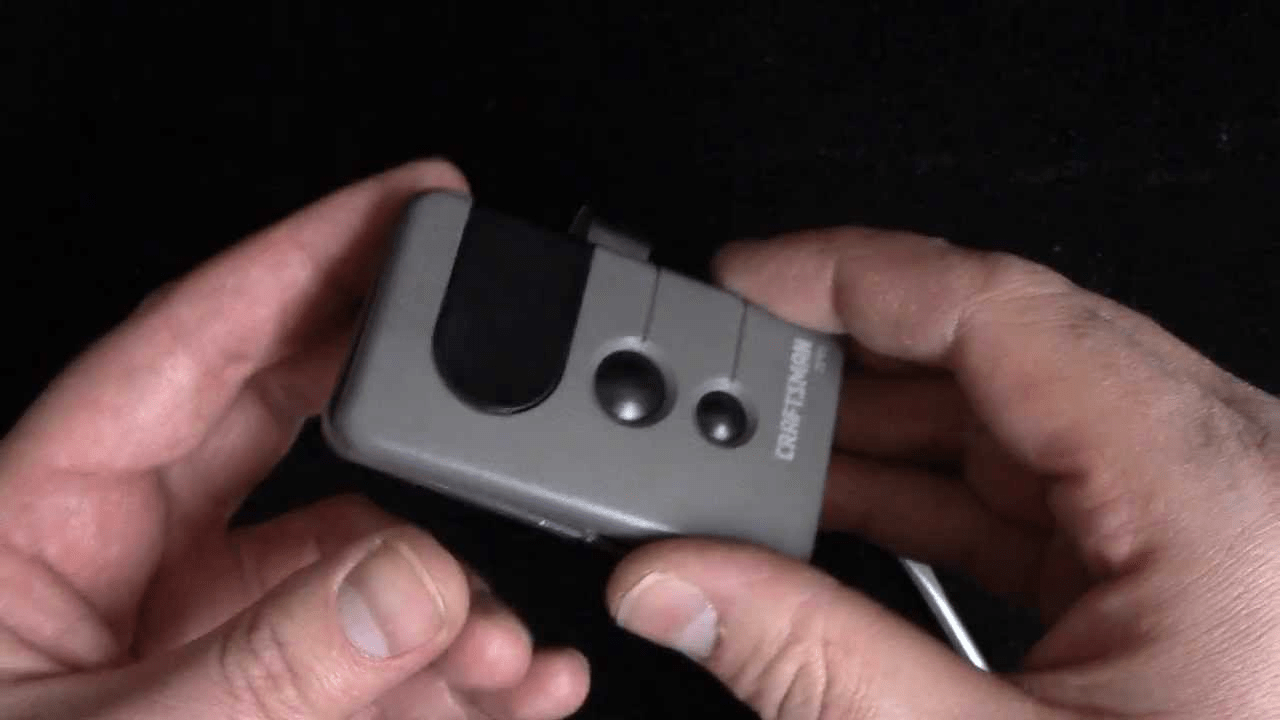
Here’s the secret: it’s almost always easier than you think. Most garage door opener remotes are designed for user-friendliness. You'll typically need a small Phillips head screwdriver (or sometimes even just a coin!) to pop open the back casing. Look for the battery compartment – it's usually pretty obvious. Take note of the battery type – it’s often a small, flat 'coin cell' (CR2032 or CR2016 are common) or sometimes a standard 9-volt battery. Crucially, make sure you get the right replacement. Pop out the old, pop in the new (paying attention to polarity, usually marked with a + and -), snap the cover back on, and voila! You’re back in business.
Must Read
Before you even start, it’s a good idea to check your opener’s manual if you still have it – it will specify the exact battery type and might offer a diagram. If not, just open the remote and look at the existing battery! When you buy replacements, consider getting a multi-pack; these batteries often come in pairs or fours, so you’ll have a spare on hand for next time. And don't forget the test drive! Once the new battery is in, step back and give that button a confident press. The satisfying rumble of your garage door opening will be your instant reward. It’s a small act of maintenance that yields big daily returns.
So, next time your garage door opener remote starts acting sluggish or gives you the silent treatment, don't despair. Embrace your inner DIY hero! Replacing that battery is a quick, simple, and incredibly satisfying task that puts you back in control of your daily convenience. It’s one of those small victories that makes life just a little bit smoother. Go forth, replace that battery, and enjoy the effortless glide of your garage door!