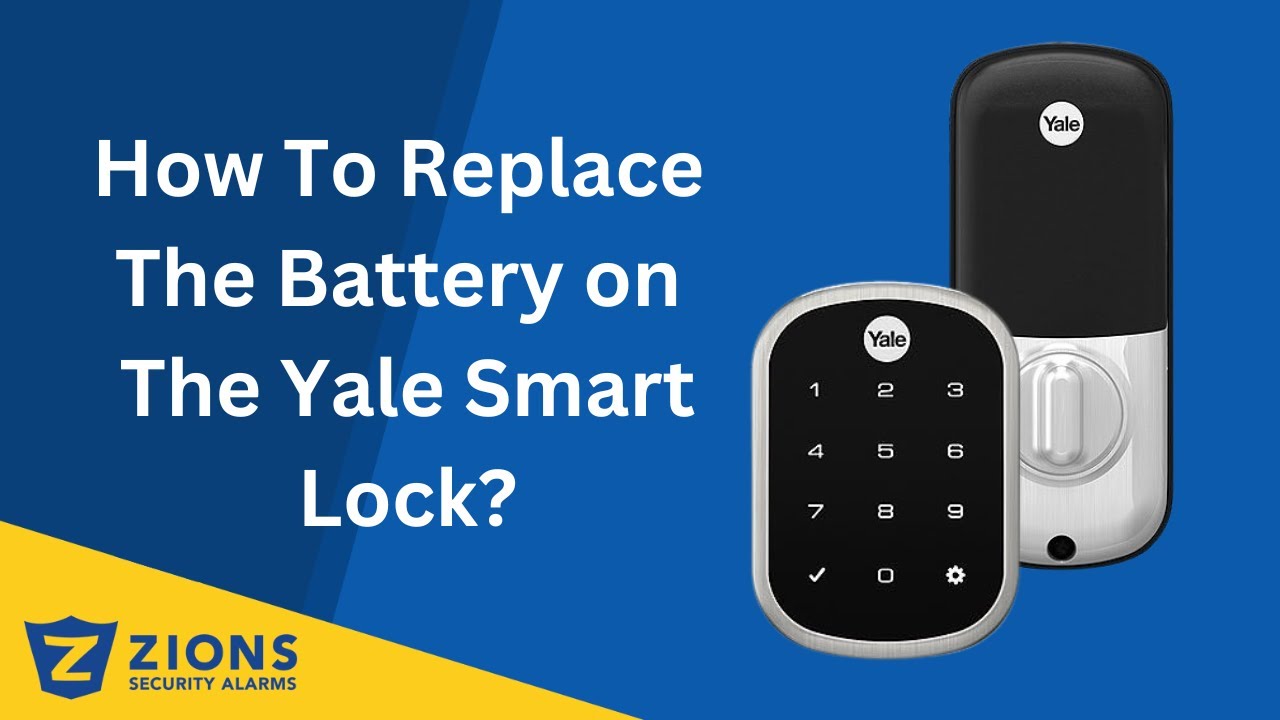
How To Remove Yale Lock Battery Cover

You know that heart-sinking moment, right? You’re fumbling for your keys – oh wait, you don’t have any, because you’re a modern marvel of smart home technology! – and you go to tap open your Yale smart lock. But instead of that reassuring little beep and unlock whir, you get... silence. Or maybe a sad little single, dying beep. Yeah, that’s the sound of a battery-powered future slowly fading into a past where you actually needed a physical key. Been there, done that, nearly had a panic attack while juggling groceries and a toddler at the front door. "Oh, the humanity!" I cried, dramatically, probably. (Okay, maybe not that dramatic, but close!)
And that, my friend, is usually when the little lightbulb (or in this case, a dead lock) goes off: batteries. But then comes the next challenge, because unlike your TV remote where you just slide a cover off with your thumb, your sleek, secure Yale lock often plays a little harder to get. So, how do you even get that battery cover off without feeling like you’re about to break your expensive security tech? Don't worry, I've got your back. Let's tackle this beast together.
First Things First: Identify Your Yale Lock's Vibe
Okay, before we go all Hulk smash on your beautiful smart lock (please don't!), take a quick peek. Yale has a few different flavors of smart locks out there, and while the general idea is similar, the exact method can vary ever so slightly. Curious, right?
Must Read
Most commonly, we're talking about their Assure Lock series or similar keypad/touchscreen models. These are usually pretty straightforward. You'll be looking at the interior side of the lock – that's where the battery magic happens. If you have a different type, like one integrated into a lever handle, the principle is similar, but you might need to hunt a tiny bit more for the right panel. But for the vast majority of you reading this, the interior unit is your target.
Gather Your Tools (Mostly Just One, TBH)
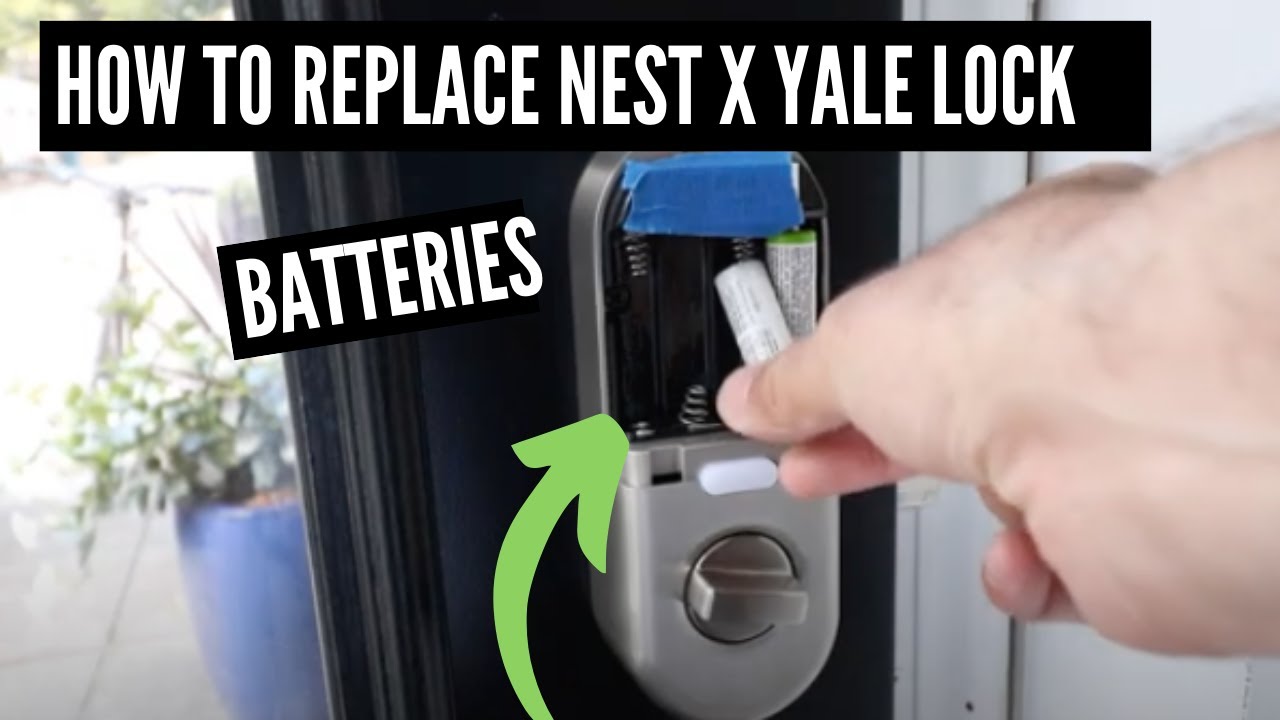
You won't need a full toolbox for this, thankfully. In most cases, you'll just need a Philips head screwdriver. Yep, the classic cross-shaped one. Sometimes, a tiny flathead screwdriver can be your friend for gentle prying, but let's hope it doesn't come to that. And, of course, your fresh set of AA batteries (usually four of them for Yale locks). Don't forget those! It's like baking a cake and forgetting the flour, isn't it?
The Grand Reveal: Removing the Battery Cover
Alright, deep breaths. This isn't rocket science, but it can feel a little intimidating because, well, it's your front door. We get it.
Step 1: Locate the Interior Unit. This is the chunky part on the inside of your door. You can't miss it. It probably has a thumb turn or a little privacy button. This is where your quest begins, intrepid explorer.

Step 2: Find the Battery Cover. Look closely at this interior unit. You're searching for a distinct panel, usually on the bottom half or the entire main body of the unit. It often looks like a seamless part of the design, which is why it can be tricky. It's playing hide-and-seek!
Step 3: Look for Screws.
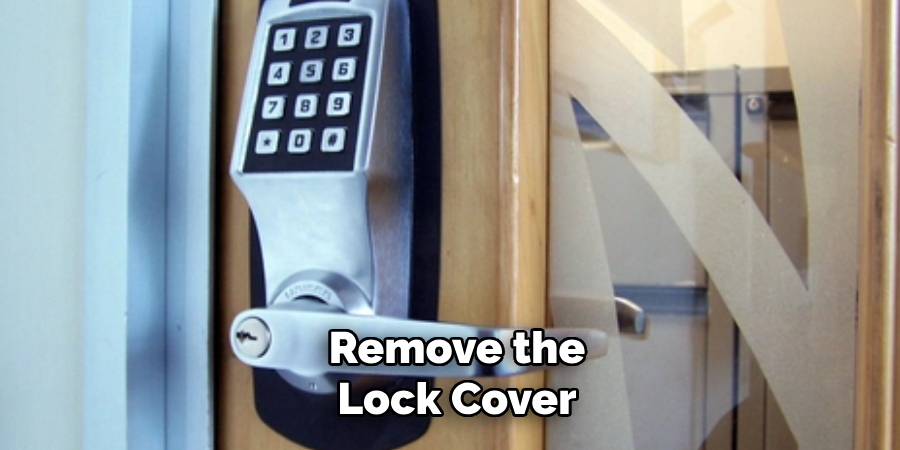
- Many Yale smart lock battery covers are secured by one or two small Philips head screws. These are typically on the top or bottom edge of the cover panel. Don't confuse these with the screws holding the entire lock to the door! You're looking for screws that specifically look like they're holding a panel onto the main unit. Big difference, trust me.
- Gently unscrew these. Keep them safe! These tiny little guys have a habit of disappearing into the abyss between your floorboards. (Ask me how I know. No, seriously, don't. It's a sore subject.)
Step 4: Slide or Lift.
- Once the screws are out (if there were any, some models skip them entirely!), the cover usually has a specific movement. For many popular Yale models, you need to slide it upwards. Give it a firm but gentle push upwards. You might hear a little click or feel it disengage.
- Sometimes, it might slide downwards or even pivot slightly. If sliding doesn't work easily, check for any small tabs or clips that might need a gentle press. But 9 times out of 10, it’s an upward slide after screws are removed.
- Crucial tip: Never force it! If it's not moving, double-check for any missed screws or look for a small diagram on the lock itself or in its (heaven forbid!) instruction manual. Seriously, forcing it is a fast track to a broken lock and a very bad day.
The Battery Swap & Reassembly (The Easy Part!)
Huzzah! The cover is off! Now you should see the battery compartment, usually holding four AA batteries. Take a moment to appreciate your cleverness!
Carefully remove the old batteries. Note their orientation (+ and - terminals) as you pull them out. It’s super important to put the new ones in the same way. Pop in your fresh, glorious batteries. You might hear the lock wake up with a cheerful series of beeps, letting you know it's back in business. Ah, the sweet sound of power!
To put the cover back on, it's usually just the reverse of how you took it off. If you slid it up, align it and slide it down until it clicks into place. If you removed screws, gently put them back in and tighten them – just snug, not cranked down like you’re trying to launch it into orbit. Over-tightening can strip the plastic or make it harder next time. You want it secure, not suffocated.
Give your lock a quick test. Tap in your code, or use your app. Hear that satisfying whirr? Good job, you! You've successfully conquered the mighty Yale battery cover. Now you can go back to feeling like a smart home wizard, at least until the next battery warning rears its ugly head. But hey, at least now you know the drill! You're basically a pro.