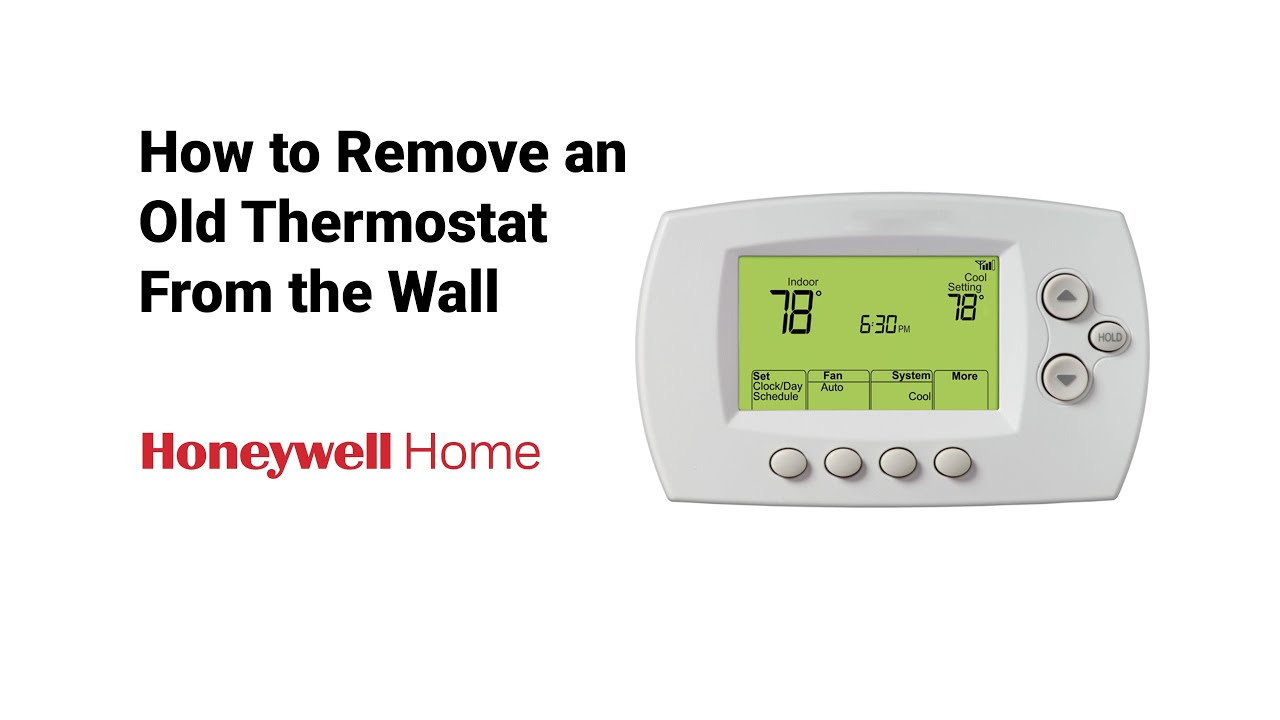
How To Remove Honeywell Thermostat From Wall
Hey there, friend! So, you’re looking to liberate that Honeywell thermostat from its wall-bound existence, huh? Maybe you’re upgrading to something super smart, or perhaps you just need to get behind it for a bit. Whatever your reason, don’t you fret! Taking a thermostat off the wall sounds way more intimidating than it actually is. Seriously, it’s not brain surgery, I promise! We’re going to tackle this together, and you'll be a thermostat-removing ninja in no time. Grab your coffee (or tea, or whatever makes you feel like a DIY superhero), and let’s get into it!
Okay, First Things First: Safety Dance!
Before you even think about touching that thermostat, we need to do the absolute most crucial step. And yes, it involves electricity, so let’s be smart about it! Head to your circuit breaker panel. You know, that big metal box where all the switches live? Find the one that controls your furnace or air handler. It might be labeled something obvious like "HVAC," "Furnace," or "AC." If you’re not sure, you can always flip the main breaker just to be extra safe, but then you’ll be in the dark, which isn't ideal for seeing tiny wires, is it? So, ideally, find the right one and give it a firm "click" to the OFF position.
Why is this so important? Well, those little wires running to your thermostat carry voltage, and while it's usually low voltage, nobody wants an unexpected zap, right? Plus, it prevents any accidental short circuits that could harm your HVAC system. Better safe than sorry, my friend! Always double-check that the power is off before proceeding. Maybe even try turning the thermostat on after you flip the breaker – if it doesn’t light up or respond, you’re golden!
Must Read
Time to Pop That Top (Carefully, Of Course!)
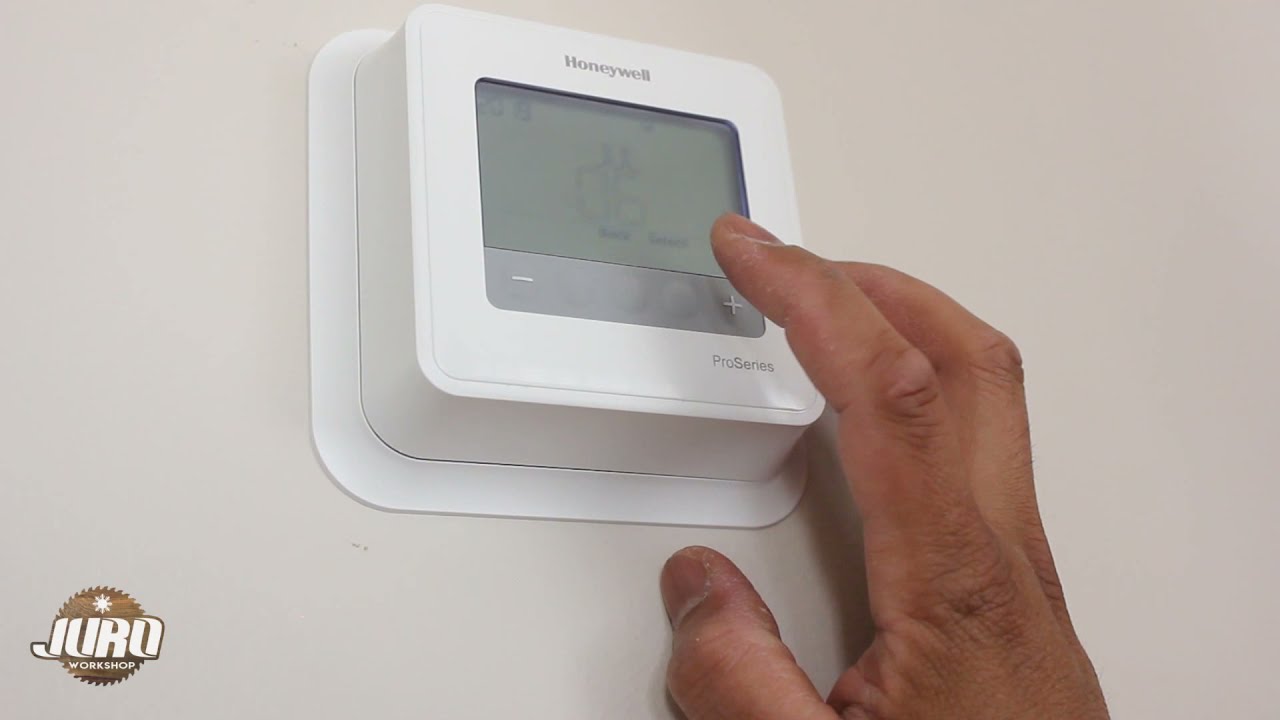
Alright, power’s off, deep breaths taken. Now, let’s get that outer shell off your Honeywell. Most Honeywell thermostats are designed to be pretty user-friendly in this department. You’ll usually find one of a few common methods:
- Gently Pull: Sometimes, the front cover just pulls straight off. Give it a firm but gentle tug from the bottom.
- Squeeze and Lift: Look for small tabs on the sides (sometimes top and bottom) of the thermostat. You might need to gently squeeze them inward or push them down, then pull the front cover away.
- Release Tabs: Some models have little latches or clips that you can see. A tiny flathead screwdriver can sometimes help release these with a slight twist or push.
Don’t go full Hulk on it, okay? They're usually plastic, and we don't want any broken clips. Once you've successfully wrestled (I mean, gently removed) the front cover, you’ll be looking at the inner workings – usually the display screen, some circuit board bits, and a bunch of screws holding the main unit to the wall plate. Progress!
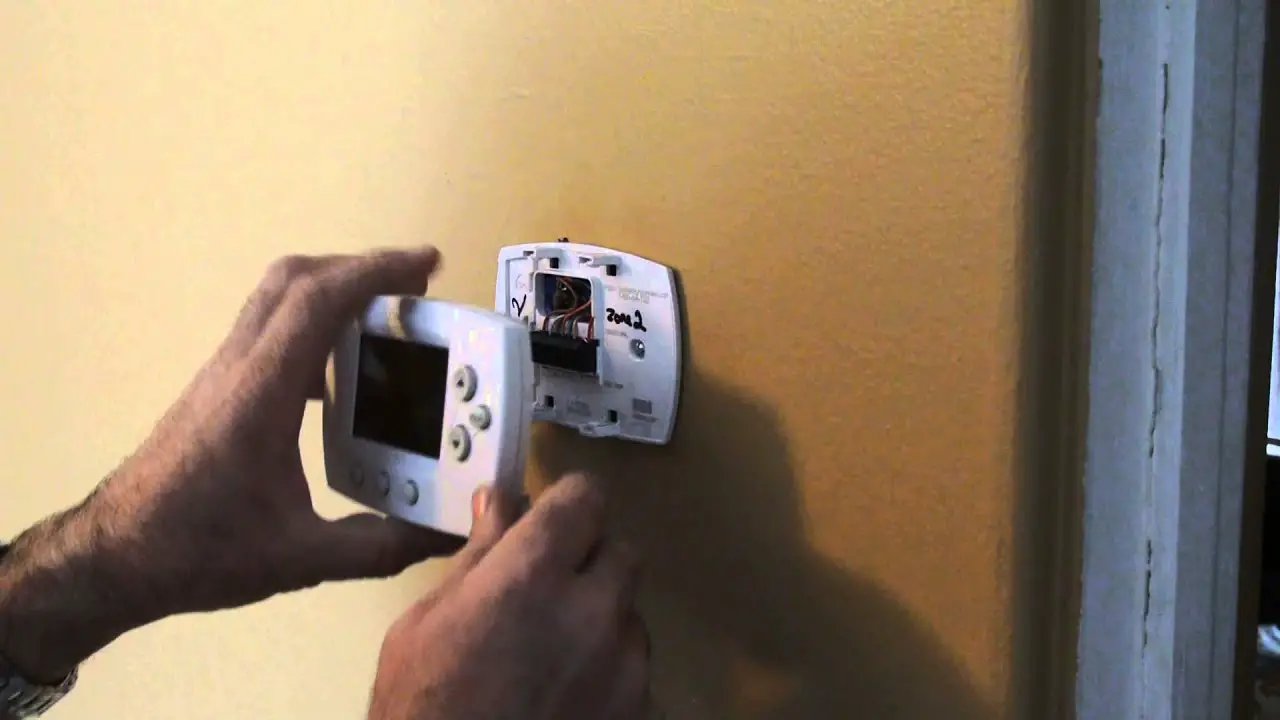
Behold! The Guts (and the Screws)
With the outer cover gone, you should now see the main body of the thermostat, which is probably screwed into a plastic backplate, and that backplate is screwed into your wall. These are usually pretty standard Phillips head screws, so grab your screwdriver. No need for anything fancy, just a regular old screwdriver will do the trick.
There will likely be two to four screws holding this main unit onto the backplate. Go ahead and unscrew them. Keep track of those little guys, because tiny screws have a magical way of disappearing into the abyss of your carpet, never to be seen again! Once those screws are out, the main thermostat unit should lift straight off the backplate, revealing... drumroll please... the wires!

The Moment of Truth: Wires, Wires, Everywhere!
Okay, this is where things can look a little intimidating, but seriously, it's just a bunch of colored wires connected to specific terminals. And guess what? We're going to make sure you remember exactly where each one goes!
Seriously, Label Those Wires!
This is probably the most important tip I can give you. You might think, "Oh, I'll remember that the red wire goes to R, and the white to W!" But trust me, once you go for that coffee break or get distracted by a squirrel outside your window, those memories vanish faster than free pizza at a party. So, grab some masking tape, painter’s tape, or those little wire labels if you happen to have them.
Before you disconnect a single wire, label it with the letter of the terminal it’s connected to. For example, if a red wire is connected to the "R" terminal, put a tiny piece of tape on it and write "R" on the tape. Do this for every single wire. It will save you so much headache and confusion later, especially if you're putting a new thermostat on and need to reconnect everything correctly. A simple picture with your phone also works wonders!

Disconnecting 'Em Like a Pro
Once everything is labeled (you did label them all, right?!), you can start disconnecting the wires. Depending on your Honeywell model, the wires will either be:
- Screwed in: These are the most common. You'll see a small screw next to each terminal (R, G, W, Y, C, etc.) that clamps down on the wire. Use your screwdriver to loosen the screw, then gently pull the wire out. You usually don't need to remove the screw completely.
- Push-in terminals: Some newer models have terminals where you simply push a tiny tab or button next to the wire, and the wire releases. Push the tab, pull the wire. Easy peasy.
As you disconnect each wire, make sure it has its label firmly attached. Once all the wires are free, gently push them back into the hole in the wall a little bit, or secure them with a twist tie so they don't fall back into the wall cavity. Trust me, fishing wires out of a wall is no fun at all!
Final Frontier: The Backplate's Last Stand
You’re almost there! With the thermostat body and wires out of the way, you’re left with just the plastic backplate screwed to the wall. This is usually held on by two or three more screws. Grab your trusty screwdriver one last time and unscrew those final fasteners. Once those are out, the backplate should just lift right off the wall.
And there you have it! An empty space where your Honeywell once proudly stood. Congratulations, you’ve successfully removed your thermostat from the wall! Pat yourself on the back, you magnificent DIYer!
And Just Like That... You're a Thermostat Whisperer!
See? Told you it wasn't so bad! Now you've got an empty wall, ready for its next big adventure – whether that's a fresh coat of paint, a new smart thermostat, or just enjoying the blank space. Remember those labels and that crucial power-off step? Those are your secret weapons for any future thermostat endeavors. High five! Go grab a celebratory snack, you’ve earned it.