How To Remove Drawers From Craftsman Tool Chest
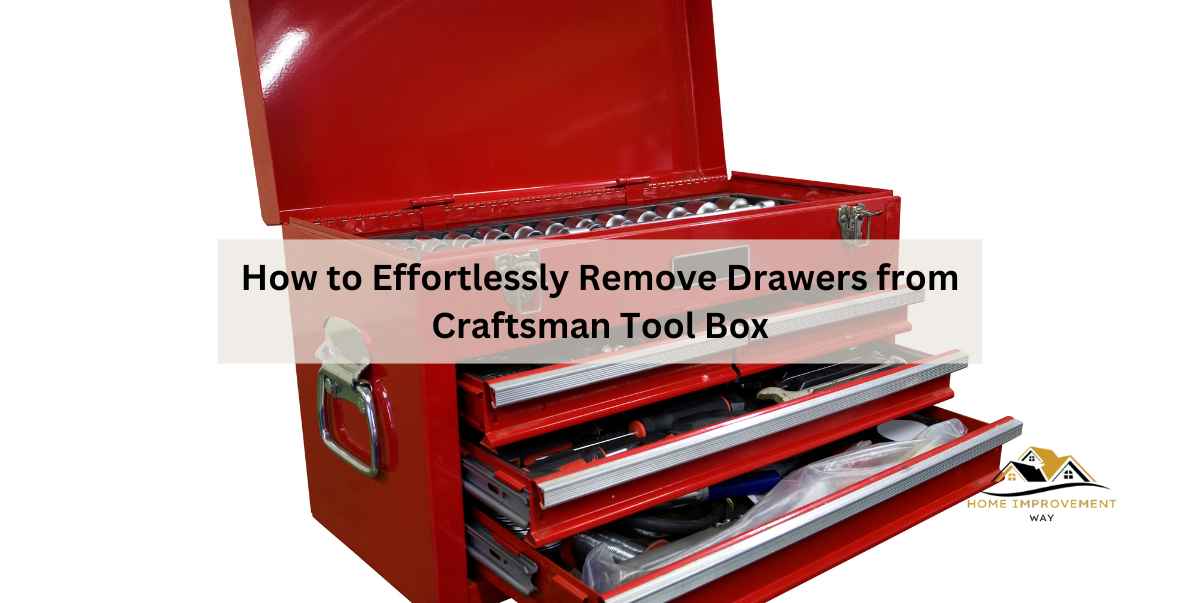
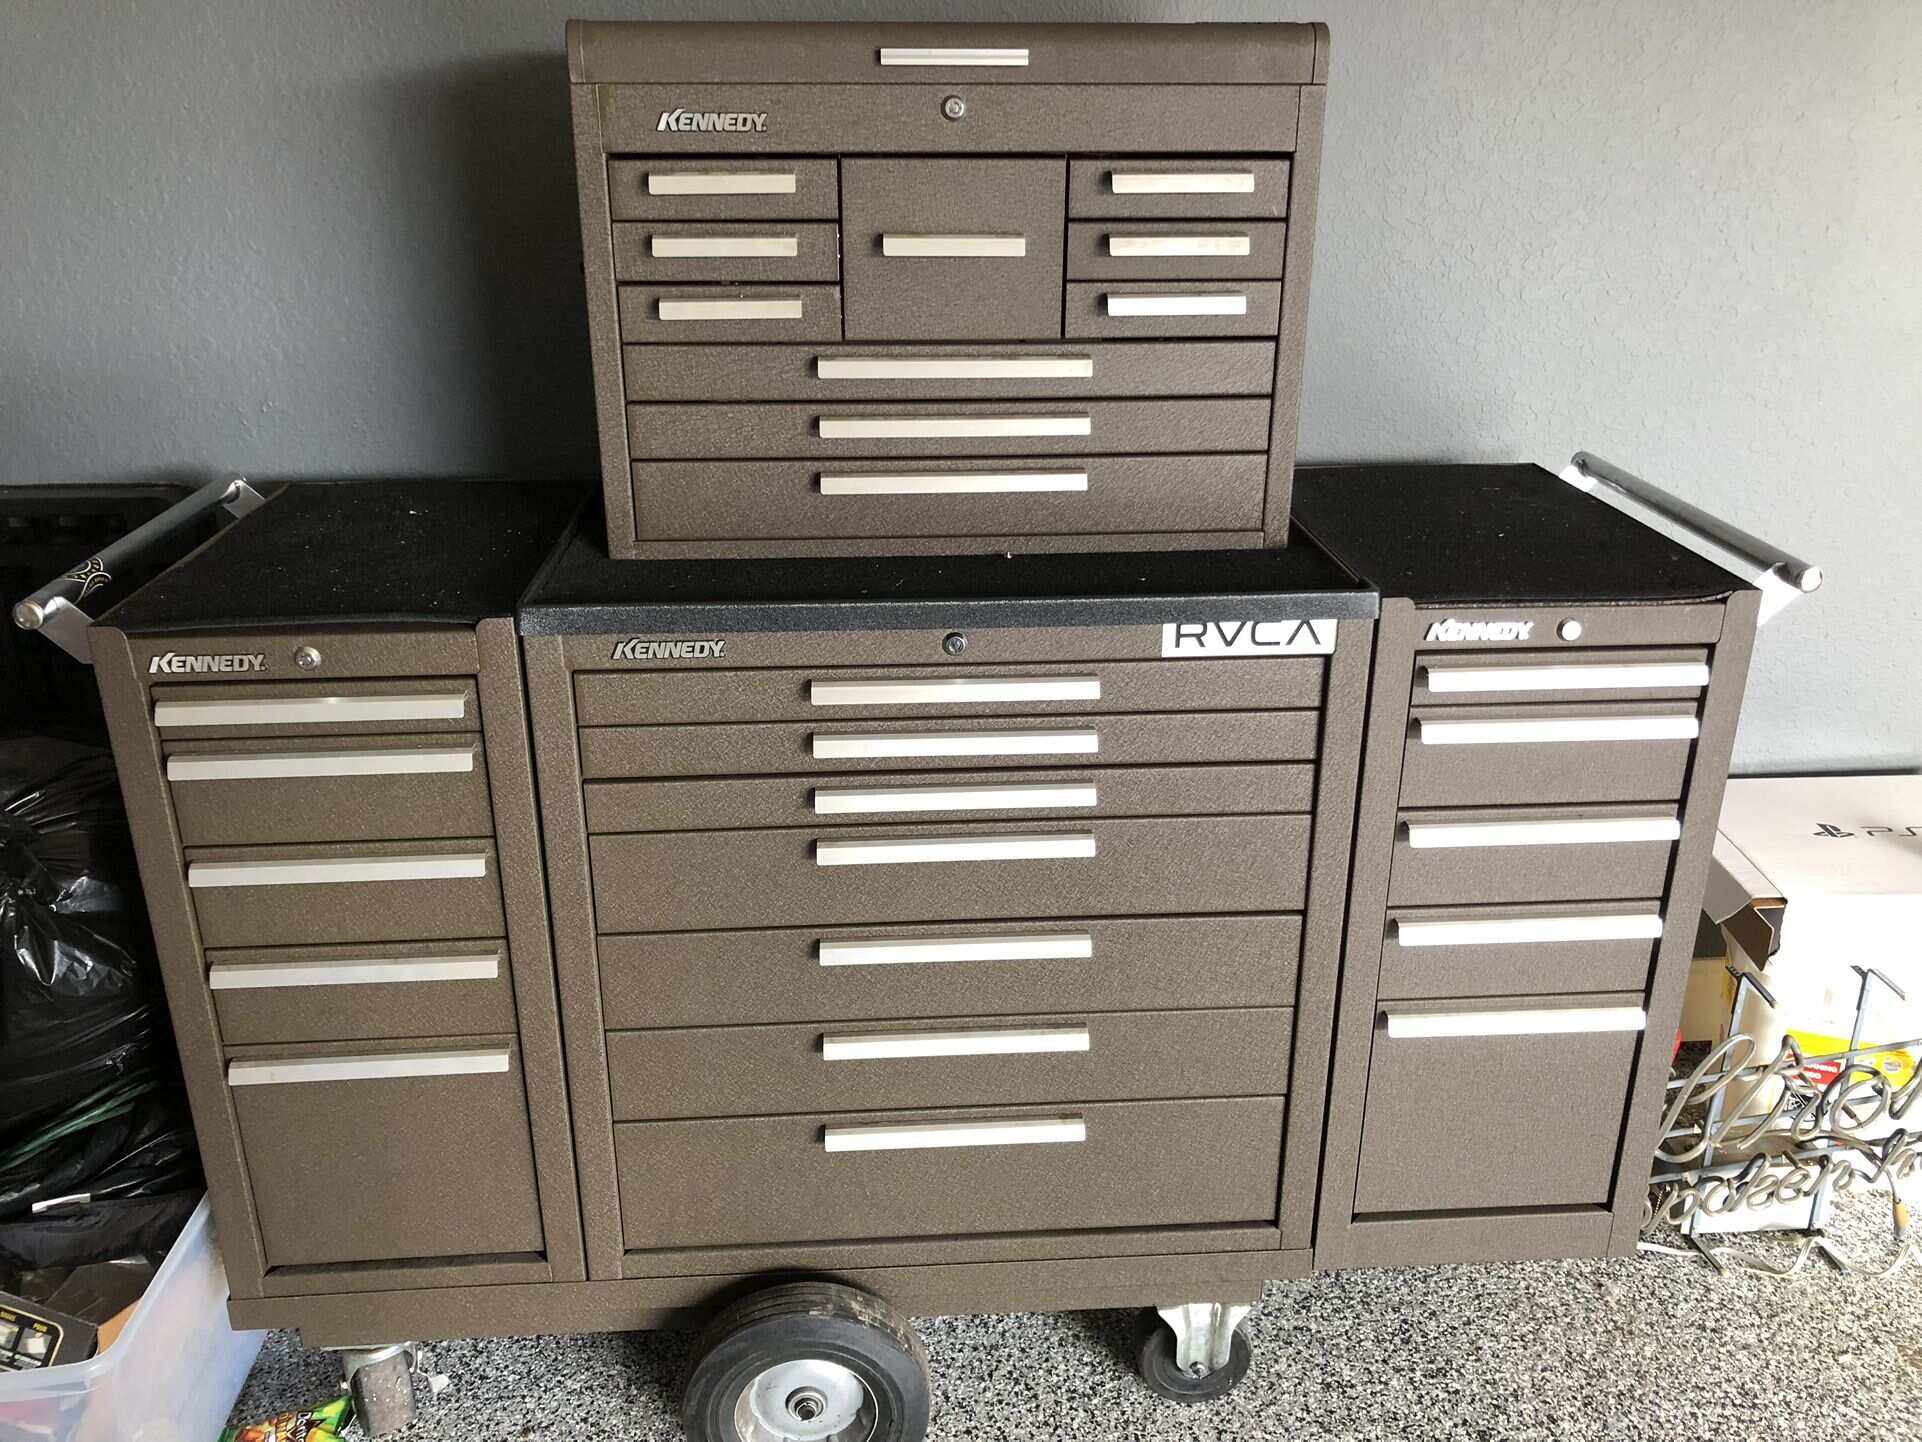
Let's face it, there's a certain satisfaction that comes from owning a Craftsman tool chest. It's not just a storage solution; it's a symbol of preparedness, a statement of "I can fix that!" And like any well-loved and frequently used piece of equipment, sometimes you need to get in there, clean things up, rearrange, or maybe even troubleshoot a sticky drawer. That's where knowing how to remove those drawers becomes invaluable.
Why bother learning this seemingly mundane task? Well, the benefits are numerous. Think about it: a clean tool chest is a happy tool chest. Removing the drawers allows you to get at all the dust bunnies, spilled oil, and rogue screws that accumulate over time. This translates to longer life for your tools and a more pleasant workspace. Plus, rearranging tools becomes a breeze when you can take the drawers out and experiment with different layouts.
Beyond the cleanliness aspect, drawer removal is crucial for maintenance and repair. Imagine a drawer slide is sticking, or a bearing has gone bad. You can't properly diagnose or fix the problem if the drawer is jammed in place. Removing the drawer gives you access to inspect the mechanism, lubricate parts, or even replace worn components. It's also handy if you want to move the chest to a different location and need to lighten the load.
Must Read
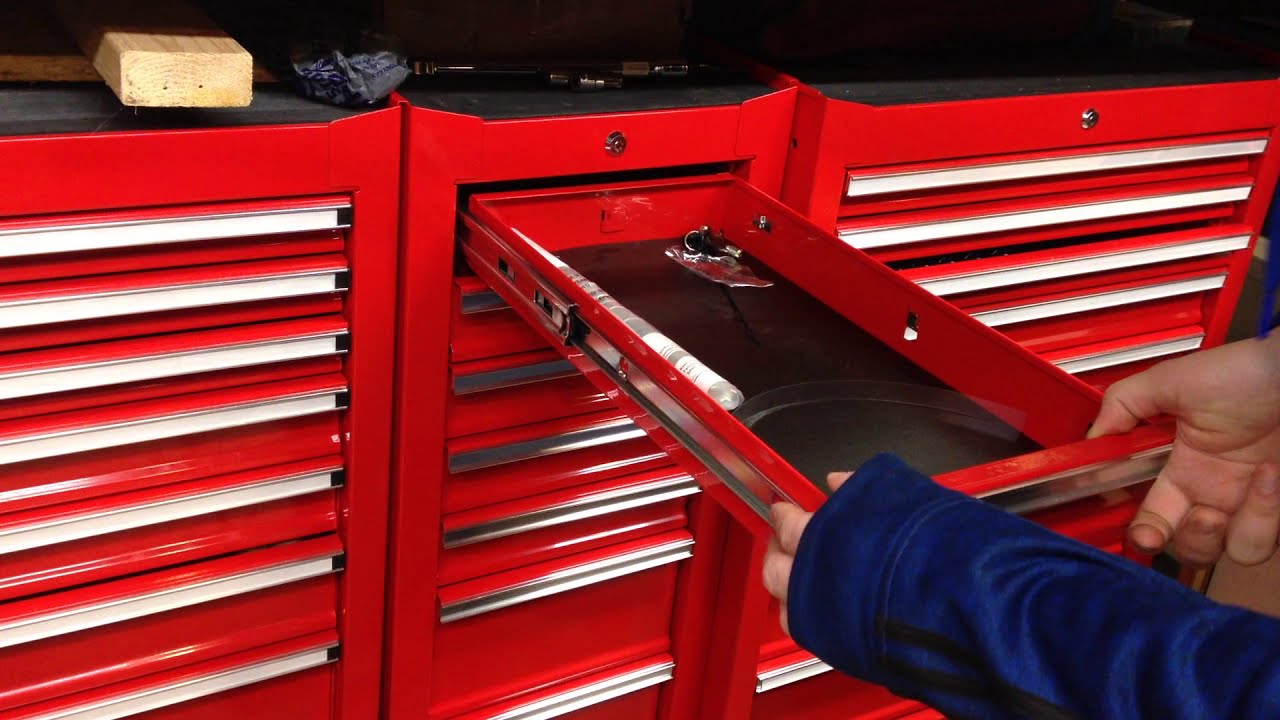
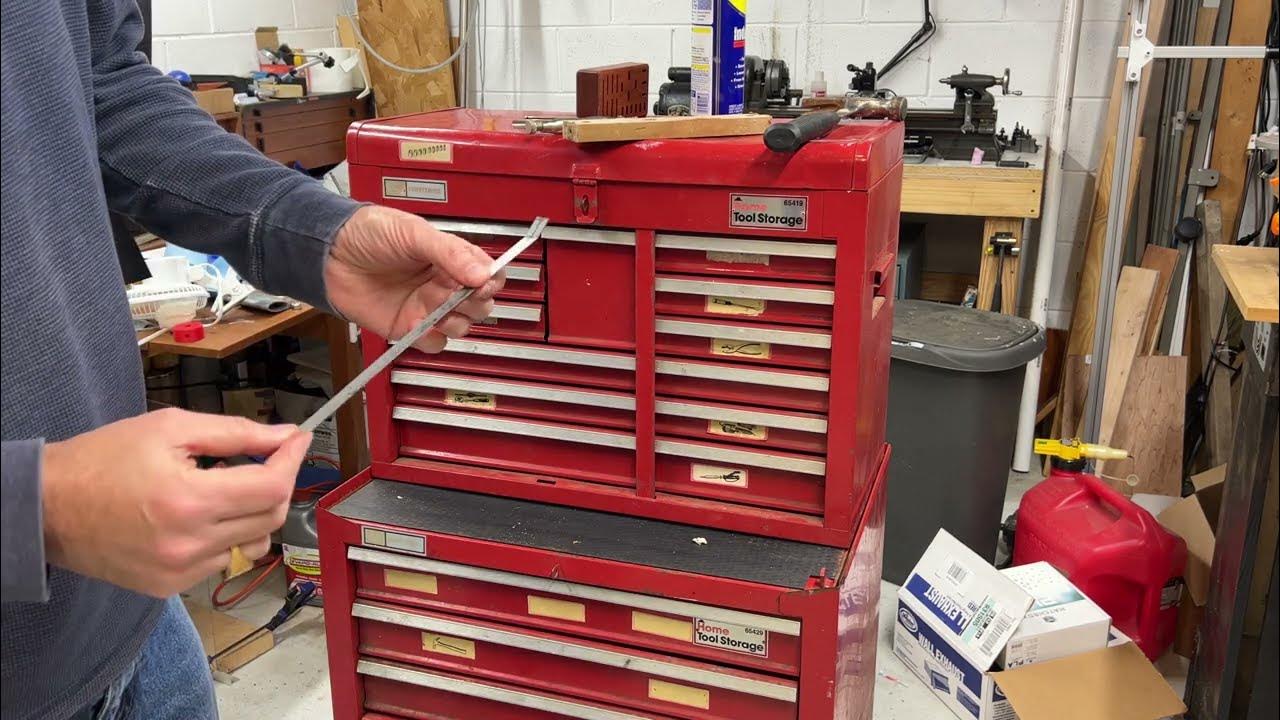
So, how do you actually get those drawers out? While specific mechanisms can vary slightly depending on the model of your Craftsman tool chest, the general principle is quite similar. First, make sure the drawer is completely empty. Trust us, you don't want a socket set cascading onto your toes! Next, locate the release mechanism, usually a pair of levers or latches, one on each side of the drawer slide. These are often brightly colored (typically red or orange) for easy identification.
Here's the trick: you typically need to push one lever up and the other lever down simultaneously. This disengages the drawer from the slide mechanism, allowing you to pull the drawer free. It may require a bit of wiggling and a firm, steady pull, but avoid forcing it. If it feels stuck, double-check that you've properly disengaged both levers. Some older models might require you to push the levers inward towards the drawer, rather than up and down. A quick peek at your owner's manual (if you still have it!) can clarify the specific method for your chest.
![How To Remove Drawers From Craftsman Tool Chest [3 steps]](https://hungrygarage.com/wp-content/uploads/2021/05/Remove-Drawers-From-Craftsman-Tool-Chest.jpg)
To make the process smoother, try these practical tips. Before removing any drawers, take a photo of their current arrangement. This serves as a handy reference when you're putting everything back together. Also, consider using a silicone-based lubricant on the drawer slides periodically. This helps them glide smoothly and prevents sticking. And finally, always support the drawer while you're removing it. They can be surprisingly heavy, especially when fully loaded, and you don't want to risk dropping it and damaging the drawer, your tools, or yourself!
Removing drawers from your Craftsman tool chest isn't rocket science, but mastering the technique unlocks a whole new level of organization, maintenance, and enjoyment of your valuable tool storage investment. So, go ahead, roll up your sleeves, and give it a try. You'll be amazed at the difference a little TLC can make!