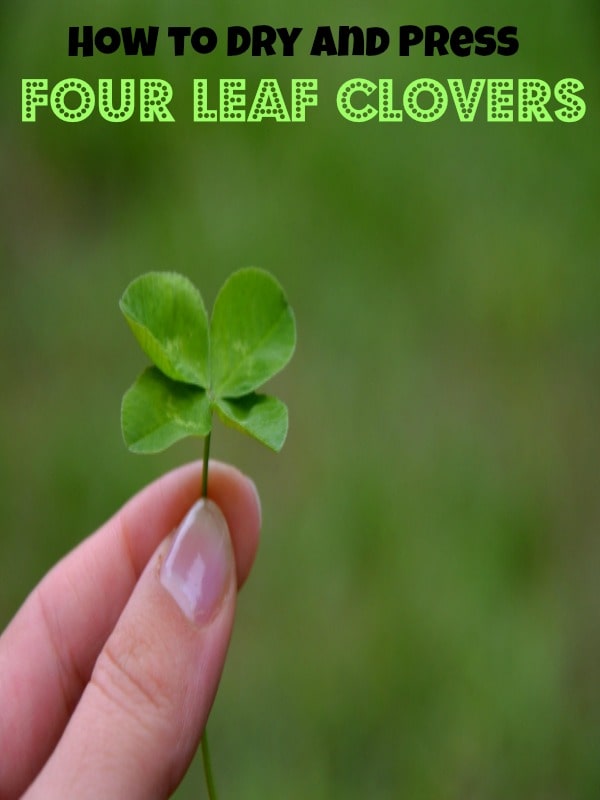
How To Press A Four Leaf Clover

Ever stumbled upon a patch of clovers, scanned diligently, and then, bam! A four-leaf clover staring back at you? It's an instant jolt of excitement, a tiny symbol of good fortune right in your hand. But what do you do with it? Just letting it dry and crumble in your pocket seems a bit… anticlimactic. That's where pressing a four-leaf clover comes in! It’s a simple way to preserve that little piece of luck, transforming it into a keepsake you can cherish for years to come.
Pressing a four-leaf clover isn't just about keeping it intact; it's about preserving a memory. Think of it as a physical snapshot of a happy moment. Whether you found it during a picnic, a walk in the park, or even just in your backyard, that clover represents a specific time and place. By pressing it, you're not just saving the clover, you're saving the feeling associated with finding it.
The benefits extend beyond sentimental value, too. Pressed flowers and clovers can be used in a surprising number of ways. Consider using them in art projects! They can be incorporated into collages, greeting cards, or even framed as miniature pieces of art. In educational settings, pressing plants, including clovers, teaches children about botany and the life cycle of plants. It encourages observation, patience, and a deeper appreciation for the natural world. Imagine a science project where students collect and press different types of leaves and flowers, creating a beautiful and informative display.
Must Read
But how do you actually press a four-leaf clover? It’s surprisingly easy! The most common method involves using a heavy book. Place the clover between two sheets of absorbent paper (like printer paper or blotting paper – even coffee filters work in a pinch!). Then, sandwich the paper between the pages of a thick book, preferably one with a good, solid weight. Old dictionaries or encyclopedias are perfect. Add more heavy books on top for extra pressure. The key is to avoid using books with glossy pages, as they won't absorb moisture effectively.
Leave the clover undisturbed for at least two weeks, or even longer for thicker specimens. The longer you leave it, the drier and flatter it will become. After the waiting period, carefully remove the clover. It should be perfectly pressed and ready to be used in your chosen project. If it’s still a bit damp, leave it in the press for a few more days.
Here are a few practical tips for successful clover pressing: Try to press the clover as soon as possible after finding it, before it starts to wilt. This will help it retain its color and shape. If you're feeling a bit more adventurous, you can also use an iron to speed up the process. Place the clover between two sheets of paper and iron it on a low setting, being careful not to burn the paper. This method requires extra caution and is best suited for smaller, thinner specimens.
Finally, don’t be afraid to experiment! There are countless ways to use pressed four-leaf clovers. Embed them in resin for a unique piece of jewelry, use them to decorate handmade candles, or simply frame them as a small reminder of good luck. The possibilities are endless. So, the next time you stumble upon that lucky little leaf, don't hesitate to press it and transform it into something special. It's a simple act that can bring a little bit of magic into your everyday life. Happy hunting!