
How To Make A Fish Costume For Child
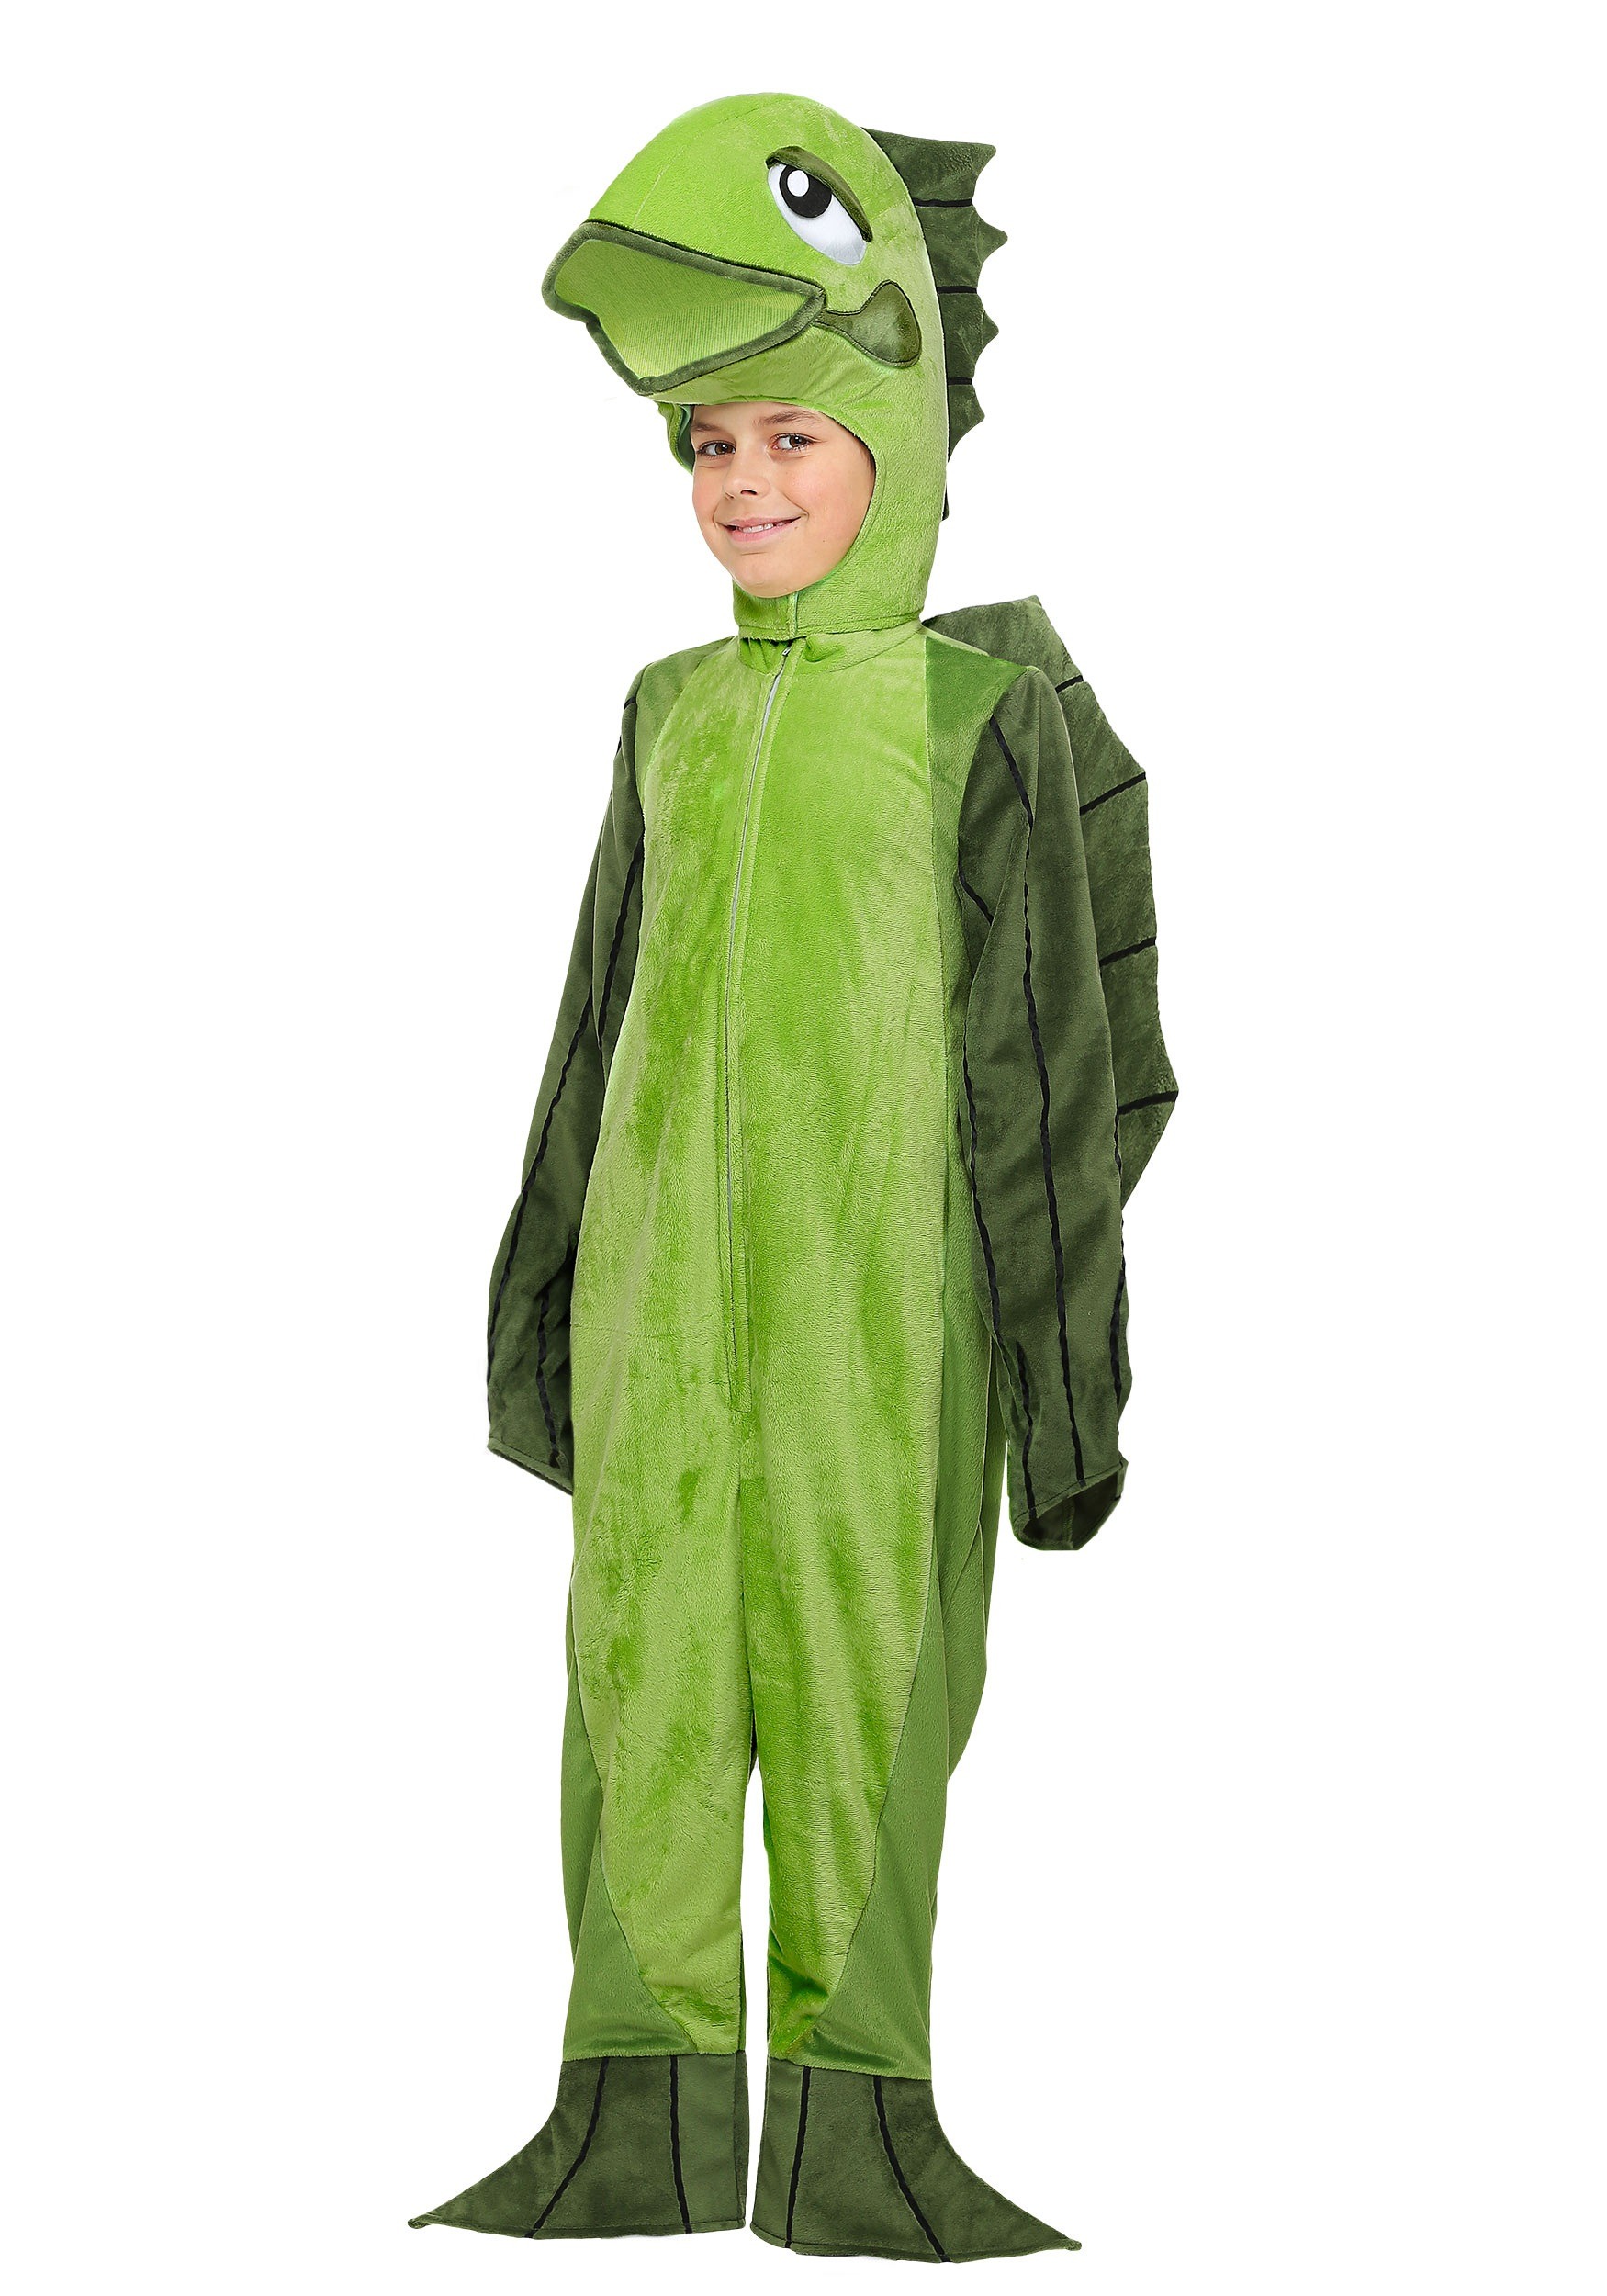
Okay, let's dive right in (see what I did there? 😉)! Are you looking for a ridiculously fun, relatively easy DIY project that will make your kiddo the absolute star of the next costume party, school play, or even just a Tuesday afternoon of make-believe? Then you, my friend, are in the right place! We're about to explore the wonderful world of fish costumes! And not just any fish costume, but a fantastically fun, kid-approved fish costume that you can whip up with a few basic supplies. No need to be a master seamstress or an art whiz – trust me, if I can do it, you can absolutely do it!
Why a fish costume, you ask? Well, beyond the sheer adorableness factor (seriously, picture a tiny human waddling around in scales!), it's a chance to get creative, recycle some materials, and bond with your little guppy. Plus, who doesn't love a good excuse to use glitter? (Okay, maybe some people don't love glitter, but even they can appreciate its potential for costume magic.) So, ditch the store-bought, mass-produced boredom and let’s make something fin-tastic!
Getting Started: Gathering Your Treasures
Before we get our hands messy (in a good way!), let’s talk supplies. Think of this as your underwater treasure hunt! Here's a list of what you'll need:
Must Read
- Large cardboard box: This is your fish's body! The size depends on your child, of course. You want them to be able to move comfortably. Think cereal box for a toddler, moving box for a bigger kid.
- Colorful felt: Think scales! Blues, greens, purples, pinks – the more vibrant, the better! Scraps work great for this, so raid your craft stash or hit up a local thrift store.
- Construction paper: For fins and other details. Again, go wild with the colors!
- Glue or glue gun: A glue stick works well for younger kids, while a low-temp glue gun is faster and more durable (adult supervision required, naturally!).
- Scissors: Safety first! Round-tipped scissors are best for kids.
- Elastic or ribbon: For shoulder straps to hold the costume up.
- Markers or crayons: For adding details and personal touches.
- Glitter (optional, but highly encouraged!): Because… well, because glitter!
See? Nothing too intimidating. Most of these things you probably already have lying around the house. That’s the beauty of DIY!
Making a Splash: Constructing Your Fishy Masterpiece
Alright, let's get to the fun part! Here’s how to transform that humble cardboard box into a magnificent marine creature:

- Shape the Body: First, cut off the top and bottom flaps of the cardboard box. Then, carefully cut out a semi-circle shape on either side of the box for your child's arms to go through. This is where they will "wear" the fish. Next, round off the corners of the box to create a more fish-like shape. Don't worry about perfection; a little asymmetry adds character!
- Scales of Glory: Cut out lots and lots of felt circles in various colors. These are your scales! Glue them onto the box, overlapping them slightly, starting from the bottom and working your way up. Don't be afraid to mix and match colors and patterns. Let your little one help with this part – it's great for fine motor skills and creative expression!
- Fin-tastic Fins: Cut out fin shapes from construction paper. Big, small, pointy, round – whatever floats your boat (or swims your fish!). Glue them onto the sides of the box and at the back to create a tail. Consider layering different colors of paper for extra dimension.
- Facial Features: Add an eye (or two!) to the front of the box. You can use construction paper, googly eyes, or even draw them on with markers. Don't forget a mouth! A simple curved line will do, or you can get fancy and add some lips.
- Shoulder Straps: Cut two lengths of elastic or ribbon. Attach them to the inside of the box, near the top, to create shoulder straps. Make sure they're long enough for your child to comfortably wear the costume. Adjust them as needed for a perfect fit.
- Glitter Time! (Optional, But Amazing): Now, for the pièce de résistance! Sprinkle glitter onto the scales, fins, or anywhere else you want to add a touch of sparkle. A light dusting will do the trick, unless you're going for maximum shimmer – in that case, go wild!
And there you have it! A dazzling, delightful fish costume, ready to make a splash at any event! See? I told you it was easier than you thought!
Personalize Your Piscatorial Pal
The best part about making your own costume is the ability to personalize it. Here are a few ideas to take your fish costume to the next level:
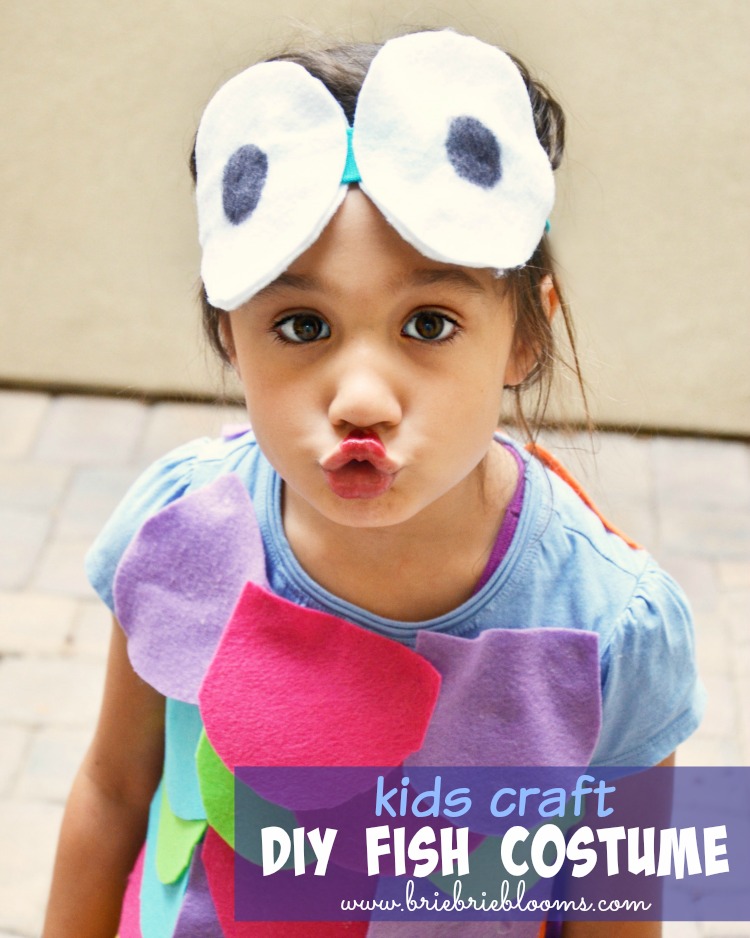
- Add seaweed or coral decorations made from green and pink paper.
- Glue on sequins or beads for extra sparkle.
- Write your child's name on the fish in glitter glue.
- Make a matching hat with fins on top.
- Let your child choose the colors and patterns for their fish.
Remember, there are no rules! Let your imagination run wild and create a fish that's as unique and special as your child.
So, what are you waiting for? Gather your supplies, grab your little helper, and get crafting! This fish costume is not only a fun and rewarding project, but it's also a way to create lasting memories and spark your child's imagination. Who knows, maybe this will be the start of a lifelong love of crafting and creating!
Feeling inspired to explore even more creative costume ideas? The internet is awash with resources, tutorials, and inspiration. Dive in, explore, and let your inner artist shine! You’ve got this!

