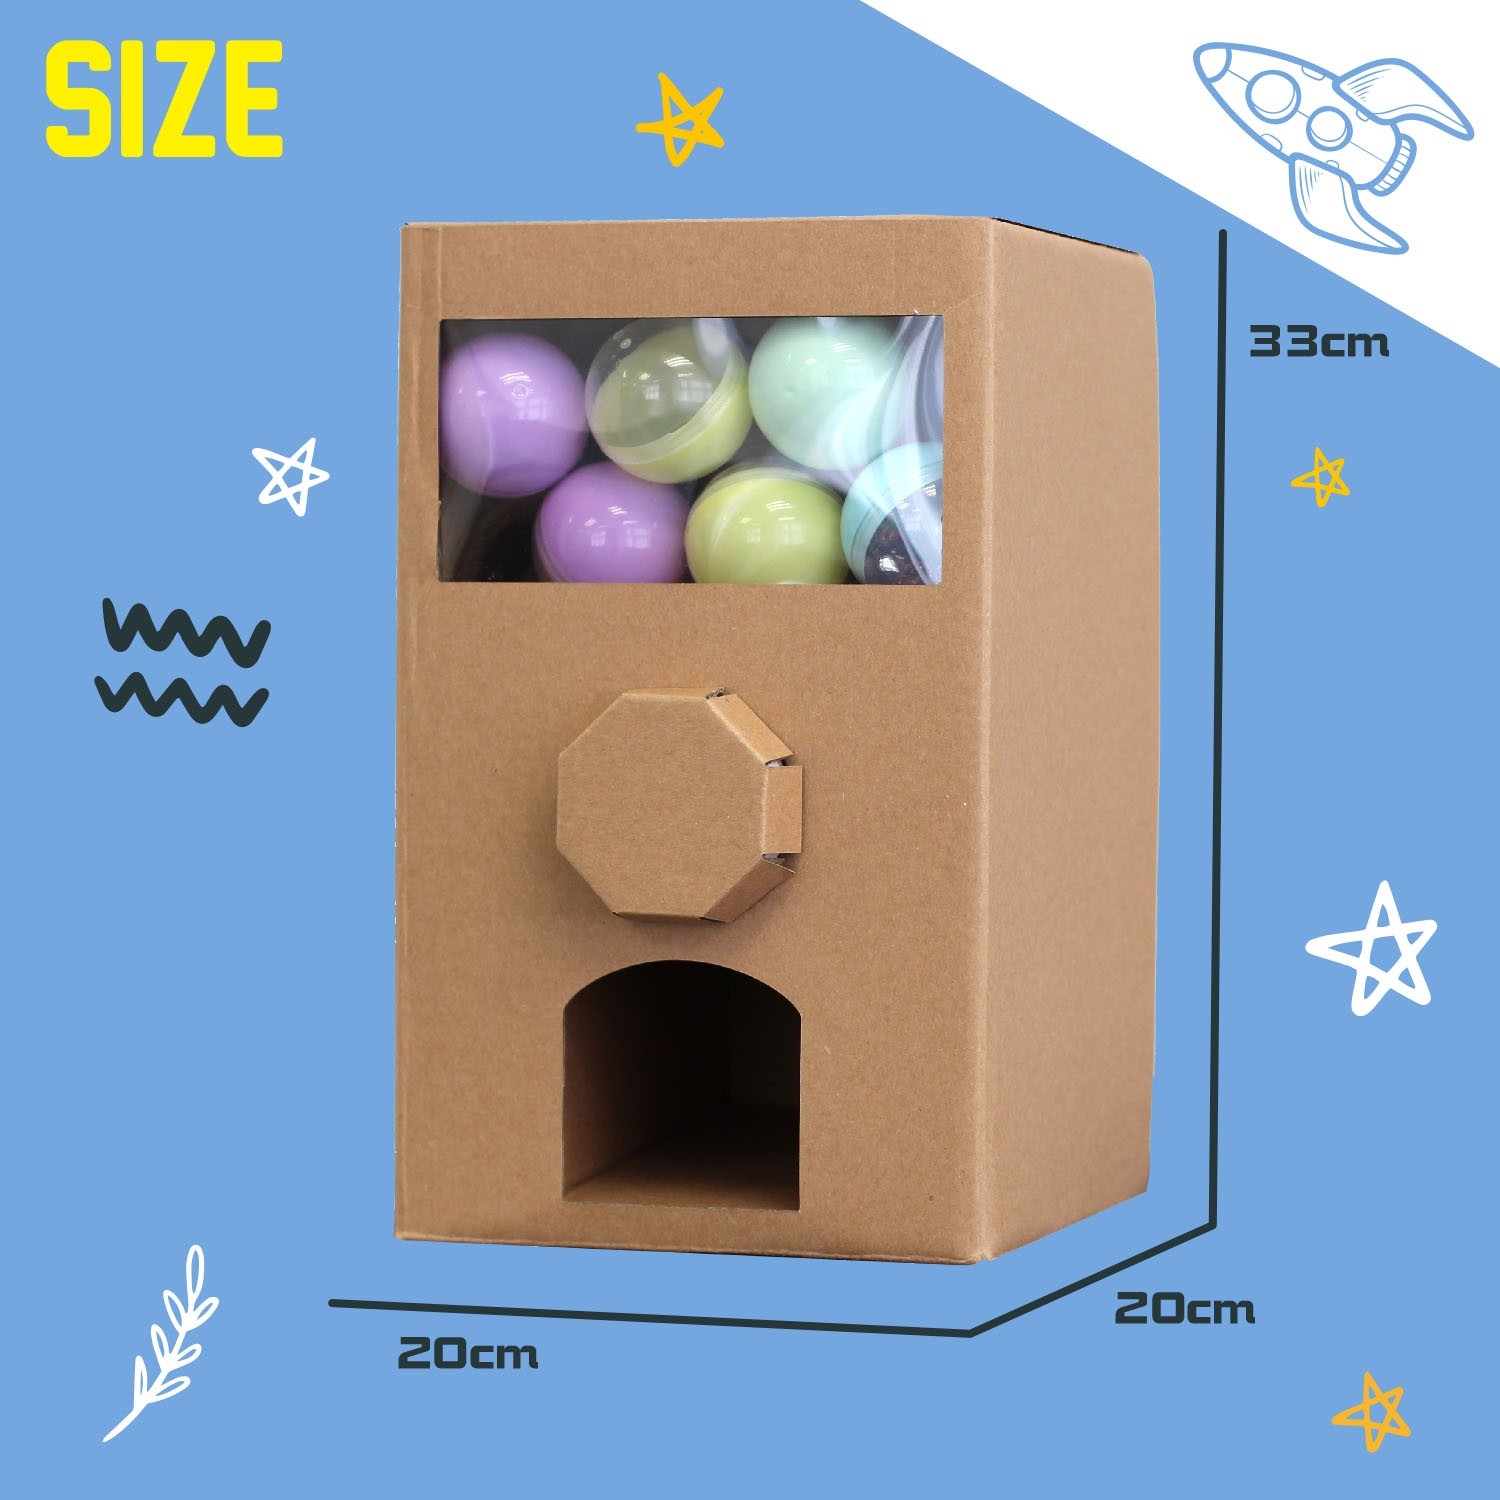
How To Make A Cardboard Vending Machine

Hey there, crafty friend! Ever dreamt of having your own vending machine? Like, one stocked with YOUR favorite treats and toys? Well, buckle up, because today we're diving into the magical world of DIY cardboard vending machines! And trust me, it's way easier (and cheaper!) than actually buying a real one. (Unless you find a vending machine on sale… then maybe reconsider. Just kidding! Mostly.)
What You'll Need (The Cardboard Avengers)
Alright, before we become cardboard engineers, let's gather our supplies. Think of this as assembling our very own team of crafty Avengers!
- Cardboard boxes: A big one for the main body and smaller ones for the internal compartments. Cereal boxes? Shoe boxes? Go wild! Just make sure they're relatively sturdy.
- Scissors or a craft knife: Be careful! Adult supervision is always a good idea when using sharp objects. We want a vending machine, not a trip to the emergency room.
- Tape: Packing tape, masking tape, duct tape... whatever you've got! Tape is our best friend in this cardboard adventure.
- Glue: Good old-fashioned school glue or a hot glue gun (again, with supervision!) for the extra stubborn bits.
- Ruler or measuring tape: For precise cuts and compartments. Or, you know, eyeball it like a true artist.
- Pencil or marker: To mark where you'll be cutting and gluing.
- Clear plastic wrap or acetate: For the viewing window, so people can see the deliciousness inside! (Optional, but highly recommended.)
- Decorations! Paint, markers, stickers, glitter... Let your imagination run wild!
- Your vending machine goodies! Candy, small toys, erasers... whatever your heart desires. Remember, this is YOUR vending machine!
Building the Beast (Cardboard, That Is)
Okay, time to get our hands dirty (or, you know, cardboardy). Here's the basic rundown:
Must Read
- The Main Frame: Start with your largest cardboard box. This will be the body of your vending machine. Seal up any open flaps to create a solid structure.
- Internal Compartments: Use your smaller boxes to create compartments inside the main box. These will hold your goodies. Experiment with different sizes and arrangements! The more the merrier!
- The Dispensing Mechanism: This is the tricky part, but don't worry, we'll keep it simple! Cut a small opening at the bottom of each compartment. You'll need to create a way for items to be pushed or dropped out of these openings. Think levers, flaps, or even just tilting the compartments slightly.
- The Coin Slot (or Token Slot!): Cut a small slot on the front of the machine. This is where people will "pay" for their items. Get creative – you could even use buttons instead! Who needs real money anyway?
- The Viewing Window: Cut a rectangular hole on the front of the machine and cover it with clear plastic wrap or acetate. This allows customers to see the goods! Think of it as the window to vending machine paradise.
- Assembly and Reinforcement: Tape and glue everything together securely. Reinforce any weak spots with extra cardboard and tape. We don't want our vending machine collapsing under the weight of deliciousness!
Decorate Like a Pro (Or at Least Try To!)
Now for the fun part! Let your inner artist shine! Paint the vending machine, add stickers, write catchy slogans ("The Best Snacks in Town!"), and generally make it look awesome. Don't be afraid to get messy – it's all part of the fun!
Test and Tweak (The Vending Machine's Debut)
Load up your vending machine with goodies and test the dispensing mechanism. Does everything work smoothly? If not, don't panic! Just tweak it until it does. This is where patience comes in handy. Think of it as debugging, but with cardboard and candy.

Important Tip: Don't forget to label each compartment with the corresponding item and maybe a price (even if it's just pretend!).
You Did It! (Vending Machine Master!)
Congratulations! You've built your very own cardboard vending machine! Now, gather your friends, family, or even just your pet hamster (if they're into that sort of thing), and let them experience the joy of vending machine goodness! Remember, this isn't just a cardboard box; it's a portal to fun, creativity, and delicious treats! So go forth, my friend, and spread the vending machine love! And hey, if your first attempt isn't perfect, don't worry! Just build another one! After all, practice makes perfect (and gives you an excuse to eat more candy).