How To Install 9v Battery In Smoke Detector

Ah, the chirp. That unmistakable, rhythmic, and increasingly irritating little sound that signals one thing: it’s time to give some love to your smoke detector. Don't worry, you don't need a toolbox worthy of a professional carpenter or an engineering degree. You just need a few minutes, a fresh 9-volt battery, and maybe a stool. Let’s tackle this together and silence that sassy sentinel once and for all!
Think of your smoke detector as the unsung hero of your home. It's on guard 24/7, ready to sound the alarm if smoke or fire ever dares to creep into your sanctuary. But even heroes need a power-up now and then. That low-battery chirp isn’t just an annoyance; it’s a friendly (if insistent) reminder that your safety guardian needs a fresh dose of juice. It’s like giving your superhero its morning coffee!
Gear Up: What You'll Need
Honestly, this is probably the easiest "DIY" project you'll ever undertake. Here's your essential checklist:
Must Read
- A new 9-volt battery. Make sure it’s fresh! No rummaging through the junk drawer for a half-dead one.
- A sturdy step stool or ladder. Safety first, always! We want to fix a detector, not create an ER visit.
- A clean cloth or vacuum cleaner (optional). While you're up there, a quick dust-off can help keep your detector functioning optimally.
The Great Battery Swap: Step-by-Step
Step 1: Locate the Chirper
First things first, identify which smoke detector is the culprit. Sometimes it’s obvious; other times, the sound bounces off walls like a phantom. Once you’ve pinpointed the noisy one, gently approach it with your stool. Take a moment to admire its commitment to public safety.
Step 2: Twist and Release
Most smoke detectors are attached to a mounting bracket on the ceiling or wall by a simple twist mechanism. Gently but firmly twist the detector counter-clockwise (that's left, if you're looking at it head-on). It should detach with a satisfying click or pop. Some models might have small clips or latches; a quick glance at the side usually reveals the secret.

Step 3: Open 'Er Up
Once you have the detector in your hands (or carefully balanced on your stool), you'll need to open its battery compartment. This is usually a small, hinged door or a sliding panel on the back. You might see a small arrow indicating which way to slide, or a latch to press. It’s less like a vault and more like a toy car battery slot.
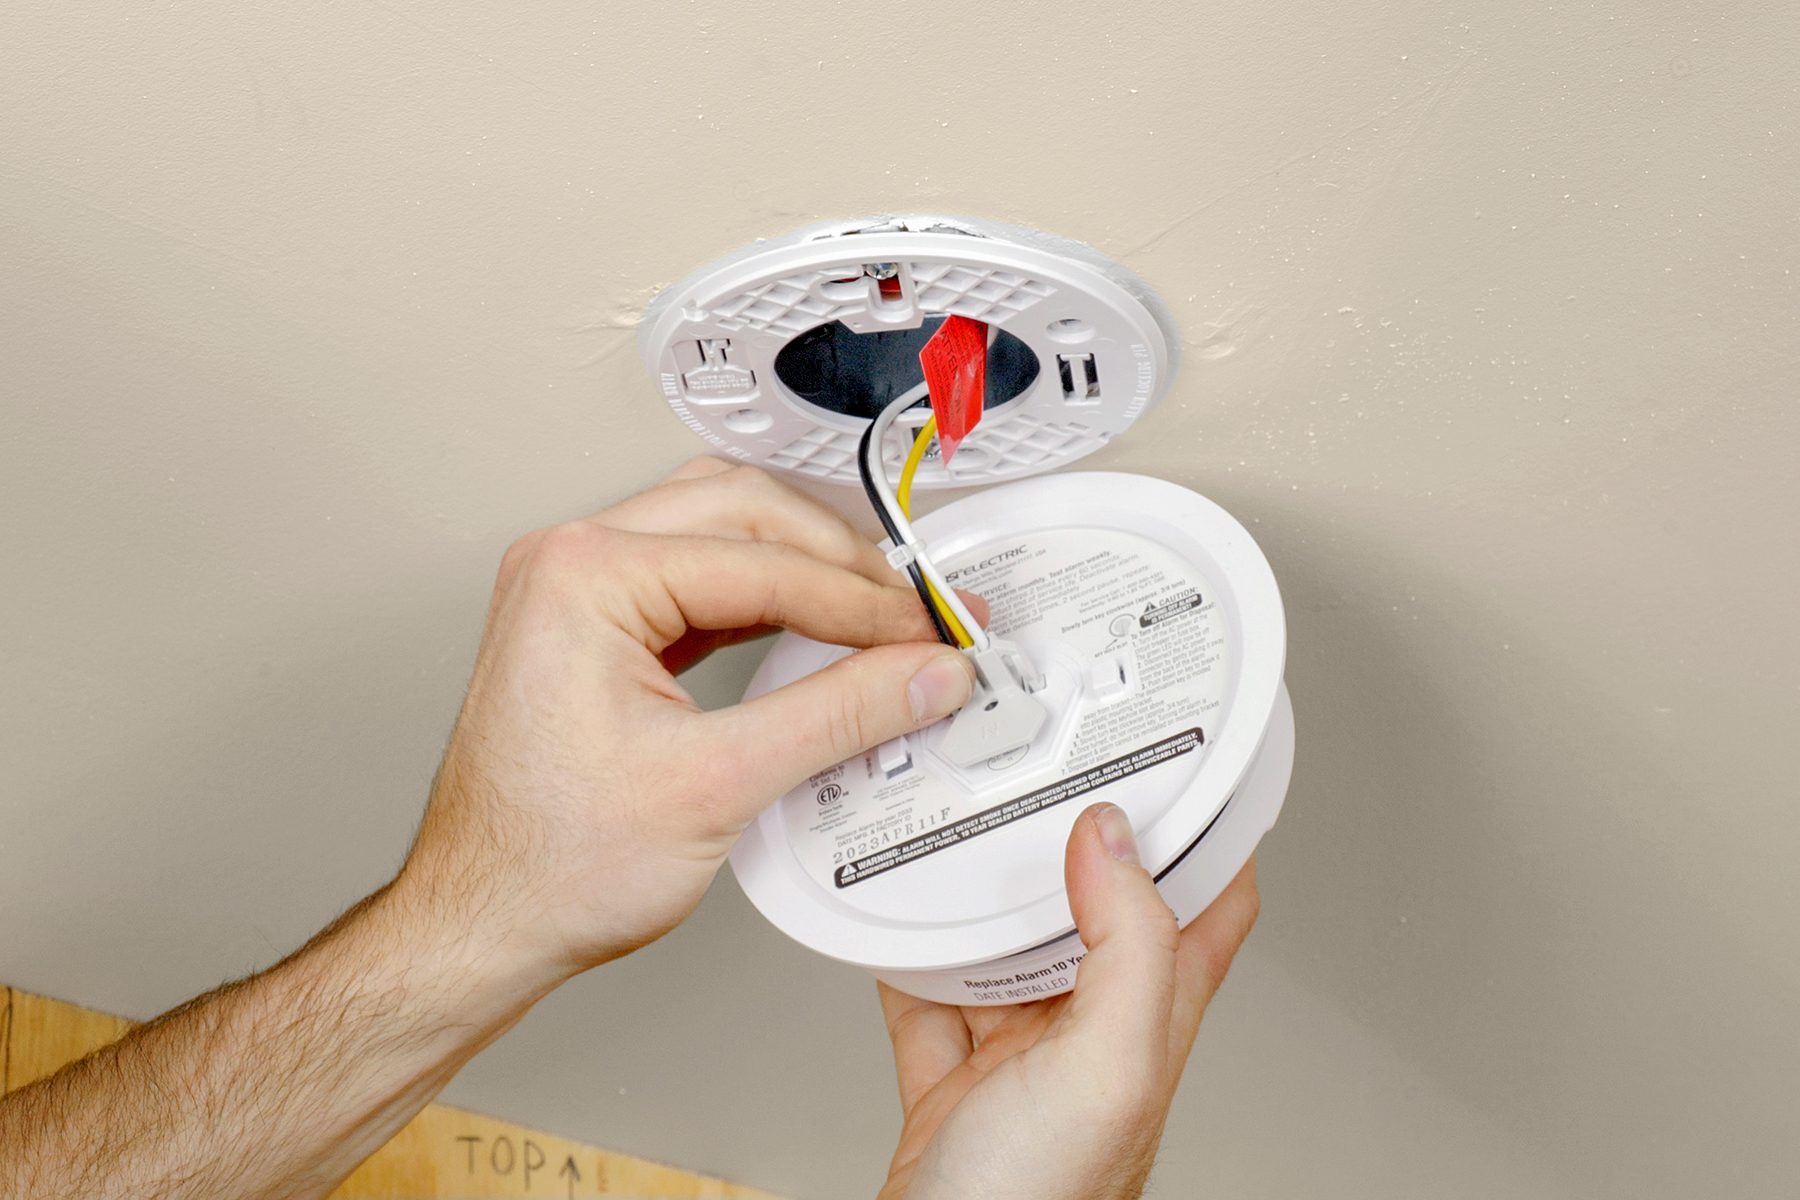
Step 4: The Old Goes Out, The New Comes In
Inside, you’ll see the existing 9-volt battery. It’s typically connected by two small terminals – one round, one hexagonal – that snap onto the battery's matching posts. Gently unclip the old battery. Be careful not to tug on the wires too hard. Once it's out, say your goodbyes (and maybe toss it into your household battery recycling pile).
Now, for the main event: the new battery! Notice the two terminals on the battery – a larger hexagonal one and a smaller round one. These need to match up with the corresponding connectors inside the detector. Press the new 9-volt battery firmly onto the connectors until you hear a satisfying click or feel it snap securely into place. This is crucial for a good connection!
Step 5: The All-Important Test
Before you close everything up, give your detector a test run. Most smoke detectors have a "Test" button. Press and hold it for a few seconds. You should hear a loud, piercing alarm. Don't be shy; it's meant to be loud! This confirms the battery is working and the alarm mechanism is functional. If it doesn't chirp, double-check your battery connection or consult the manual.

Step 6: Close and Reinstall
Carefully close the battery compartment door or slide the panel back into place. Then, line up the detector with its mounting bracket on the ceiling or wall. Twist it clockwise until it locks securely into position. Give it a gentle tug to ensure it’s firmly attached. You’re done! Mission accomplished, chirp silenced!
Extra Pro Tips for a Happy Home
- Twice a Year Tune-Up: The biannual ritual of "spring forward, fall back" for Daylight Saving Time isn't just for adjusting your clocks; it's the perfect reminder to change your smoke detector batteries. Make it a tradition!
- Monthly Check-In: Don't wait for the chirp! Press that test button once a month to ensure everything is working as it should. It takes seconds and offers invaluable peace of mind.
- Keep it Clean: Dust and cobwebs can interfere with your detector's sensors. A quick vacuum around the unit once a year can keep it in top shape.
- Know Its Expiration Date: Smoke detectors don't last forever. Most units have a lifespan of about 10 years. Look for a manufacturing date on the back of your unit and plan to replace the entire detector when it hits its decade mark.
It’s a small act, really. Changing a battery might seem insignificant, but it’s a powerful reminder that taking care of the little things in our homes, and by extension, our lives, creates a greater sense of security and well-being. It’s about being proactive, staying safe, and knowing that your home – and your peace of mind – is always protected. Now go enjoy the blissful silence!